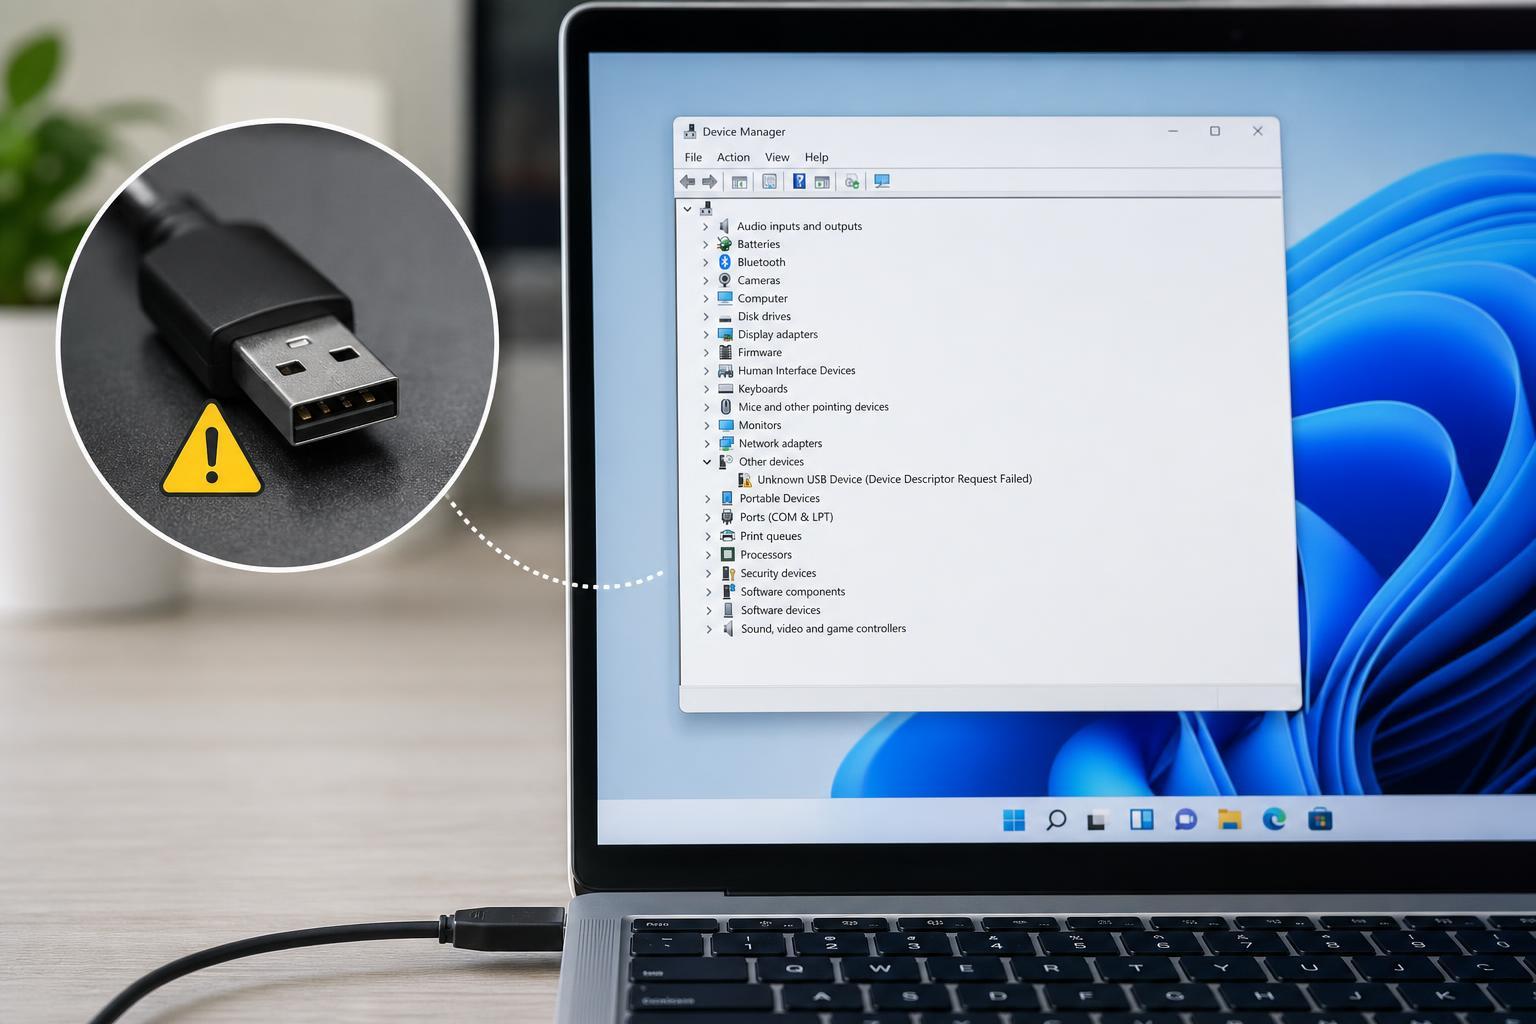
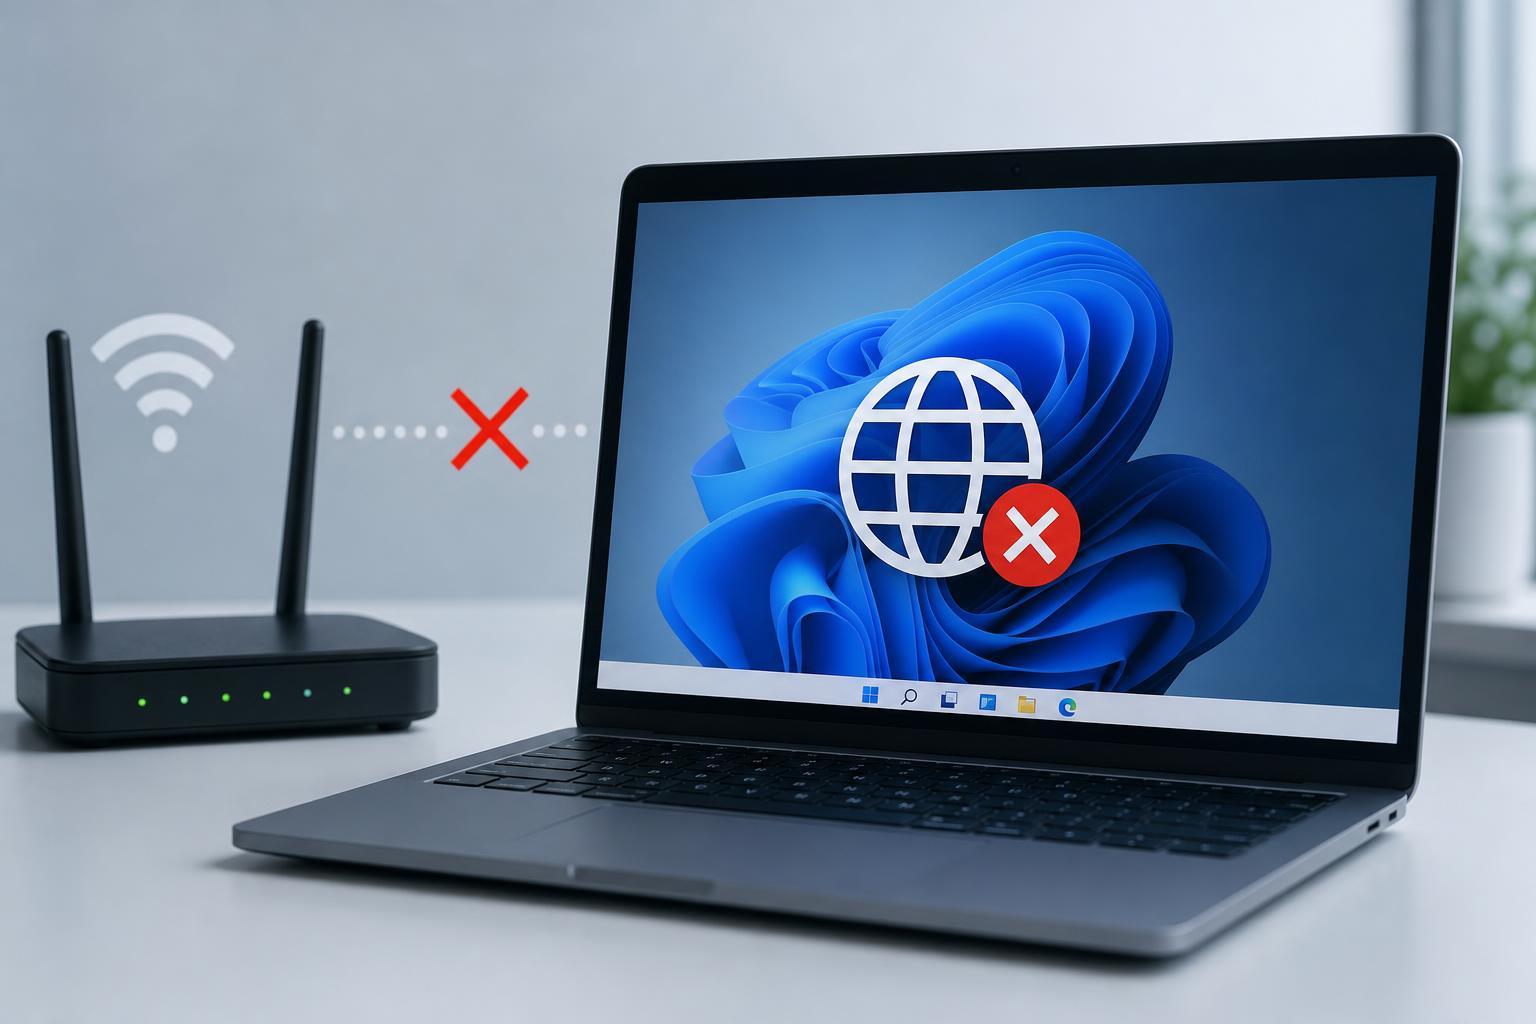
The “Unable to contact your DHCP server” error usually means Windows 11 cannot get a valid IP address from your router or network. When that happens, your PC may lose internet access, show a limited connection, or fail to connect at all. The good news is that the problem is often caused by a network setting, adapter issue, or router communication problem that you can fix without replacing hardware.
This guide walks through four reliable fixes in a sensible order, starting with the most common and least disruptive options.
1. Renew Your IP Address and Reset the Network Stack
If Windows cannot reach the DHCP server, the first thing to try is forcing it to request a fresh IP address. This can clear temporary network glitches and fix a stale or invalid lease.
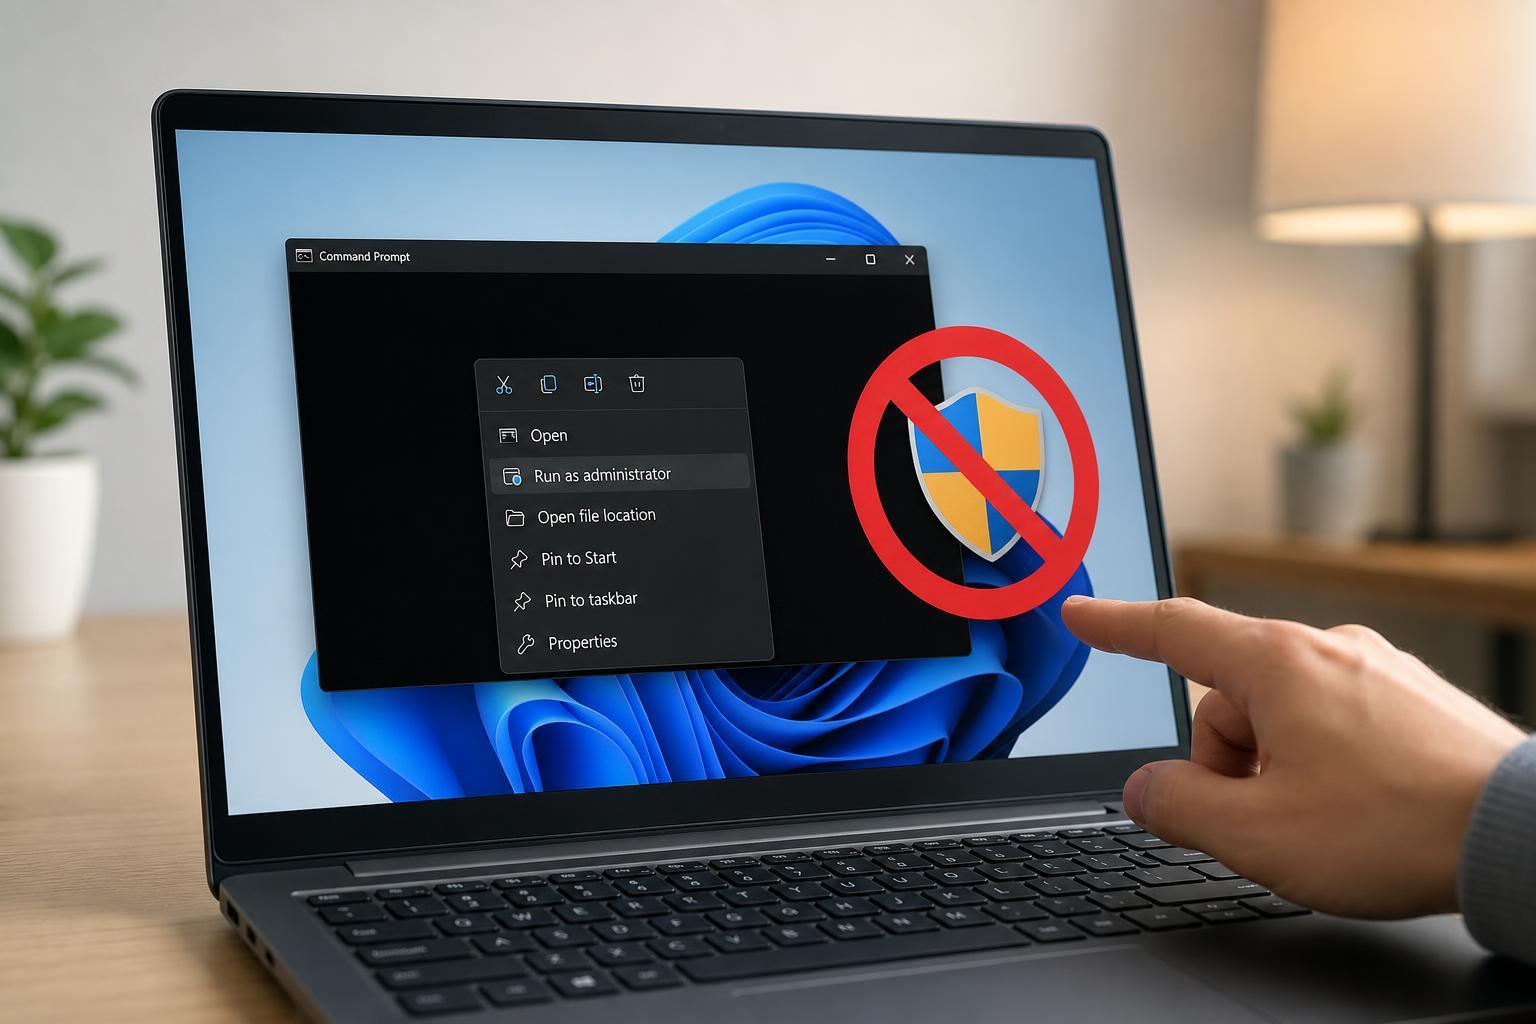
- Right-click the Start button and select Terminal (Admin) or Windows Terminal (Admin).
- Run these commands one at a time: ipconfig /release, then ipconfig /renew.
- If the issue continues, run netsh winsock reset and netsh int ip reset.
- Close the terminal and restart your PC after the reset commands complete.
2. Make Sure the Network Adapter Is Set to Obtain an IP Automatically
A manual IP configuration can interfere with DHCP if the settings are wrong or no longer match your network. Windows should normally obtain both the IP address and DNS server automatically unless you specifically need a static address.
- Open Settings and go to Network & internet.
- Select your Wi-Fi or Ethernet connection, then open Hardware properties or Adapter options depending on what appears on your system.
- Open the adapter’s properties.
- Select Internet Protocol Version 4 (TCP/IPv4), then click Properties.
- Choose Obtain an IP address automatically and Obtain DNS server address automatically.
- Click OK and reconnect to the network if needed.
3. Restart or Check Your Router and Modem
Sometimes the problem is not on the PC at all. If the router’s DHCP service is stuck, full, or misbehaving, your Windows 11 device may fail to get an address even though other network settings are correct.
- Check whether other devices on the same network are also having trouble getting online.
- Power off the router and modem, if you have both.
- Wait about 30 seconds, then turn the modem back on first and the router second.
- After the network equipment fully restarts, reconnect your Windows 11 PC and test again.
4. Update or Reinstall the Network Adapter Driver
A corrupted or outdated network driver can break communication with the DHCP service. This is especially likely if the error started after a Windows update, driver change, or hardware swap.
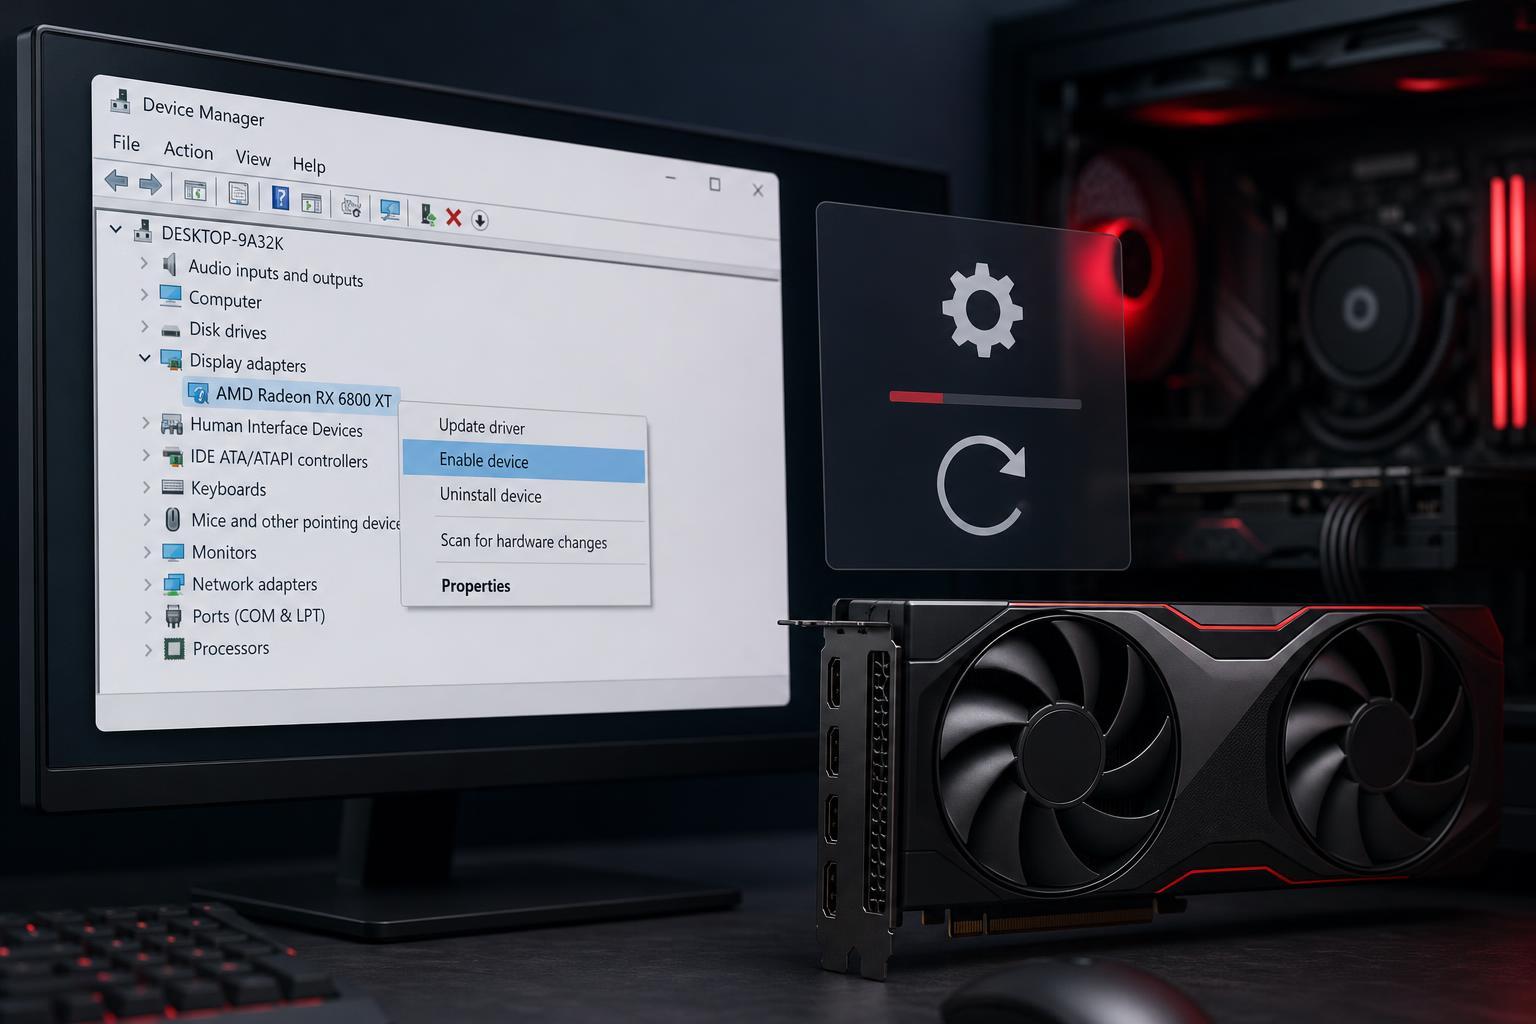
- Right-click the Start button and open Device Manager.
- Expand Network adapters.
- Right-click your Wi-Fi or Ethernet adapter and choose Update driver.
- Select Search automatically for drivers.
- If updating does not help, right-click the adapter again and choose Uninstall device, then restart your PC so Windows can reinstall it automatically.
How to Narrow Down the Cause
If none of the four fixes works, the pattern of the failure can help you figure out what is wrong.
- If only one PC is affected, the issue is more likely the adapter, driver, or local Windows network configuration.
- If every device on the network fails to connect, the router or modem is the more likely cause.
- If the error appears only on Wi-Fi but Ethernet works, the wireless adapter, signal quality, or Wi-Fi router settings may be involved.
- If the problem started right after a change, that recent change is the best place to focus first.
What to Try If the Error Still Appears
If the four fixes above do not solve the problem, the next steps are usually to inspect security software, check whether DHCP services are disabled, or test the PC on a different network. At that point, the issue may be tied to a deeper network configuration problem or a failing adapter.