If your AirPods are crackling, rattling, or making static noise, the cause can range from a loose connection or software glitch to dirt in the speaker grille or a damaged driver. The good news is that many cases can be narrowed down with a few simple checks before you assume the AirPods need repair.
This guide walks through 11 useful fixes, starting with the most common and easiest ones first. It also explains how to tell whether the problem is with one AirPod, your device, or the AirPods themselves.
Why AirPods Make Crackling or Static Sounds
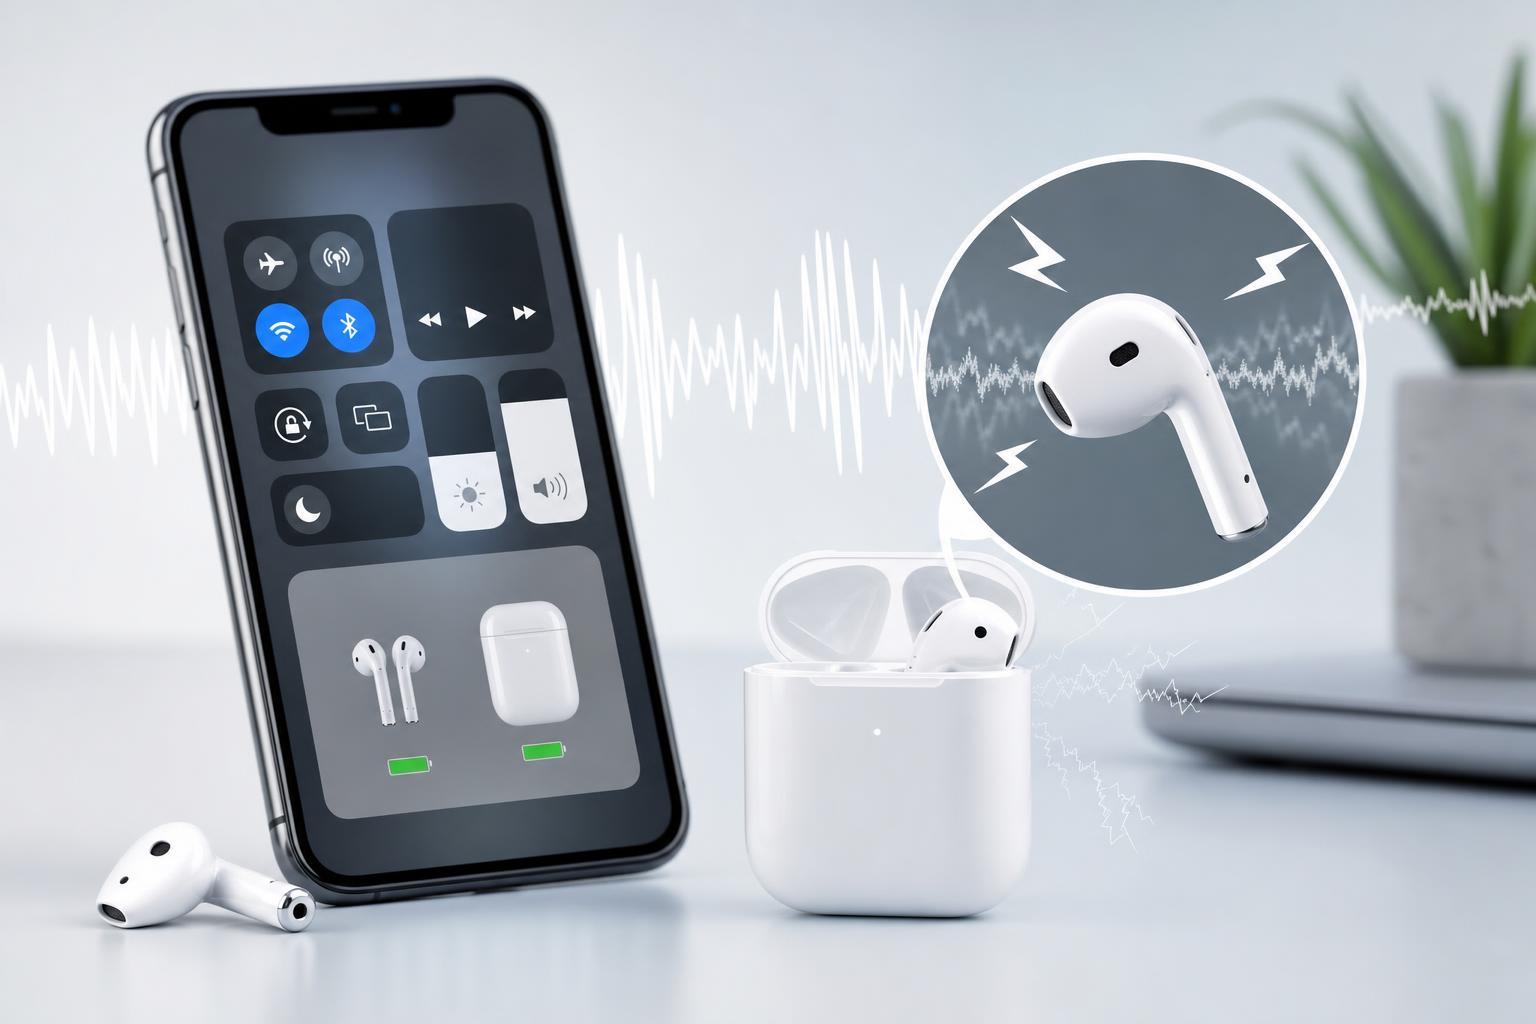
Crackling, buzzing, popping, or static noise usually comes from one of three areas: the audio source, the wireless connection, or the AirPods hardware itself. If the noise happens only with one phone, one app, or one earbud, that clue can save a lot of time.
Before changing settings, note when the sound happens. Does it occur during phone calls, music playback, noise cancellation, or all audio? Does it happen in both ears or only one? Those details help point to the right fix.
1. Clean the AirPods and Check the Speaker Grilles
Earwax, lint, and dust can affect sound quality and sometimes create a crackling or rattling effect. Even a small obstruction can interfere with the tiny speaker opening.
- Use a dry, soft, lint-free cloth to wipe the AirPods.
- Check the speaker grilles and microphone openings for debris.
- If needed, use a clean, dry, soft-bristled brush to gently remove buildup.
- Avoid pushing debris deeper into the openings.
- Let the AirPods dry fully if they were exposed to moisture.
2. Test the Other AirPod and Isolate the Problem
If only one AirPod crackles, test each earbud on its own. Put one in at a time and play audio at a moderate volume. This can show whether the issue follows a specific AirPod or only appears when both are used together.
- Noise only in the left or right AirPod usually suggests a hardware issue in that unit.
- Noise in both AirPods on one device may point to a software, Bluetooth, or settings problem.
- Noise on every device can mean the AirPods themselves are failing.
3. Turn Bluetooth Off and On Again
A simple Bluetooth reconnection can clear temporary pairing glitches that cause static or dropouts. This does not fix hardware damage, but it is a quick and worthwhile step.
- Open Bluetooth settings on your iPhone, iPad, Mac, or other device.
- Turn Bluetooth off.
- Wait a few seconds.
- Turn Bluetooth back on.
- Reconnect your AirPods and test the audio again.
4. Put the AirPods Back in the Case and Reconnect
Sometimes the AirPods need to fully reset their connection to the device. Place both earbuds in the charging case, close the lid for a short time, then open the case and reconnect.
5. Try a Different App, Song, or Audio Source
If the crackling only appears in one app or with one type of audio, the problem may not be the AirPods at all. Low-quality audio files, a bad stream, or a specific app issue can make distortion more noticeable.
- Test music from a different app.
- Try a phone call and then a video.
- Play audio stored locally on the device.
- Compare Bluetooth playback with another pair of headphones if available.
6. Check for Interference and Move Closer to the Device
Bluetooth can become unstable near heavy wireless interference, crowded Wi-Fi areas, or when the device is too far away. Static and crackling may appear when the signal is weak or interrupted.
- Keep the AirPods and the connected device within close range.
- Move away from crowded wireless areas if possible.
- Avoid blocking the device with your body, metal objects, or thick walls.
- Test in a different location to see whether the noise changes.
7. Adjust Audio Settings That Can Affect Sound Quality
Some audio features can change how playback sounds, especially during calls or with spatial audio and processing features enabled. Turning these features off temporarily can help identify the culprit.
- Check whether noise cancellation or transparency mode changes the sound.
- Turn off spatial audio temporarily and retest.
- If you are on a Mac or PC, look for enhancements or audio processing options in the sound settings.
- Check the audio balance to make sure sound is centered and not shifted to one side.
8. Update Your Device Software
Outdated iPhone, iPad, Mac, or Windows software can cause Bluetooth and audio bugs. Even though AirPods firmware updates happen automatically, the connected device still matters.
- Install the latest iOS, iPadOS, macOS, or Windows updates available for your device.
- After updating, reconnect the AirPods and test again.
- If you use multiple devices, check the one where the problem happens most often.
9. Forget the AirPods and Pair Them Again
If Bluetooth settings are stuck or the pairing data is corrupted, removing the AirPods and setting them up again can help.
- Open Bluetooth settings on your device.
- Find your AirPods in the list of paired devices.
- Choose the option to forget, remove, or unpair them.
- Put the AirPods back in the case and open the lid.
- Pair them again and retest the audio.
10. Reset the AirPods Completely
If standard pairing does not help, a full reset may clear deeper connection problems. This is especially useful after switching between several devices or after strange audio behavior starts suddenly.
- Place both AirPods in the charging case and keep the lid open.
- Press and hold the setup button on the case until the status light flashes amber and then white.
- Reconnect the AirPods to your device.
- Test audio again with a known good source.
11. Check for Hardware Damage or Moisture
If the crackling remains after cleaning, resetting, and testing on multiple devices, the AirPods may have a hardware problem. Moisture exposure, impact damage, or wear to the speaker components can all cause persistent noise.
- The sound is always present, even when volume is low.
- Only one AirPod is affected consistently.
- The problem appears on every device you try.
- The noise gets worse when you tap or move the earbud.
How to Narrow Down the Cause Quickly
If you want the fastest route to a diagnosis, use this order: clean the AirPods, test each earbud separately, try a different app or device, then reset and re-pair them. That sequence tells you whether the issue is contamination, software, Bluetooth, or hardware.
- One earbud only: likely hardware or debris.
- Only on one device: likely pairing or software.
- Only in one app: likely the app or audio source.
- Always present everywhere: likely damage or wear.
When to Contact Apple or Arrange Service
If the crackling or static continues after a full reset and repeated testing on more than one device, service is probably the next step. That is especially true if one AirPod is much worse than the other or if the issue started after moisture, a drop, or a battery problem.
At that point, repair or replacement may be more practical than continued troubleshooting, since AirPods use very small internal components that are not meant to be user-serviced.