Apple Watch wrist detection is what lets the watch know when it is on your arm. When it is working properly, it can unlock the watch, keep sensitive features protected, and help notifications and Apple Pay behave the way they should. If wrist detection stops working, the watch may not lock correctly, may stay locked when it should unlock, or may fail to recognize that you are wearing it.
The cause is often something simple, such as a loose fit, a dirty sensor area, or a setting that got turned off. In other cases, software glitches or band issues can interfere with the sensors. The fixes below go from easiest to more involved.
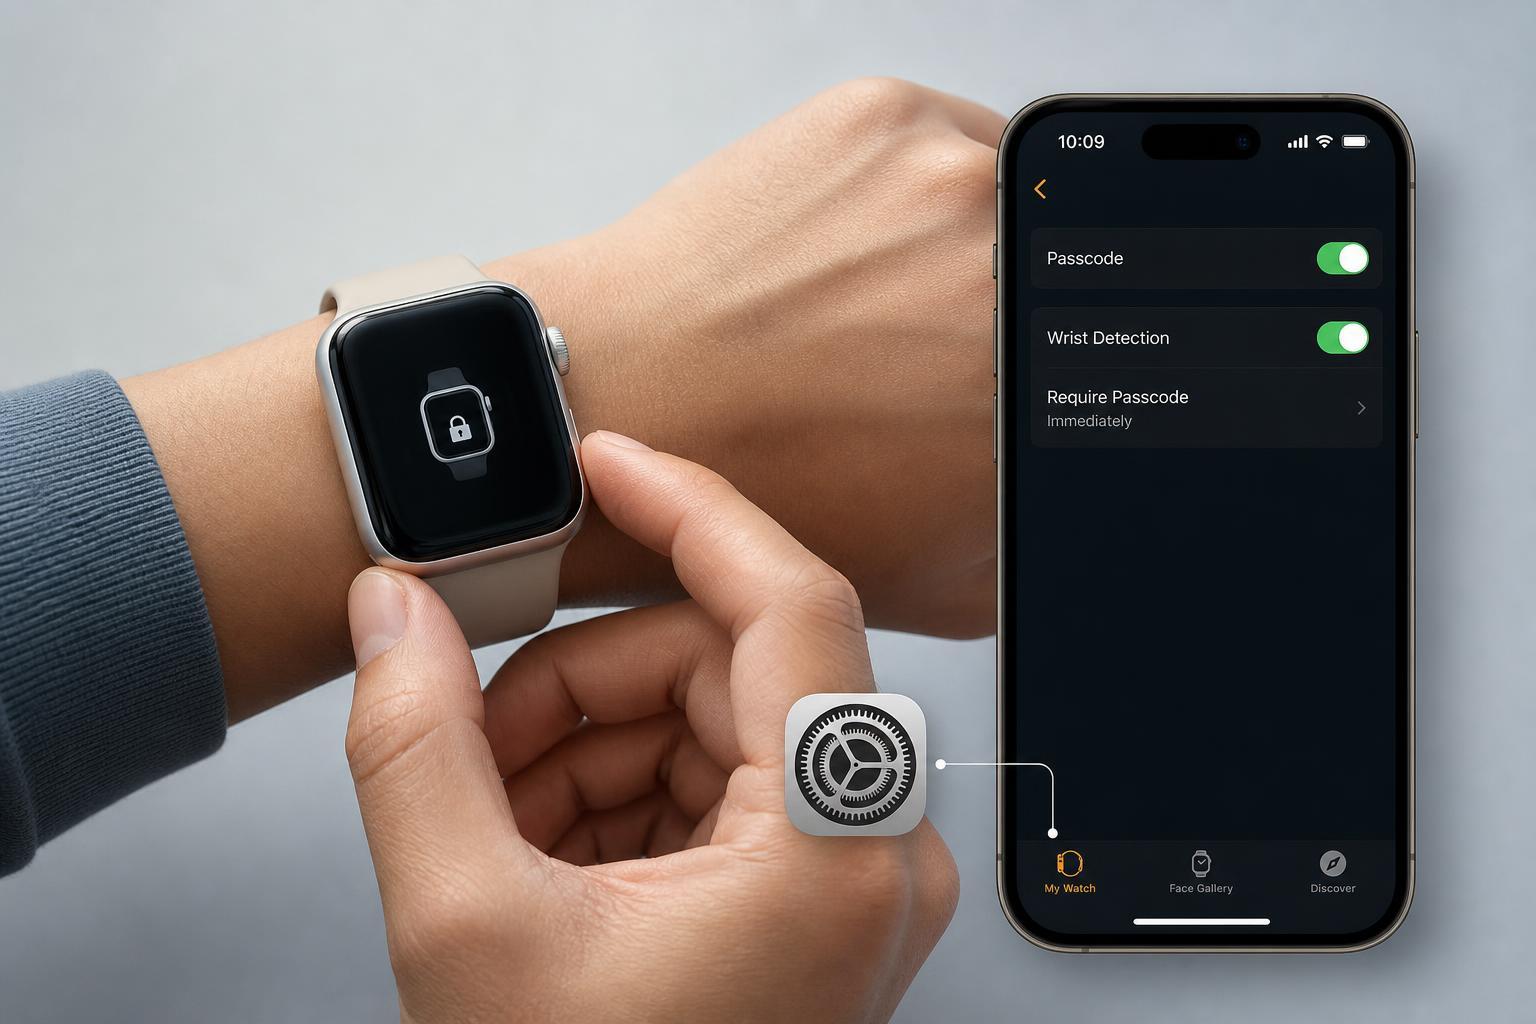
1. Check That Wrist Detection Is Turned On
The first thing to verify is the setting itself. If Wrist Detection is disabled, the Apple Watch will not use that feature no matter how well the sensors are working.
- On your iPhone, open the Watch app.
- Tap Passcode.
- Make sure Wrist Detection is switched on.
- If needed, also confirm that Passcode is enabled, since wrist detection works with the passcode feature.
2. Wear the Watch More Securely
If the watch is too loose, the sensors on the back may lose contact with your skin. That can cause the watch to think it has been taken off, or prevent it from detecting that it is on your wrist in the first place.
- Move the band one notch tighter so the watch sits flat against your wrist.
- Make sure the back of the watch is not tilted away from the skin.
- Try wearing the watch slightly higher on the wrist, where the fit is often more stable.
- If you have very small or very smooth wrists, test a different band style for a better fit.
3. Clean the Back of the Watch and Your Wrist
Dirt, lotion, sweat, and skin oils can interfere with the optical sensors on the back of the watch. Even a small amount of buildup can make detection unreliable.
- Remove the watch from your wrist.
- Use a soft, lint-free cloth to clean the back of the watch.
- If needed, lightly dampen the cloth with fresh water and wipe again.
- Dry the watch completely before wearing it.
- Clean your wrist as well, especially if you have lotion, sunscreen, or heavy sweat on the skin.
4. Remove Obstructions and Check the Band
Some bands or accessories can interfere with how the watch sits on your wrist. A poor fit does not always mean the band is too loose; it can also mean the watch body is not sitting evenly against the skin.
- Remove thick third-party cases or screen protectors that may affect fit around the watch body.
- Inspect the band for damage, stretching, or worn connectors.
- Try a different band to see whether the problem disappears.
- If you use a metal or rigid band, check whether it keeps the back sensors from sitting flush on the wrist.
5. Restart the Apple Watch and Update watchOS
Temporary software glitches can affect sensor behavior. A restart clears many minor problems, and updating watchOS can fix bugs that Apple has already addressed.
- Restart the Apple Watch by turning it off and back on.
- On the iPhone, open the Watch app and check for a watchOS update.
- If an update is available, install it while the watch is on charge and near the iPhone.
- After the update, test wrist detection again by removing and putting the watch back on.
6. Unpair and Pair the Watch Again if Nothing Else Works
If wrist detection still fails after checking settings, fit, cleanliness, and software, the watch may need a deeper reset of its configuration. Unpairing and pairing again can refresh settings that may be stuck or corrupted.
- Open the Watch app on your iPhone.
- Go to All Watches and choose your Apple Watch.
- Select Unpair Apple Watch.
- After the unpairing process completes, pair the watch again and set it up.
- Test wrist detection before restoring too many custom settings, if possible.
How to Narrow Down Whether It Is a Hardware Issue
If wrist detection still does not work after all of the above, the problem may be hardware-related. That could include a sensor issue, damage to the back crystal, or a band/fit problem that cannot be solved with settings alone.
- The watch never detects wrist contact, even when worn snugly and cleanly.
- The problem happens with more than one band.
- Wrist detection fails after physical damage, such as a drop or crack.
- Other watch features tied to sensors also behave oddly.
If those signs match what you are seeing, contact Apple Support or visit an Apple Store or authorized service provider for help.
Which Fix Should You Try First?
In most cases, the quickest path is to check the Wrist Detection setting, then adjust the fit and clean the sensors. Those are the most common causes and take only a minute or two to test. If the issue remains, move on to a restart, a watchOS update, and finally unpairing and pairing again.