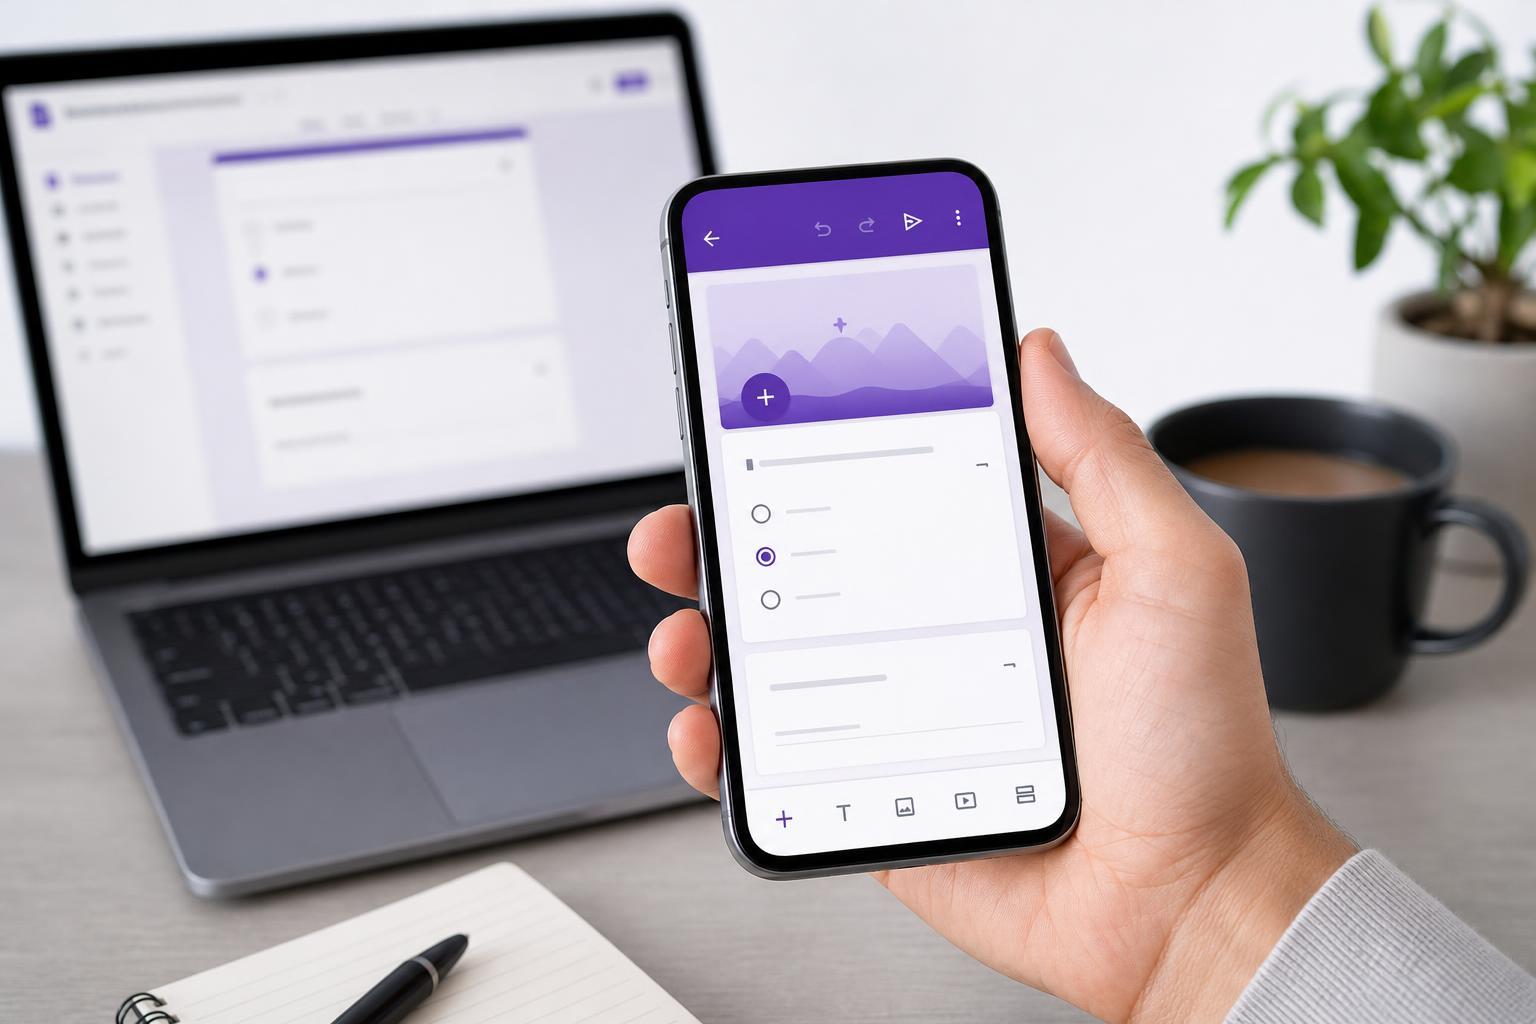
Google Forms is easy to use on a computer, but you can also create and edit forms from a phone or tablet when you need to work on the go. The mobile experience is a little different from desktop, but the same core tools are still available.
This guide walks you through creating a Google Form on mobile, adding questions, changing settings, and sharing it with others.
What You Need Before You Start
- A Google account
- A phone or tablet with internet access
- The Google app, a browser, or the Google Forms app if it is available on your device
- A stable connection if you plan to edit or collect responses while away from Wi‑Fi
Open Google Forms on Your Phone
- Open your mobile browser or the Google Forms app if you have it installed.
- Sign in to your Google account.
- Go to forms.google.com in your browser, or open Google Drive and create a new form from there if that is easier on your device.
- If the page looks cramped, use your browser’s desktop site option for a more complete editing experience.
Create a New Form
- Tap the blank form option or the plus icon to start a new form.
- Give your form a title at the top.
- Add a short description if you want to explain what the form is for.
- Save your changes as you go, since Google Forms updates automatically when you are online.
Add Questions on Mobile
The question area is where most of the work happens. On mobile, the controls are usually stacked vertically, so you may need to scroll more than you would on desktop.
- Tap the plus button to add a new question.
- Choose a question type such as short answer, paragraph, multiple choice, checkboxes, dropdown, or linear scale.
- Type your question text.
- Add answer choices if the question type needs them.
- Turn on Required if the question must be answered before someone can submit the form.
Use Sections to Organize Longer Forms
If your form has several topics, sections can make it easier for people to complete. They also help you keep long forms organized while editing from a phone.
- Use sections to split a form into smaller parts
- Group related questions together
- Make multi-step forms easier to read on mobile devices
- Reduce confusion for respondents who might otherwise face a long page of questions
Adjust Form Settings
Before sharing the form, check the settings so responses are collected the way you want. The exact menu names can vary slightly depending on whether you are using the app or browser version.
- Open the settings or gear icon.
- Choose whether respondents can edit their answers after submitting.
- Decide whether to collect email addresses if needed.
- Set whether the form should accept one response per person if you want to limit duplicates.
- Review confirmation and response settings before publishing.
Customize the Look of the Form
Google Forms includes basic design options, and you can still use them on mobile. These are helpful if you want the form to look more polished or match a school, work, or event theme.
- Change the theme color
- Choose a header image when available
- Adjust the form title and description for clarity
- Keep formatting simple so the form remains easy to read on a small screen
Preview the Form Before Sharing
Always preview the form before sending it out. This helps you catch mistakes such as spelling errors, broken answer choices, or required questions that are too vague.
- Tap the preview icon, usually shaped like an eye.
- Check how the form looks on a phone-sized screen.
- Test the question flow and make sure required questions behave as expected.
- Go back and fix any confusing wording or layout issues.
Share the Google Form from Mobile
Once the form is ready, you can share it directly from your phone.
- Open the Send or Share menu.
- Choose whether to send by email, copy a link, or share through another app.
- If you use a link, copy it and paste it into messages, social apps, or a document.
- Check link settings if you want to restrict access to people in your organization or keep the form open to anyone with the link.
View Responses on Mobile
You can monitor responses from your phone, although spreadsheets and detailed analysis are usually easier on a computer.
- Open the Responses tab to see submitted answers
- Use the summary view for a quick overview
- Link the form to Google Sheets if you want more organized response tracking
- Check frequently if the form is time-sensitive, such as for event signups or urgent feedback
Common Mobile Limitations to Expect
Google Forms works well on mobile, but the experience is not identical to desktop. Knowing the limitations ahead of time makes the process less frustrating.
- Editing large forms can be slow on a small screen
- Dragging and rearranging items may be less convenient
- Some advanced formatting or add-ons are easier to use on desktop
- A desktop site view may be more reliable than a narrow mobile layout for complex forms
When to Switch to a Computer
Mobile is great for quick forms, small edits, and sharing on the go. For longer surveys, advanced branching, or heavy response management, a computer is usually the better choice.
- You need to build a long or complex form
- You want to use advanced logic or add-ons
- You need more precise formatting control
- You want to review many responses in detail
A Simple Mobile Workflow
- Open Google Forms on your phone and start a blank form.
- Add a title, description, and a few questions.
- Mark any required questions.
- Preview the form on your phone.
- Share the link or send it by email.
- Check the Responses tab later to review submissions.