Google Docs does not have a simple built-in caption button for images, but there are several reliable ways to add captions that look neat and make your documents easier to understand. The best method depends on whether you want the caption to stay tightly attached to the image, look formal, or be easy to edit later.
In this guide, you will learn four practical ways to add captions to images in Google Docs, along with when each method works best.
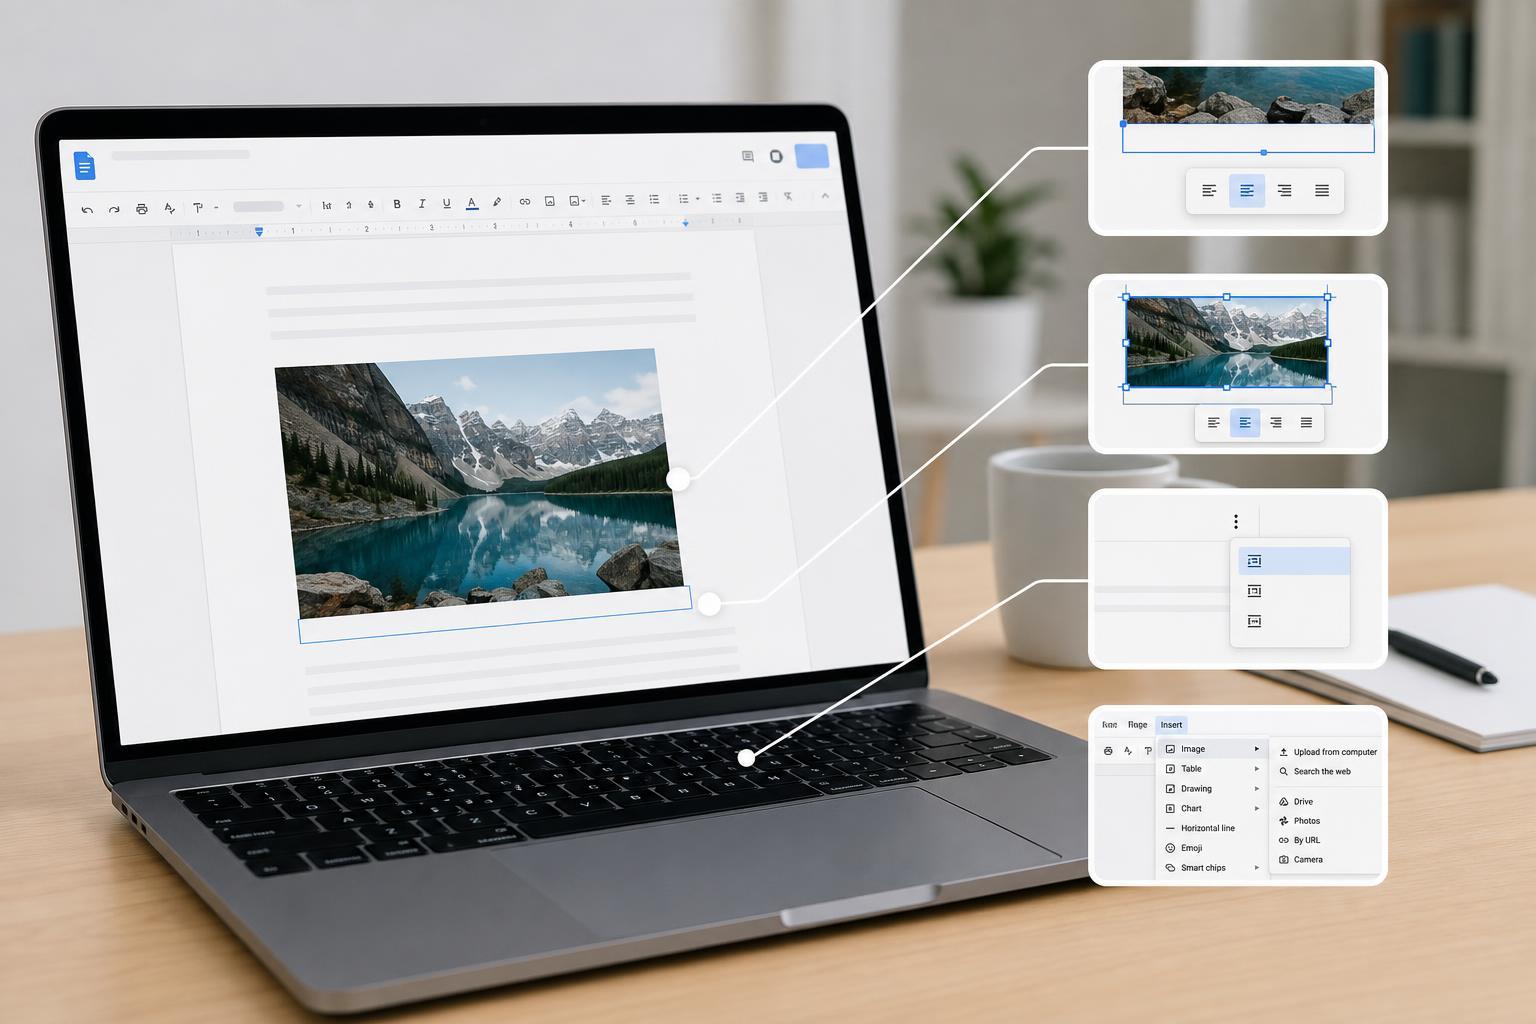
1. Add a Caption Using a 1x2 Table
A one-column, two-row table is one of the easiest ways to keep an image and caption aligned. The image goes in the top cell and the caption goes directly underneath it in the bottom cell.
- Place your cursor where you want the image caption block to appear.
- Go to Insert > Table and choose a 1x2 table.
- Insert your image into the top cell.
- Click in the bottom cell and type the caption.
- Resize the cells or center the content if needed for a cleaner look.
2. Use a Drawing for More Control
Google Docs drawings let you place an image and text together in the same object. This is a good option when you want the caption positioned exactly where you want it, such as centered below the picture or placed in a specific style.
- Click Insert > Drawing > New.
- In the drawing window, add your image.
- Use the text box tool to place a caption below the image.
- Adjust the size, alignment, and spacing as needed.
- Click Save and close to insert the drawing into your document.
3. Put the Caption Directly Under the Image
For a quick and simple document, you can insert the image, press Enter underneath it, and type a caption on the next line. This is the fastest method and works well when formatting does not need to be perfect.
- Insert the image into your document.
- Click directly below the image and press Enter if needed to create a new line.
- Type your caption.
- Format the caption with a smaller font, italics, or center alignment if desired.
4. Use an Alt-Text Style Description in a Separate Line
If your goal is to describe the image clearly rather than create a formal caption, you can add a short description on the line below the image or in nearby body text. This is useful for documents that need context more than design.
- Works well for instructional documents
- Useful when the image needs a plain-language explanation
- Easy to edit without changing document structure
- Not ideal if you need the caption to look visually attached to the image
Which Method Should You Use?
If you want the most reliable layout, use a 1x2 table. If you want flexible positioning, use a Drawing. If you just need something fast, place the caption under the image as normal text. If the image is mainly there to support instructions, a short descriptive line may be enough.
- Use a table for stable, professional-looking captions
- Use a drawing for custom placement
- Use plain text for speed and simplicity
- Use a description line when accessibility or explanation matters more than formatting
A Few Formatting Tips
- Center the caption if the image is centered
- Use italic text to make captions look more like traditional figure labels
- Keep captions short and informative
- Match the caption style throughout the document for consistency
What to Remember
Google Docs does not offer a dedicated image caption feature, but these workarounds cover most needs. For formal documents, a table is usually the best balance of control and ease. For casual documents, simple text below the image is often enough.