Google My Maps is a handy way to make a custom map for trips, projects, local guides, event planning, or anything else that needs locations laid out visually. When you connect it with Google Drive, you can keep your map organized, access it from different devices, and manage sharing more easily.
This guide walks through creating a custom map, adding places and layers, and handling the map inside Google Drive so you can keep everything easy to find and update later.
What You Need Before You Start
- A Google account
- Access to Google My Maps
- Access to Google Drive
- A browser on a computer or mobile device
- Locations, addresses, or other place details you want to add
Create a New Custom Map in Google My Maps
- Open Google My Maps in your browser and sign in with your Google account.
- Click Create a new map.
- Give the map a clear name by clicking the title at the top left.
- Add a description if you want to explain what the map is for.
- Decide whether the map will be private, shared with specific people, or available through a link, depending on your needs.
Add Places to Your Map
Once the map is open, you can add markers for individual places. This is the core of a My Maps project, whether you are building a travel map, tracking job sites, listing favorite restaurants, or planning an event route.
- Use the search box to find a location by name or address.
- Click Add to map when the correct place appears.
- Repeat for each place you want to include.
- Click any marker to rename it, add notes, or edit its details.
- Use the directions tool if you want to plot a route between locations.
Organize Information with Layers
Layers help you separate different types of places or information. This makes larger maps much easier to read and edit later.
- Click Add layer to create a new section of the map.
- Name each layer based on its purpose, such as Hotels, Restaurants, or Work Sites.
- Move related markers into the correct layer.
- Turn layers on or off to focus on one category at a time.
- Delete or rename layers as your project changes.
Import Locations from a Spreadsheet or File
If you already have a list of addresses or coordinates, you do not need to add them one by one. My Maps can import data from spreadsheets and other compatible file types, which is helpful for large projects.
- Prepare your file with clear columns, such as name, address, and any notes you want to display.
- Open the layer where you want the imported places to appear.
- Choose Import and select your file from Google Drive or upload it from your computer.
- Match the columns in your file to the correct map fields when prompted.
- Review the imported points and fix any locations that were not placed correctly.
Save and Manage the Map in Google Drive
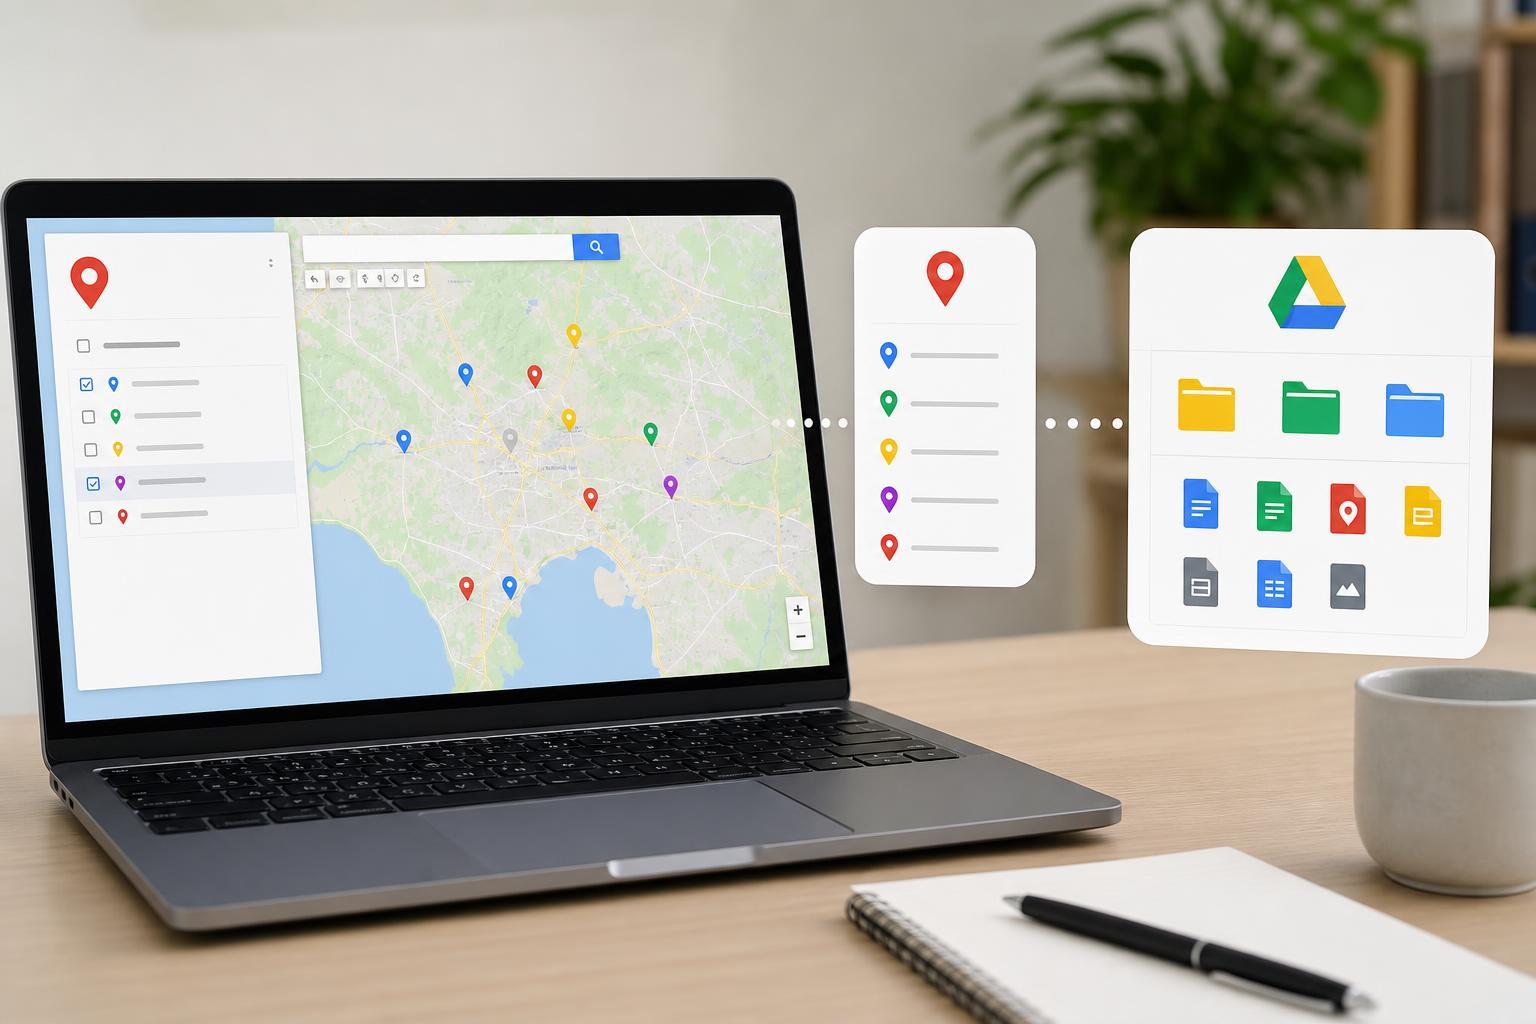
My Maps saves maps to your Google account, and they can be accessed and managed through Google Drive like other Google files. This is useful if you want a central place to find, organize, and share your map.
- Open Google Drive and sign in with the same Google account you used for My Maps.
- Search for the map by name if it does not appear immediately.
- Use Drive to rename, move, or organize the map alongside related documents.
- Open the map from Drive whenever you want to edit or review it.
- Check sharing settings in Drive if you want the map to be accessible to other people.
Share Your Custom Map
Sharing controls determine who can view or edit the map. This is important if the map is for a team, class, or group project.
- Open the map and click Share.
- Choose whether people can only view the map or also edit it.
- Add specific Google accounts if you want to limit access.
- Copy a shareable link if you need to send the map to others.
- Test the link with another browser or account if you want to confirm the permissions are correct.
Edit, Update, and Clean Up the Map Later
A custom map often needs changes after the first draft. You may need to remove outdated locations, update notes, or reorganize layers as your project grows.
- Click a marker to edit its title, description, color, or icon
- Drag markers into a different layer if they belong elsewhere
- Remove locations that are no longer relevant
- Rename layers to make the map easier to understand
- Check the map after major changes to make sure everything still looks correct
Troubleshooting Common Problems
If your map does not behave the way you expect, the problem is usually related to permissions, missing location data, or account confusion between Google services.
- The map does not show up in Drive: make sure you are signed in to the same Google account used to create it.
- A place is in the wrong location: edit the address or move the marker manually.
- A collaborator cannot edit: check whether they were given view-only access.
- An import fails: confirm the file format and make sure the data columns are organized clearly.
- Changes do not seem saved: wait a moment and refresh the page before assuming the update was lost.
Keeping Your Map Useful Over Time
A custom map works best when it stays tidy. Use meaningful layer names, keep location details consistent, and review sharing settings from time to time so the right people still have access.