A backyard movie night can be much more enjoyable when the setup is planned around picture quality, sound, power, and safety instead of just placing a projector outside and hoping for the best. With the right gear and a clear setup process, you can turn a patio, lawn, or deck into a comfortable outdoor theater that works for family nights, game viewings, and parties.
This guide walks through the practical tech choices that matter most: how to choose a projector, what to use for a screen, how to handle sound, where to place everything, and how to protect your equipment from weather and cable hazards.
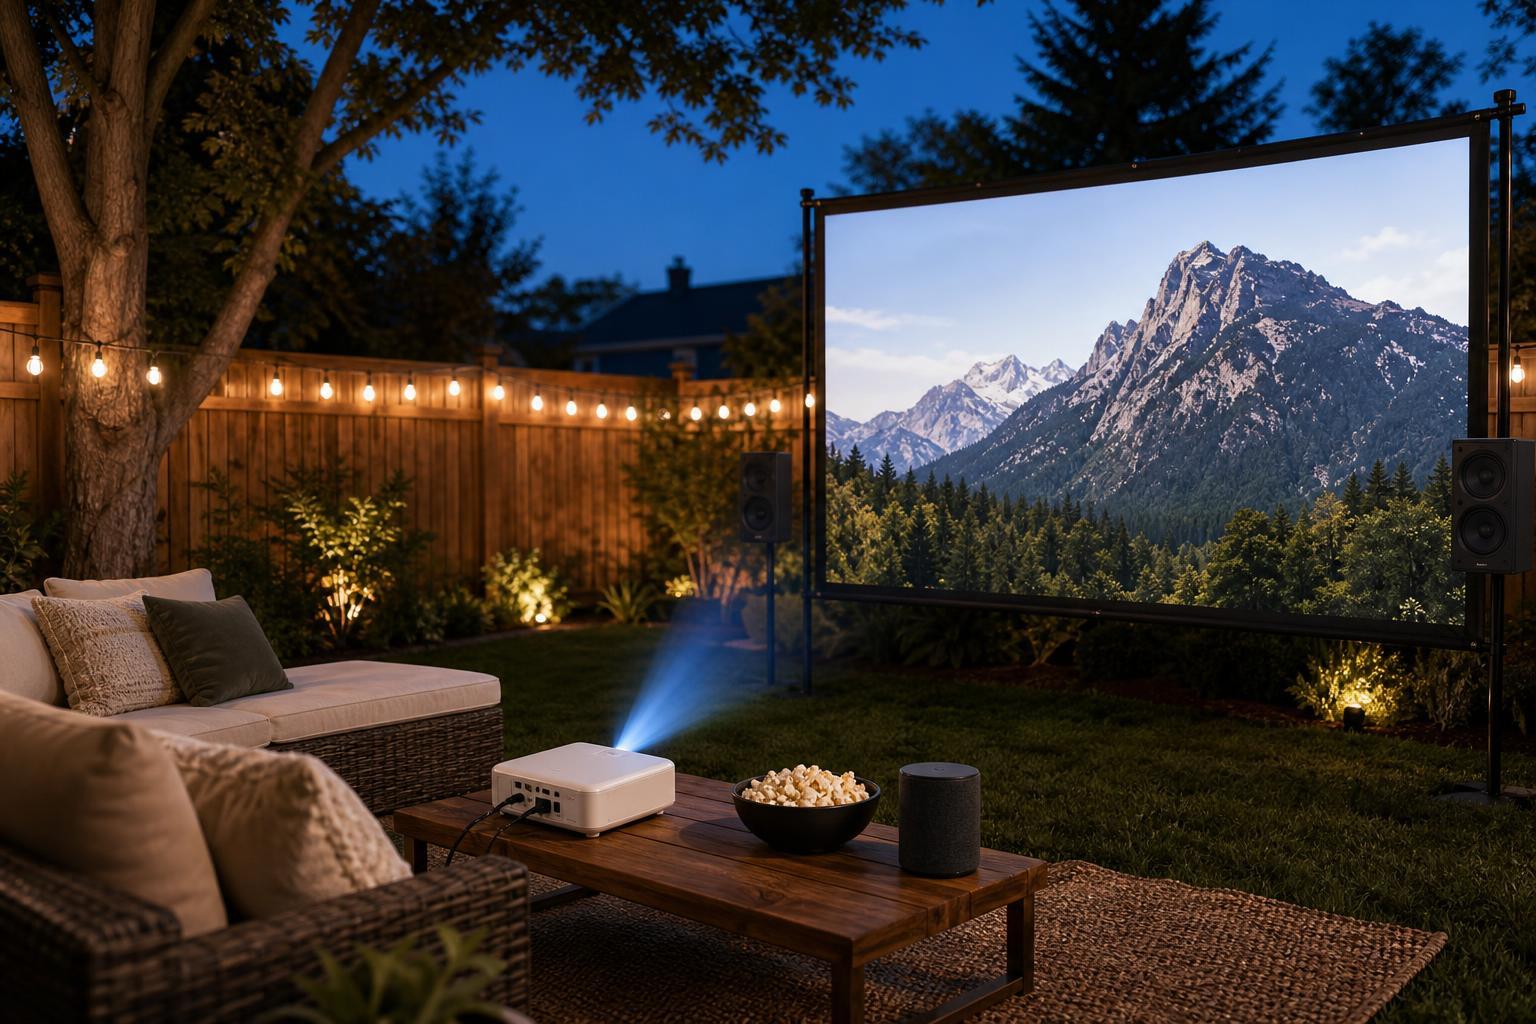
Start With the Space You Already Have
Before buying anything, look at the area where you want to watch. The best setup depends on the size of the yard, how far the projector can sit from the screen, and how much ambient light you can control after dark.
- A flat area with a clear line of sight to the screen
- Access to outdoor power or a safe path for extension cords
- A place to sit that is not directly in the projector beam
- A way to reduce nearby light from porch fixtures, windows, or neighbors' lighting
Choose the Right Projector
For outdoor use, a projector should be bright enough to compete with residual ambient light and large enough to fill your screen from the distance you have available. You do not need a theater-grade model, but brightness matters more outside than it does in a dark living room.
- Look for a projector with strong brightness for outdoor viewing after sunset
- Check the throw distance so it can fill your screen from your available setup space
- Make sure it has HDMI input for streaming sticks, laptops, game consoles, or Blu-ray players
- Confirm whether it has built-in speakers, but do not rely on them for a full outdoor audience
- Consider keystone correction or lens shift if the projector will not sit perfectly centered
Pick a Screen That Matches the Yard
The screen is just as important as the projector. You can use a dedicated outdoor screen, a wall, or a DIY frame, but the surface should be as flat and wrinkle-free as possible.
- Choose a dedicated portable screen if you want the easiest setup and best consistency.
- Use a blank exterior wall only if it is smooth, light-colored, and large enough for the image.
- Build or buy a simple frame if you want a larger screen and a cleaner look than hanging fabric.
- Avoid thin sheets that ripple in the wind unless you can tension them securely.
Plan the Audio Before Movie Night
Audio is one of the biggest differences between a casual backyard setup and a genuinely enjoyable outdoor theater. Built-in projector speakers are usually too small and too weak for open-air use, especially with more than a few viewers.
- Bluetooth speaker for simple, low-cost setups
- Portable PA speaker for louder sound and wider coverage
- Outdoor stereo speakers if you already have a yard audio system
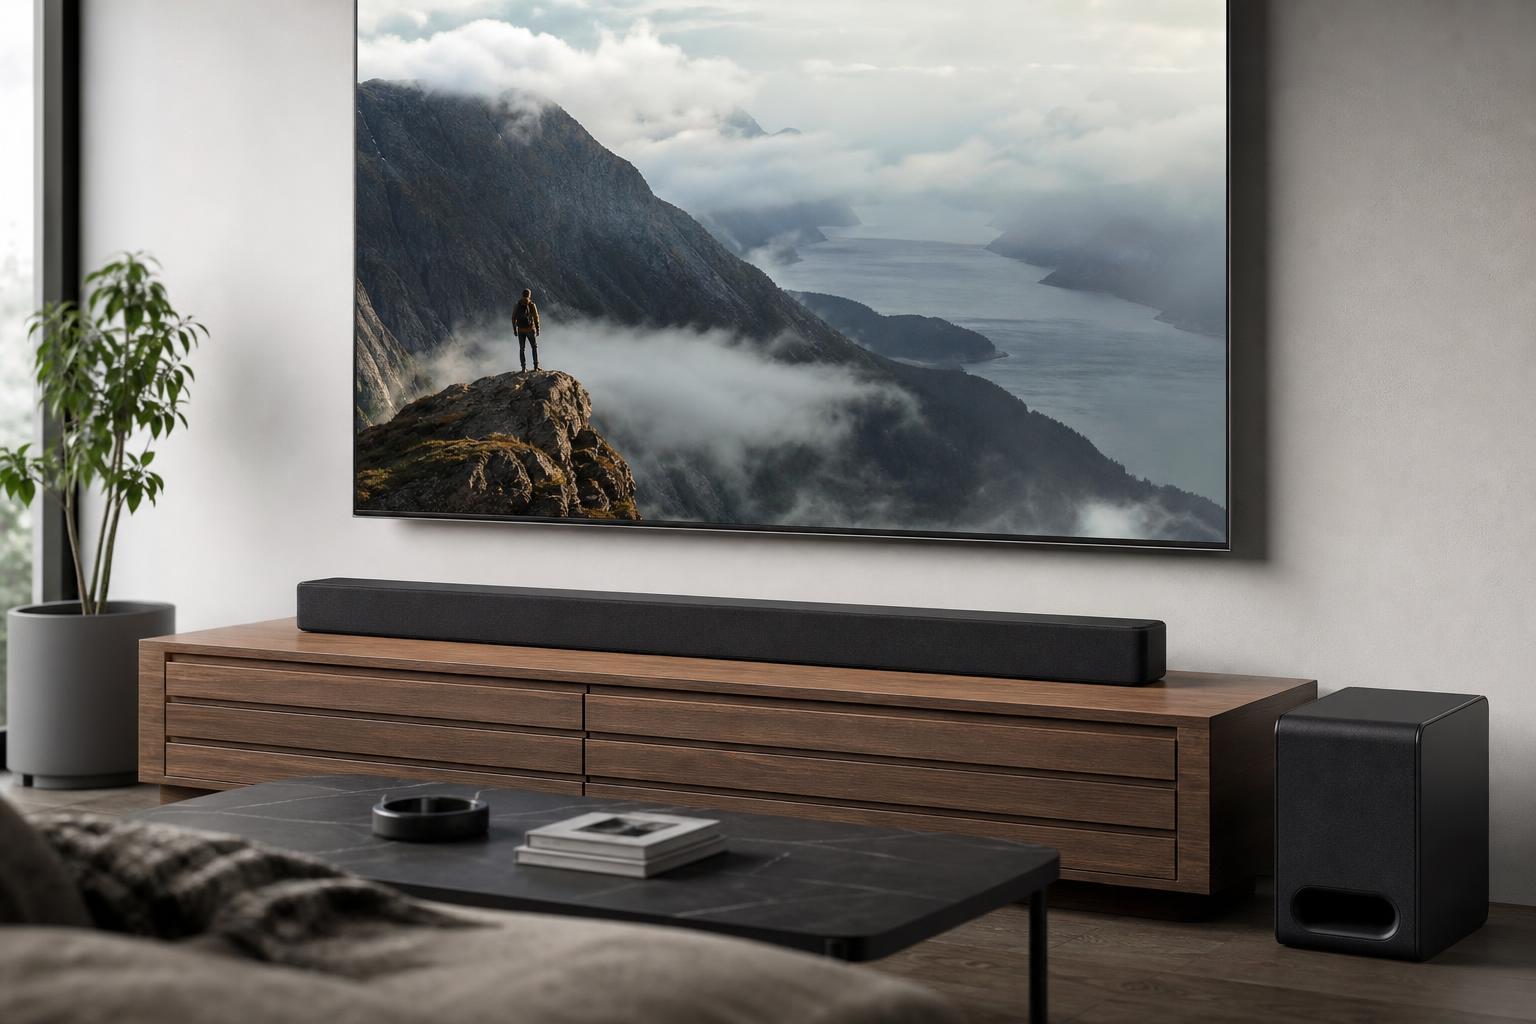
- Soundbar only if it can be placed near the screen and powered safely
If possible, place the speaker near the screen so the sound and picture feel connected. For larger groups, a louder speaker or two separate speakers may work better than one small Bluetooth unit.
Set Up the Source Device
Your source device is what actually plays the movie or stream. Common options include a laptop, streaming stick, Blu-ray player, media box, or game console. The best choice depends on what you already own and how much convenience you want.
- Connect the source device to the projector using HDMI whenever possible.
- Make sure the device can access the content you want to watch, whether that is a streaming app, downloaded file, disc, or console game.
- Test playback indoors first if the device is new or unfamiliar.
- Bring the correct power adapter, HDMI cable, and any required login credentials or remote control.
Think Through Power and Cable Management
Outdoor movie setups become much safer when cables are planned carefully. Long extension cords, loose connections, and cords crossing walkways are all common hazards.
- Use an outdoor-rated extension cord if power must come from inside or from a distant outlet.
- Keep power strips and adapters off wet ground and away from sprinklers.
- Tape or cover cables where people will walk.
- Avoid daisy-chaining multiple extension cords unless the setup is specifically rated and necessary.
- Keep the projector, source device, and speaker close enough to reduce cable clutter.
Place Everything for the Best Image
Once the gear is ready, position the projector so the image lands squarely on the screen without excessive keystone distortion. A little adjustment is normal, but the closer the projector is to straight-on, the sharper the image usually looks.
- Center the projector with the screen whenever possible
- Keep the projector stable on a table, stand, or cart
- Raise or lower the image using the projector's placement rather than extreme digital correction
- Make sure viewers are not sitting in front of the projector beam
- Check the focus after the projector has warmed up
If the image looks trapezoidal, move the projector or screen before relying heavily on keystone correction. Digital correction can be useful, but too much of it can soften the picture.
Reduce Ambient Light and Improve Visibility
Outdoor viewing works best after dark, but some light from houses, patios, and nearby streetlights can still affect contrast. A few simple changes can make a surprisingly large difference.
- Turn off nearby exterior lights that are not needed
- Close curtains or blinds on nearby windows
- Choose a darker screen surface only if the projector and screen are designed for it
- Wait until the sky is fully dark for the best image quality
- Avoid placing the screen where headlights or passing cars shine directly on it
Weather Protection and Safety
Even if the forecast looks clear, outdoor electronics need protection from dew, wind, and accidental spills. Projectors and speakers are not designed to sit in open weather for long periods.
- Keep the projector under a covered area if possible
- Use a small table or stand rather than placing equipment directly on the ground
- Bring gear inside immediately after the movie ends
- Do not leave cables, adapters, or power bricks exposed overnight
- Use weights or stakes to secure screens and light stands if wind is expected
A Simple Step-by-Step Setup Process
If you want a practical order of operations, use this sequence on movie night so you can catch problems early.
- Set up the screen first and make sure it is tight, level, and stable.
- Place the projector at the correct distance and line it up with the screen.
- Connect the source device and verify that the video signal appears.
- Set up the audio device and test volume before guests arrive.
- Run power and cable management so no cords cross unsafe paths.
- Dim nearby lights and make a short test clip or preview scene.
- Adjust focus, volume, and image size, then start the movie.
Best Extras for a Better Backyard Theater
You do not need a huge budget to make the experience feel more polished. A few additions can improve comfort and reduce setup stress.
- A foldable projector stand or small AV cart
- Outdoor seating such as camping chairs, bean bags, or blankets
- A snack table or side table for remotes and drinks
- A battery backup or surge protection for sensitive equipment
- A weatherproof storage bin to keep cables and accessories together
How to Troubleshoot Common Problems
Most outdoor theater issues have a small number of likely causes. Start with the simplest checks before changing equipment.
- Dim image: reduce ambient light, shorten screen size, or use a brighter projector
- Blurry image: refocus after the projector warms up and check lens cleanliness
- No sound: verify the output device, cable connection, and speaker input mode
- Lip-sync delay: try a wired audio connection or a different Bluetooth setup
- Image too small or too large: adjust projector distance instead of relying only on digital scaling
- Cables not working: confirm HDMI input selection and test with another cable if available
Make the Experience Comfortable
A great backyard movie theater is about more than the hardware. Viewers stay engaged longer when seating, sound, and visibility are comfortable from the start.
- Give people enough space so they are not blocking the projector beam
- Set up insect control if needed for your area
- Keep blankets or light jackets available for cool evenings
- Start the movie only after guests are settled and the screen is fully adjusted
What a Good DIY Setup Looks Like
A successful outdoor movie theater does not need to be expensive or complicated. The main goal is to combine a projector, a suitable screen, reliable sound, safe power, and a dark enough space to watch comfortably.
If you get those basics right, you can upgrade gradually over time with a better screen, louder audio, cleaner cable management, or a more powerful projector as your needs grow.