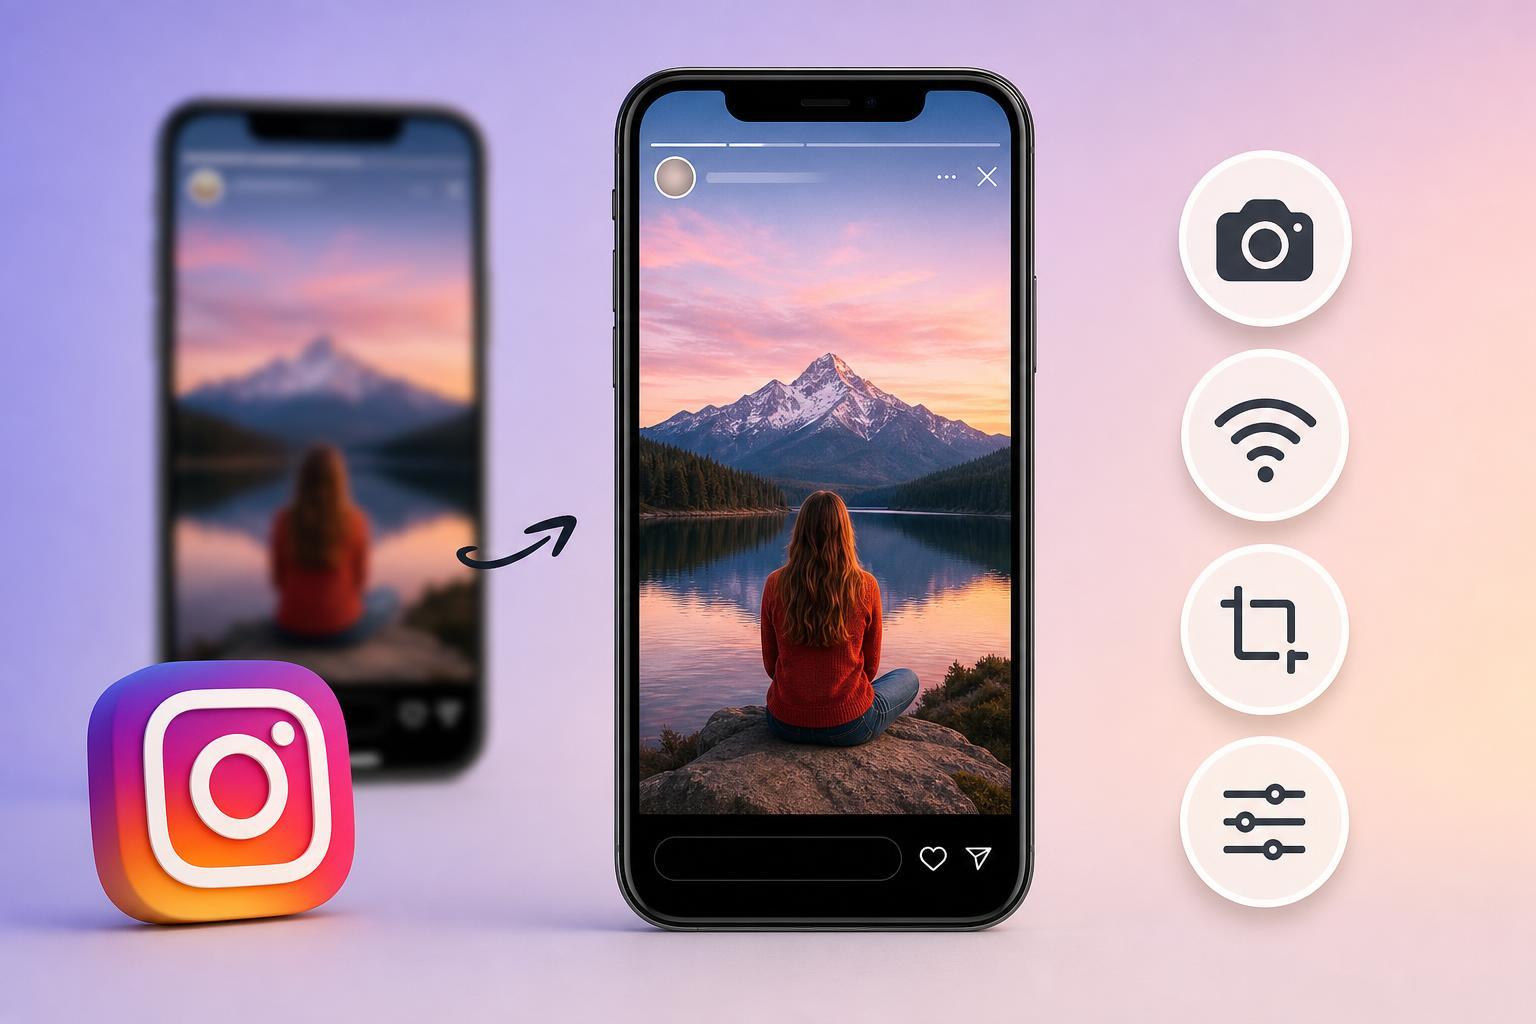
Blurry Instagram Stories are usually caused by poor upload quality, the wrong camera settings, weak internet, or a video that was already low quality before you posted it. The good news is that in most cases you can improve Story quality with a few simple changes.
This guide covers four practical fixes, plus a few checks that help you figure out whether the problem is with Instagram, your phone camera, or the original image or video.
1. Turn On Instagram’s Highest Upload Quality Setting
Instagram can reduce image and video quality to save mobile data, which often makes Stories look soft or blurry after they upload. If you want the best possible quality, check that the app is set to upload in the highest quality available.
- Open Instagram and go to your profile.
- Tap the menu icon, then open Settings and privacy.
- Look for Data usage and media quality or a similar media quality section.
- Turn on the option for uploading at the highest quality, if available.
- If you see a low-data or data saver option, turn it off for testing.
2. Use Better Source Photos and Videos
Sometimes the problem is not Instagram at all. If the original photo or video is already blurry, stretched, or heavily compressed, posting it as a Story will only make the problem more obvious.
- Use the phone camera instead of re-saving the image from social media or messaging apps.
- Avoid screenshots when you can, since they are usually lower quality than the original file.
- Do not zoom in too much while taking the shot unless you need to.
- Make sure the subject is well lit, because dark images often look noisier and softer after upload.
- If you are uploading a video, use the original file rather than a screen recording when possible.
3. Check Your Internet Connection Before Posting
A weak or unstable connection can affect how Instagram uploads your Story. When the app struggles to send the full-quality version, it may upload a poorer copy or process the file less efficiently.
- Test your connection by opening a webpage or streaming a short video.
- If Wi-Fi is weak, move closer to the router or switch to mobile data for a test.
- If mobile data is weak, try a stronger Wi-Fi network before posting.
- Wait for the Story to fully upload before closing the app.
- If the upload stalls or fails, delete the failed Story and re-upload it once the connection is stable.
4. Adjust Your Camera and Phone Settings
If your phone camera is not set up well for Stories, the problem may start before you even open Instagram. Low resolution, heavy beauty filters, poor focus, or camera app settings can all reduce sharpness.
- Clean the camera lens and try again.
- Make sure the camera is focusing on the subject before you take the photo or video.
- Avoid digital zoom unless it is necessary.
- Check that you are using the rear camera for better detail when possible.
- If your camera app has a video quality setting, choose a higher resolution before recording.
- Turn off unnecessary beautify or smoothing effects if they make faces or text look soft.
How to Tell Where the Blur Is Coming From
A few simple checks can help narrow down the cause:
- If the photo looks sharp in your gallery but blurry only after posting, Instagram compression is likely part of the problem.
- If the image is blurry before upload, the camera, lighting, or source file is the issue.
- If uploads fail or take a long time on weak signal, connection quality may be affecting the result.
- If only videos look blurry, the recording resolution or original export settings may need attention.
When the Problem Keeps Coming Back
If none of these fixes help, update Instagram to the latest version and test again. App bugs can sometimes affect upload quality or how Stories are processed. It is also worth checking whether the issue happens on every network and with every file type, because that usually points to a device or settings problem rather than a single bad upload.
If your Stories still look blurry after using a clean original photo or video, good lighting, a stable connection, and the highest quality upload setting, the next step is to compare the result on another phone. That can help you tell whether the issue is specific to your device or to the Instagram app itself.