
If a drive letter in Windows 11 has changed, it can break shortcuts, app paths, scripts, and backup jobs that expected the old letter. The good news is that in many cases you can change the letter back using Disk Management or a command-line tool.
This guide explains why the change happened, how to assign the old drive letter again, and what to do if Windows says the letter is already in use or won’t let you make the change.
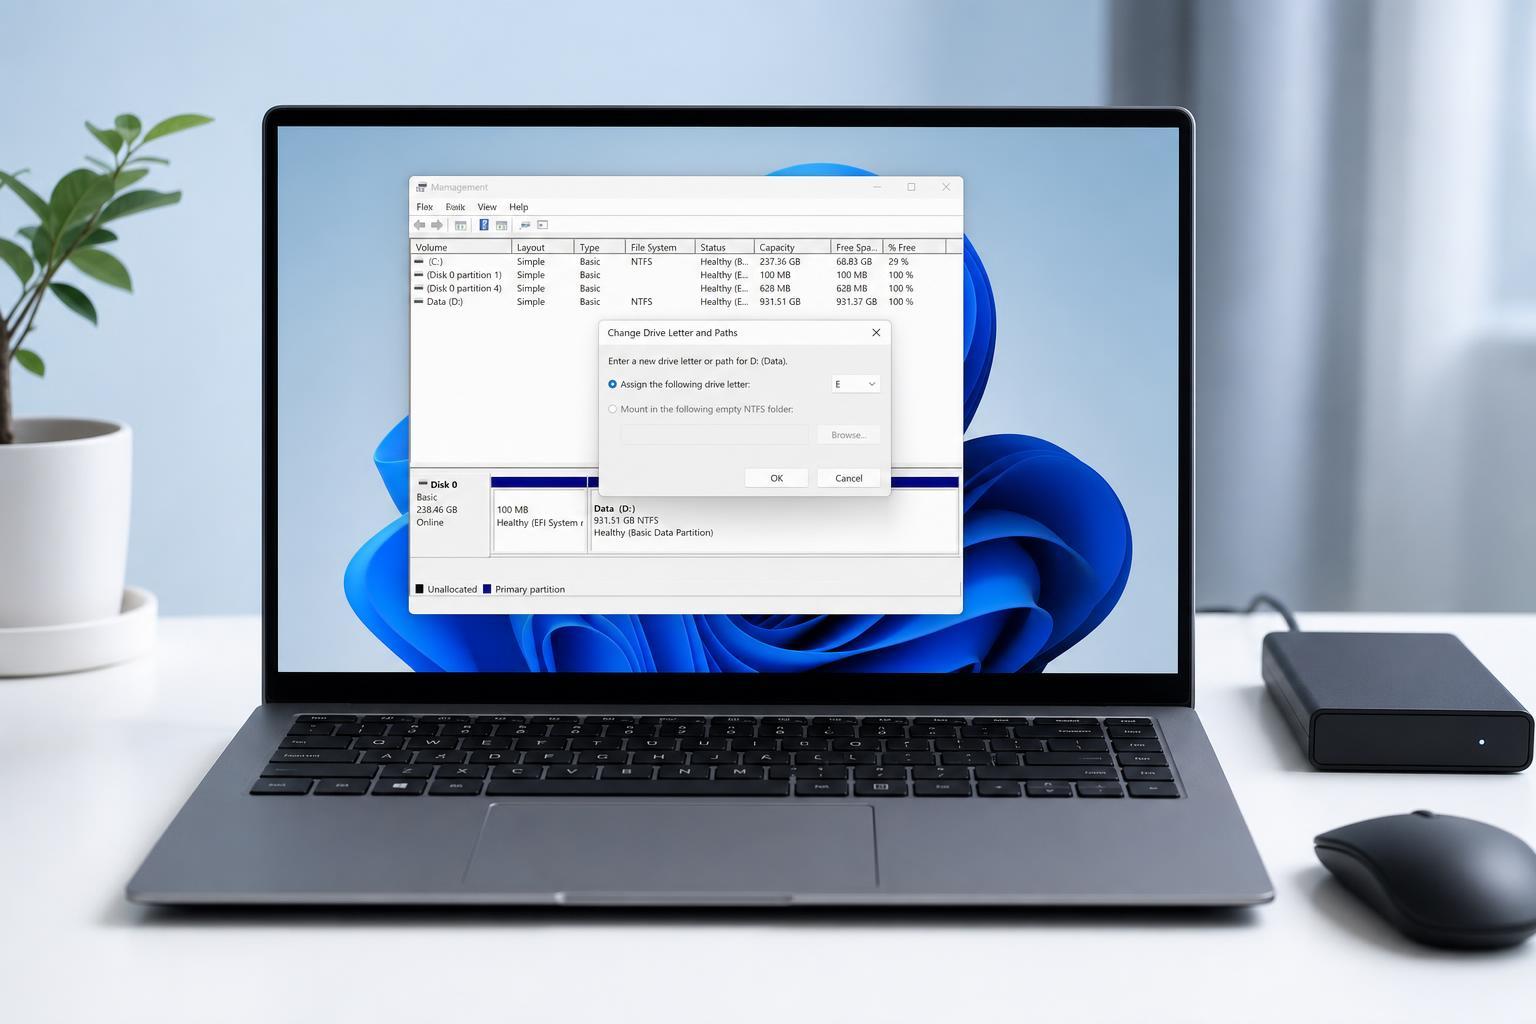
Why a Drive Letter Changes in Windows 11
Windows assigns drive letters automatically to removable drives, external drives, and some internal partitions. If another device is connected later, Windows may give it the old letter instead. A restart, a drive reconnect, or a docking station can also make the assignment appear to change unexpectedly.
- An external drive was unplugged and another device took its letter
- A USB drive or card reader was connected before the original drive
- A partition was deleted, added, or restored from a backup
- A dock, adapter, or enclosure presented the drive differently to Windows
- The drive was moved between computers or ports
Before You Change the Letter Back
Make sure you know which drive you are changing. Check the drive name, size, and file system so you do not reassign the wrong volume. If the drive contains Windows or is currently in use by a program, changing its letter may not be possible.
Method 1: Change the Drive Letter in Disk Management
Disk Management is the easiest way to change a drive letter back in Windows 11.
- Right-click the Start button and select Disk Management.
- Find the drive whose letter you want to change.
- Right-click the partition or volume and choose Change Drive Letter and Paths.
- Select the current drive letter and click Change.
- Choose the old drive letter from the list, then click OK.
- Confirm the change when Windows asks you to.
If the letter you want is available, Windows will apply it right away. Open File Explorer and confirm the drive now appears with the correct letter.
If the Old Letter Is Already Taken
If another drive already uses the letter you want, you need to free that letter first. You can either disconnect the other device temporarily or assign that other drive a different letter before changing the original drive back.
- Open Disk Management.
- Find the device currently using the letter you need.
- Right-click it and choose Change Drive Letter and Paths.
- Click Change and pick a different unused letter.
- Apply the change, then return to the original drive and assign the old letter to it.
Method 2: Use DiskPart if Disk Management Won’t Work
If Disk Management does not let you change the letter, you can use DiskPart, the built-in Windows command-line tool.
- Open the Start menu, type cmd, and select Run as administrator.
- Type diskpart and press Enter.
- Type list volume and press Enter to see the available volumes.
- Identify the correct volume number for the drive you want to change.
- Type select volume X, replacing X with the correct number.
- Type assign letter=Y, replacing Y with the old drive letter you want to use.
- Press Enter and close the command window when finished.
If Windows Still Won’t Let You Change It
A drive letter change can fail for a few common reasons. The most likely are that the drive is in use, the target letter is reserved, or the volume is offline or protected.
- Another device is already using the letter
- The volume is a system, recovery, or EFI partition
- The drive is part of a dynamic disk or storage configuration with restrictions
- File Explorer, backup software, or a program is currently using files on the drive
- The drive is offline, disconnected, or not fully detected by Windows
If the drive is removable or external, disconnect it, reconnect it, and try again. If it is internal, close any app that might be using it, then retry in Disk Management. For protected partitions, Windows may simply not allow the change at all.
After You Change the Letter Back
Once the old letter is restored, check anything that pointed to the drive by letter. That includes desktop shortcuts, library folders, backup jobs, synced folders, batch files, game launchers, and app settings that reference a path like D:\ or E:\.
- Open a few shortcuts or scripts to confirm they still work
- Update backup software if it stores drive letters in its destination path
- Check mapped folders and library locations in File Explorer
- Reopen games or apps that use custom install paths on that drive
How to Prevent the Drive Letter From Changing Again
If this is an external or secondary drive, you can reduce future changes by keeping it connected to the same port or dock, especially on desktop PCs and laptops with multiple USB controllers. Windows is also more likely to keep a stable assignment for drives that are always attached.
- Use the same USB port or dock whenever possible
- Avoid plugging in multiple removable drives before the target drive
- Assign unused internal drives a fixed letter once and leave it alone
- If using storage software, document the correct drive letter for future reference
Which Fix Should You Try First?
For most users, Disk Management is the quickest and safest way to change a Windows 11 drive letter back. If that fails, DiskPart gives you more control, but it also requires more care. If the old letter is already taken, clear it from the other device first, then reassign it to the correct drive.





