When an external drive does not show up on a Mac, the problem can be as simple as a Finder setting or as serious as a drive failure. The good news is that many cases can be fixed without special tools.
This guide walks through the most useful checks first, then moves to deeper troubleshooting so you can figure out whether the issue is with macOS, the cable, the drive format, or the drive itself.
1. Check Whether the Drive Is Mounted in Disk Utility
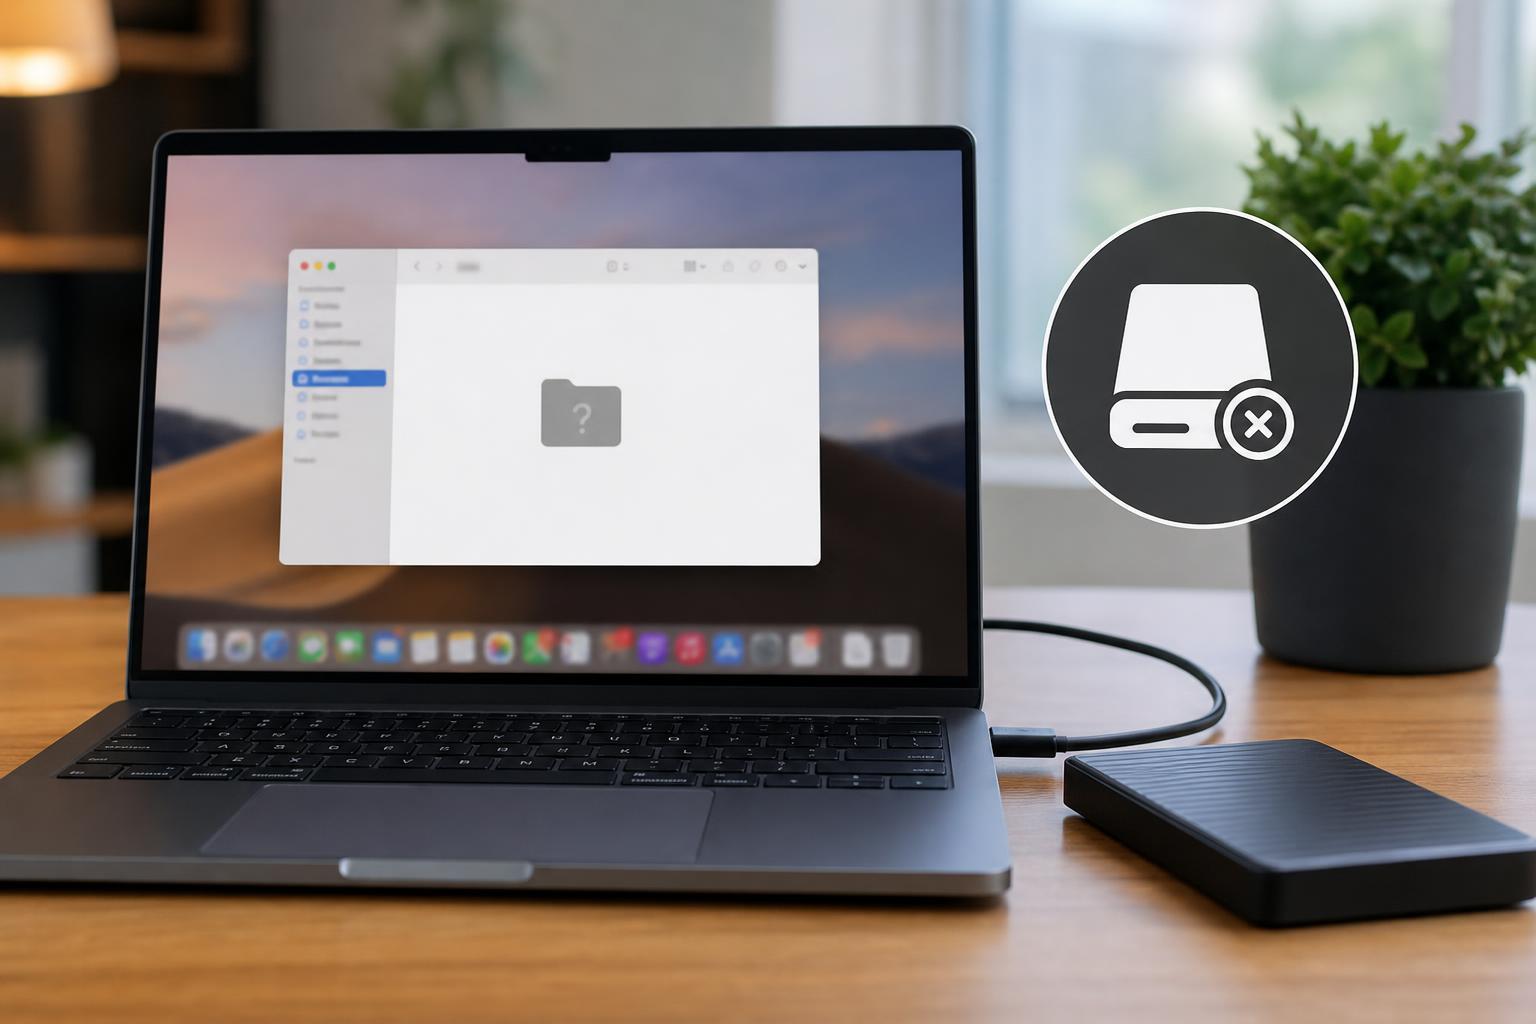
If the drive is connected but not visible in Finder, open Disk Utility first. In many cases, the drive is detected by macOS but is not mounted automatically, which means it will not appear on the desktop or in Finder.
- Open Finder and go to Applications > Utilities > Disk Utility.
- Look in the sidebar for your external drive or its volume name.
- If it appears but is dimmed or not mounted, select it and click Mount.
- If the drive mounts successfully, check Finder again.
2. Make Sure External Drives Are Set to Show in Finder
macOS can hide external disks from Finder if the display settings are turned off. This is an easy thing to overlook, especially on a new Mac or after changing Finder preferences.
- Open Finder.
- From the menu bar, choose Finder > Settings.
- Click the General tab and make sure "External disks" is selected.
- Click the Sidebar tab and make sure "External disks" is selected there too.
- Reconnect the drive or open a new Finder window to check again.
3. Try a Different USB Port, Cable, or Adapter
A bad cable or flaky adapter is one of the most common reasons an external drive seems to disappear. The drive may not be getting enough power, or the data connection may be unstable.
- Unplug the drive and reconnect it directly to the Mac if possible.
- Try a different USB-C, USB-A, or Thunderbolt port.
- Swap to another cable if you have one that matches the drive.
- Avoid using unpowered hubs while testing.
- If the drive has its own power adapter, confirm that it is plugged in and switched on.
4. Check Whether the Drive Needs More Power
Some portable drives and especially larger external hard drives need more power than a Mac port can reliably supply. If the drive spins up briefly and then disconnects, power is a likely cause.
- Use the drive’s original power adapter if it has one.
- Connect bus-powered drives directly to the Mac instead of through a hub.
- Try a powered USB hub if the drive needs extra current.
- For drives with activity lights, watch for repeated blinking, clicking, or spinning up and down.
5. Use Disk Utility to Run First Aid
If the drive is visible but acts strangely, First Aid can check the file system for errors. This is useful when the disk mounts intermittently, appears unreadable, or opens but shows strange behavior.
- Open Disk Utility.
- Select the external drive or its volume in the sidebar.
- Click First Aid.
- Confirm the scan and let it complete.
- If Disk Utility reports errors, run First Aid again if prompted.
6. Check the Drive Format and Mac Compatibility
Sometimes the drive is visible to macOS but cannot be opened because the format is not supported, damaged, or not currently readable. This often happens with drives that were used on Windows, cameras, or gaming consoles.
- APFS and Mac OS Extended formats are normally fine on Mac.
- exFAT is useful for sharing drives between Mac and Windows.
- NTFS drives can usually be read by macOS, but writing to them is limited without extra software.
- Some older or unusual formats may not mount correctly at all.
7. Use Disk Utility to See Whether the Drive Has a Partition Problem
A drive can fail to show up properly if its partition map is damaged or if macOS cannot understand the layout on the disk. In Disk Utility, this can appear as an unreadable device, missing volume, or a disk without a mounted partition.
- Open Disk Utility.
- Choose View > Show All Devices so you can see the physical disk and not just the volume.
- Select the top-level device, not only the volume below it.
- Check whether the disk appears without a usable partition or shows as unreadable.
- If the disk contains important data, do not erase it; consider professional recovery instead.
8. Test the Drive on Another Mac or Computer
Testing the drive on a different machine helps separate Mac-specific issues from drive-specific problems. If the drive works elsewhere, the issue is probably with your Mac’s settings, ports, or software. If it fails everywhere, the drive is more likely the problem.
- If the drive works on another Mac, check Finder settings, macOS updates, and Disk Utility on the original Mac.
- If the drive works on Windows but not Mac, the format may be the issue.
- If the drive is not detected anywhere, the drive itself may be failing.
When the Drive Still Does Not Appear
If you have tried the steps above and the drive still does not show up, the remaining possibilities are usually hardware failure, severe corruption, or a compatibility issue that needs more advanced handling.
- Listen for clicking, grinding, or repeated spin-up sounds.
- Check whether the drive appears in System Information under USB or Thunderbolt.
- Look for signs of heat, physical damage, or unstable power.
- If the drive contains critical data, avoid repeated connection attempts that may worsen the damage.
Which Fix Should You Try First?
Start with the simplest checks: Finder settings, a different cable, and Disk Utility. Those three steps solve a large share of cases where an external drive is not showing up on a Mac. If the drive is visible in Disk Utility, you are usually dealing with a mount or file system problem rather than a completely dead device.
If the drive never appears in Disk Utility or on another computer, the problem is more likely hardware-related. At that point, the most important question is whether the data matters more than the drive itself.