
Tiling windows vertically is a simple way to compare documents, browse while taking notes, or keep two apps visible at the same time. On a Windows PC, you can do this with built-in Snap features, keyboard shortcuts, or by manually resizing windows when you need more control.
This guide shows the quickest ways to place windows side by side in a vertical layout, plus a few useful tweaks if you want a cleaner multitasking setup.
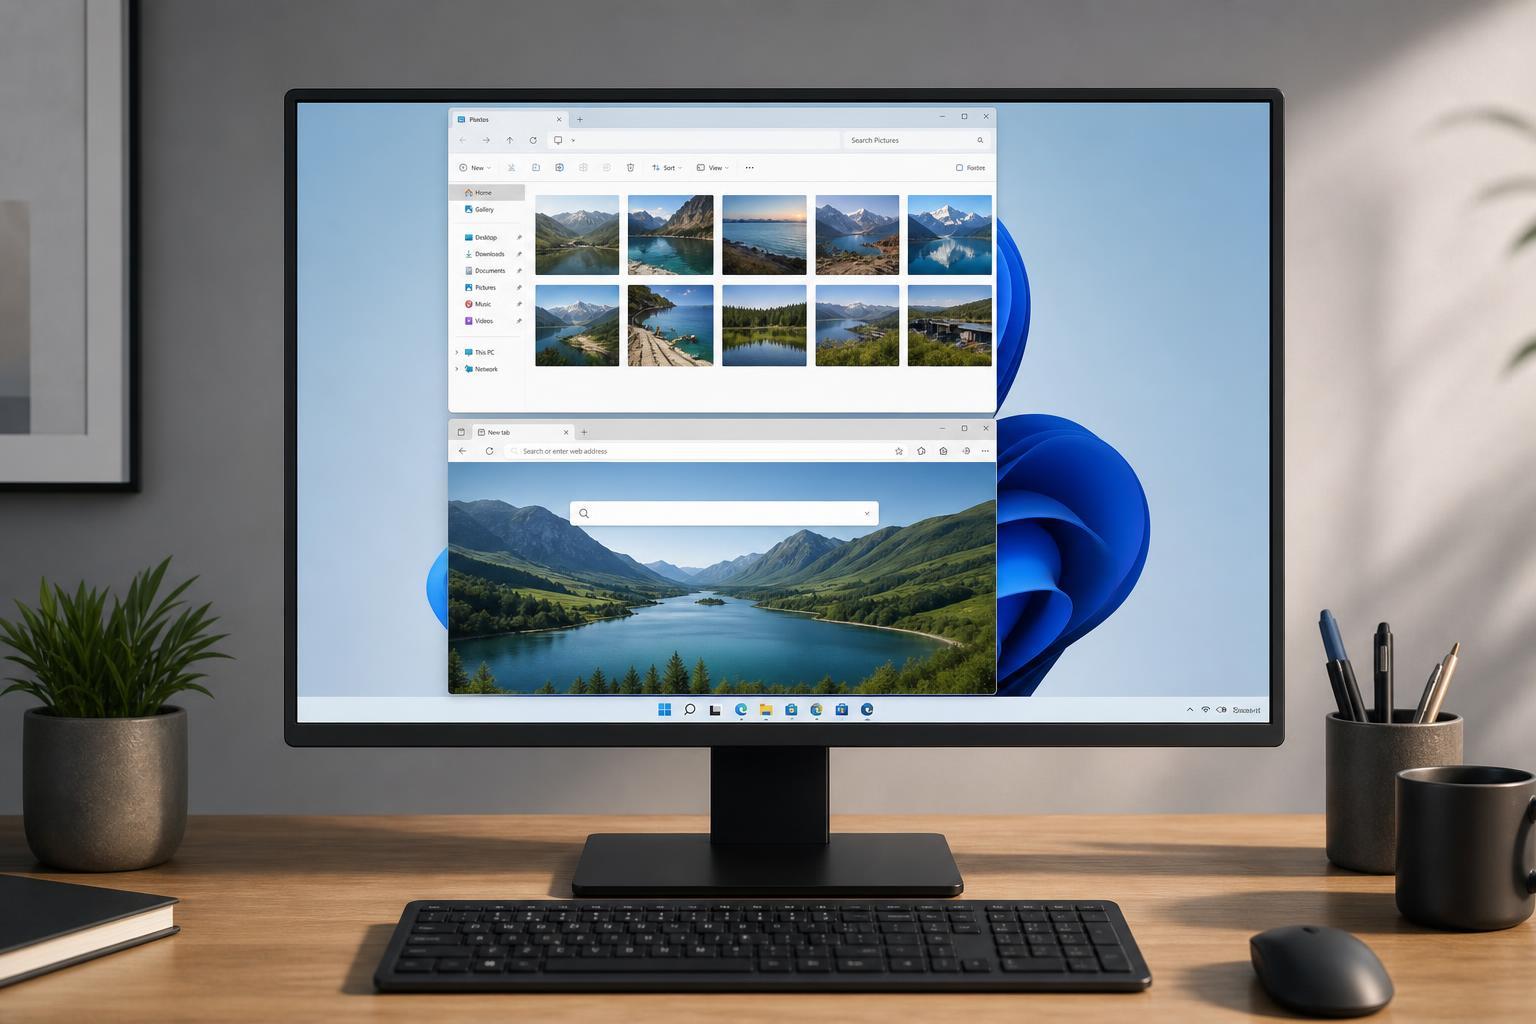
Use Snap to Place Two Windows Side by Side
The easiest way to tile windows vertically in Windows is to snap one window to the left half of the screen and another to the right half. This works well for comparing two apps at the same time and is built into Windows 10 and Windows 11.
- Open the first window you want to use.
- Drag the window to the left or right edge of the screen until you see a snap outline.
- Release the mouse button to place the window on that side.
- Windows will show your other open windows on the opposite side of the screen.
- Click the second window you want to snap into place.
Use Keyboard Shortcuts for Faster Tiling
Keyboard shortcuts are often the fastest way to tile windows vertically, especially if you switch between apps often.
- Select the window you want to move.
- Press Windows + Left Arrow to snap it to the left side of the screen, or Windows + Right Arrow to snap it to the right side.
- Select the second window and use the opposite arrow key to place it on the other side.
- If needed, press the same shortcut again to move the window between positions or restore it.
- Use Windows + Up Arrow or Windows + Down Arrow if you want to maximize or restore a snapped window.
Adjust the Split to Make One Window Wider
Vertical tiling does not have to mean a perfect 50/50 split. You can drag the vertical divider between the two snapped windows to give one app more space than the other.
- Make one window larger for reading long documents or spreadsheets.
- Give the smaller window to chat apps, media players, or reference material.
- Use an uneven split when one app needs more room for toolbars or columns.
Use Snap Layouts in Windows 11
Windows 11 adds Snap Layouts, which make it easier to choose a vertical arrangement without dragging each window manually.
- Hover over the maximize button in the top-right corner of a window.
- Choose a layout with two vertical panes or a multi-window grid.
- Click the spot where you want the current window to go.
- Select another open window for the remaining space.
What to Do If Snapping Does Not Work
If windows will not snap vertically, the feature may be turned off in Windows settings or limited by the app you are using.
- Open Settings and check whether Snap windows is enabled.
- Try snapping a different app to see whether the issue is specific to one program.
- If you use a remote desktop or virtual machine, snapping behavior may be controlled by that environment.
- Some full-screen apps, especially games and video players, do not support normal snapping.
When Manual Resizing Is Better
Built-in snapping is the fastest option, but manual resizing can be better when you want a very specific vertical layout or when an app does not snap cleanly.
- Drag a window to the screen edge and resize it by hand if snapping is awkward.
- Use the window border to make narrow reference panels, such as notes or folders.
- Keep important controls visible by placing the main app in the larger area and the supporting app in the smaller one.
A Quick Way to Set Up a Vertical Workflow
If you regularly use a vertical two-window layout, it helps to keep the same pair of apps in the same positions. For example, you might keep a browser on the left and a notes app on the right, or a file manager on one side and an editor on the other. Consistency makes it faster to return to work after switching tasks.
- Browser + document editor
- File Explorer + copy destination window
- Code editor + terminal
- Video player + note-taking app
Once you get used to snapping windows vertically, it becomes one of the simplest ways to multitask on Windows without needing extra software.





