
Reserved Storage is a Windows 11 feature that set aside disk space for updates, temporary files, apps, and system caches. In most cases, you should leave it alone, but if you need to free space for a short time, there are a few safe ways to reduce its impact.
This guide explains what Reserved Storage is, why you usually cannot simply switch it off, and the practical options you can use if your goal is to reclaim space temporarily.
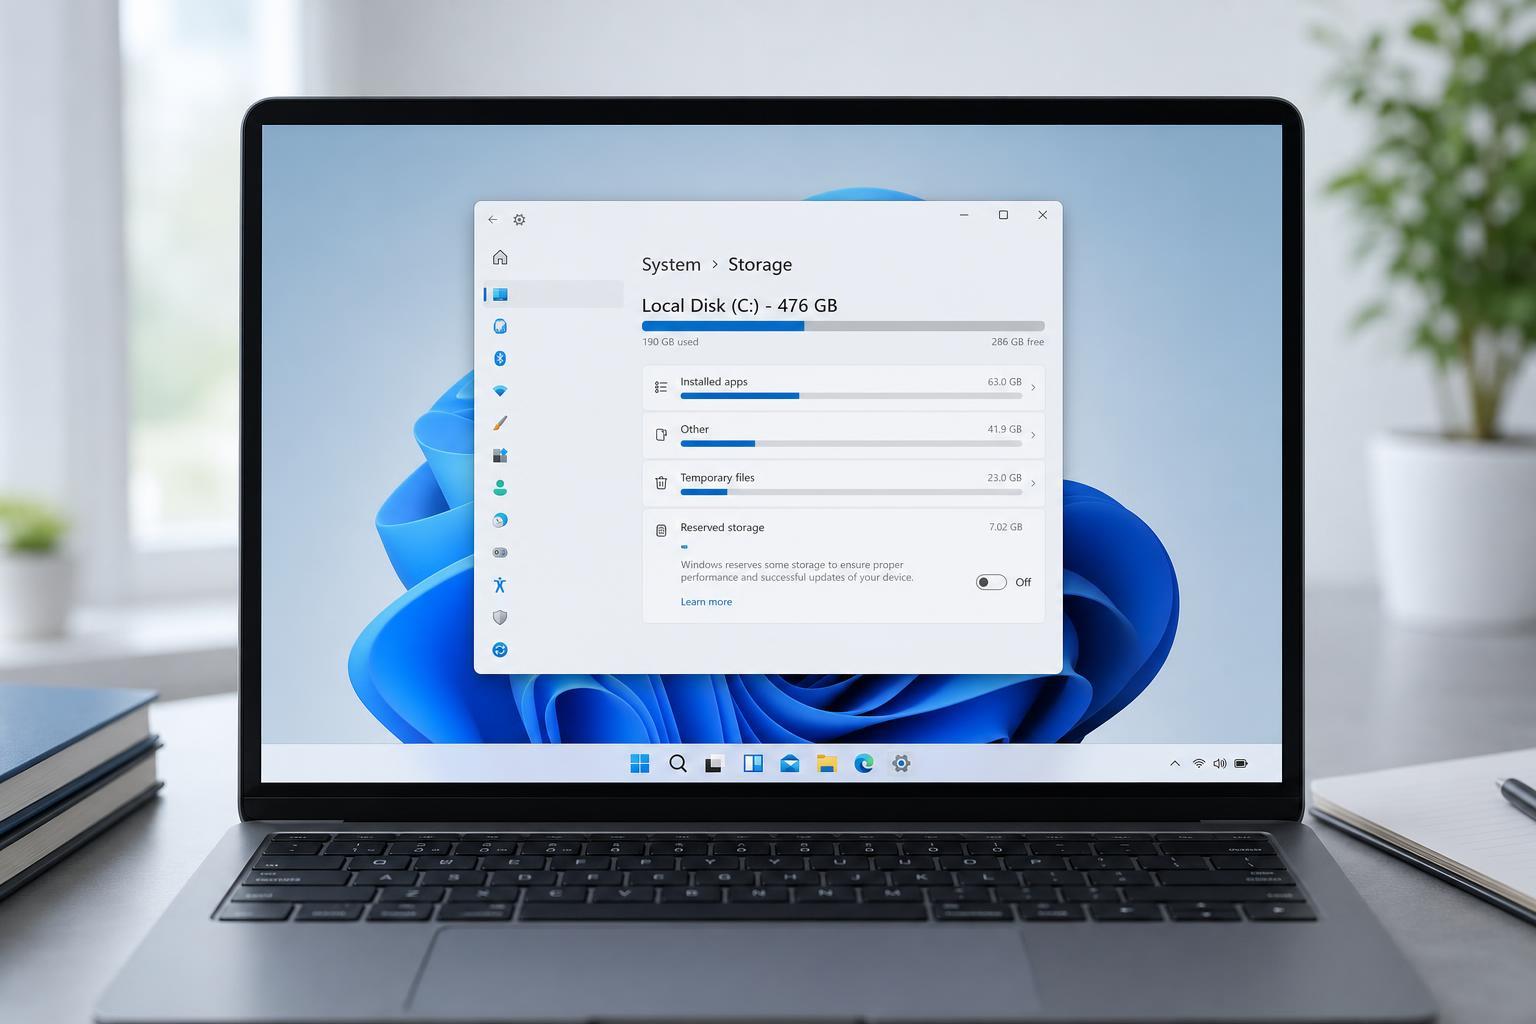
What Reserved Storage Does in Windows 11
Reserved Storage is meant to prevent Windows from running out of room for essential tasks. Instead of letting the drive fill completely, Windows keeps a portion available for updates, cache files, and other system operations.
When It Makes Sense to Temporarily Reduce It
You might want to reduce the space used by Reserved Storage if you are trying to install a large game, apply a big update, or recover enough room to copy files off a nearly full drive. If the drive has plenty of free space, there is usually no reason to touch it.
The Safe Ways to Free Up Reserved Storage Space
Windows generally lowers Reserved Storage automatically when it no longer needs certain optional features, language packs, or system components. The safest approach is to remove things that are genuinely unused.
- Open Settings and go to Apps > Optional features.
- Remove optional features you do not use, such as handwriting, speech, or language-related components.
- Go to Time & language > Language & region and remove unused language packs if they are installed.
- Open Settings > Apps > Installed apps and uninstall programs you no longer need.
- Run Storage Sense or Disk Cleanup to remove temporary files and update leftovers that are not part of Reserved Storage itself.
How to Check Whether Reserved Storage Is Enabled
Before trying to change anything, it helps to confirm whether Reserved Storage is active on your PC. The setting is not always visible in the same place on every build, but Windows can still report it through storage details.
- Open Settings and select System.
- Choose Storage.
- Look for system and reserved storage details in the storage breakdown.
- Check whether the reserved portion is listed as part of the drive usage information.
If Windows shows Reserved Storage as enabled, that does not mean there is a problem. It just means the operating system has set aside space for maintenance and updates.
If You Need More Space Right Now
If your goal is to free space immediately, focusing on larger cleanup targets is usually more effective than trying to force Reserved Storage off.
- Empty the Recycle Bin.
- Remove temporary files from Settings > System > Storage.
- Uninstall large apps and games you no longer use.
- Move personal files to an external drive or cloud storage.
- Clean up Downloads if it contains old installers or archives you no longer need.
Can You Turn Reserved Storage Off Completely?
In standard Windows 11 use, there is no user-friendly setting designed for permanently disabling Reserved Storage. Microsoft expects it to stay enabled on systems that support it, because it helps Windows maintain enough working space for updates and servicing.
If you are managing many PCs and need more aggressive control, enterprise and deployment tools may offer different options than a typical home setup. For most users, though, the practical answer is to free space by removing unused features and content rather than trying to fight the feature directly.
What to Expect After Making Changes
After uninstalling unused optional features or language packs, Windows may eventually lower the amount of reserved space it keeps. The change may not happen instantly, and the exact amount reclaimed can vary depending on your system configuration.
The Best Approach for Most Users
If you are short on space, start with the safest cleanup steps first: uninstall unused optional features, remove unneeded language packs, and clear ordinary temporary files. That usually gives you the benefit you need without risking Windows stability.
If you are still unable to complete an install or update, the real issue may be that the drive is too full overall. In that case, free up more space from large files, apps, and media rather than focusing only on Reserved Storage.





