
Paint 3D’s Magic Select tool is useful for cutting an object out of a photo, but many people get stuck when it is time to save the result. The important detail is that the way you save the image depends on whether you want the cutout on a plain background or as a transparent image.
This guide explains how to keep your Magic Select result, which file formats work best, and what to do if Paint 3D seems to save the wrong version of the image.
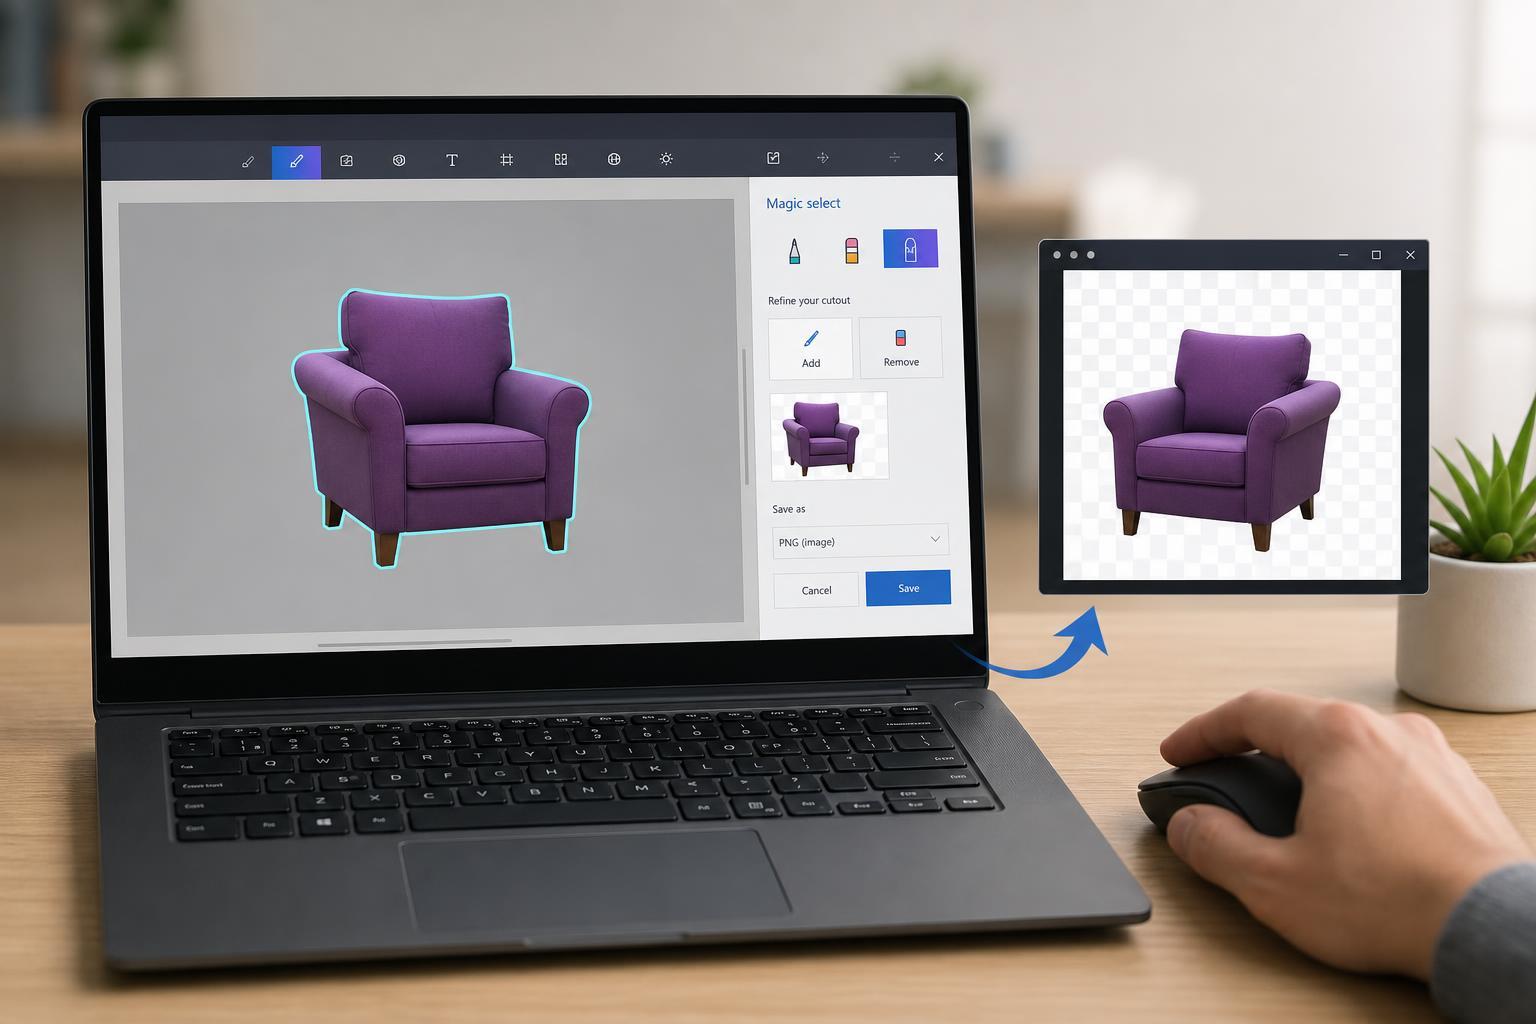
What Magic Select Actually Does
Magic Select separates a subject from its background and turns it into a movable selection. After the cutout is created, Paint 3D lets you paste it elsewhere in the project, remove the original background, or export the image as a file.
Save the Image After Using Magic Select
- Use Magic Select to outline the object you want to keep, then click Done.
- Review the selection and use the Add or Remove tools if the cutout needs correction.
- If you want the object on a new background, move or paste it where you want it in the canvas.
- Open the menu in Paint 3D and choose Save as.
- Pick the file type you need and save a copy with a new name so you do not overwrite the original by accident.
If you simply want to keep the edited image as it appears on the canvas, saving the project as a Paint 3D file keeps your work editable. If you want a standard image file, export it as JPG, PNG, or another supported format.
Choose the Right File Format
- PNG: best choice if you want to preserve transparency around the cutout.
- JPG: useful if you want a smaller file size, but it does not keep transparency.
- Paint 3D project file: best if you want to come back later and keep editing the Magic Select result.
- BMP or other image formats: may work for basic saving, but are usually less convenient than PNG or JPG.
How to Keep a Transparent Background
To save only the cutout with no background, remove the original background area and export the image as a PNG. PNG is the simplest option because it supports transparency and is widely supported by other apps and websites.
- After Magic Select, make sure the object is isolated on the canvas.
- Delete or hide any unwanted background elements if they are still present.
- Open Save as and select Image.
- Choose PNG from the file type list.
- Save the file and check it in File Explorer or another viewer to confirm the background is transparent.
If You Want to Keep the Original Photo Too
It is a good idea to save a separate copy of the original image before editing. That way, you can always return to the unedited version if the cutout needs another attempt or if you later want a different crop.
- Save the original file under a new name before editing.
- Work on the copy instead of the only version of the image.
- Use PNG for transparent cutouts and JPG for regular photos without transparency.
Common Problems When Saving Magic Select Results
- The background is still visible: the cutout may not have been fully isolated before saving.
- The image lost transparency: it was likely saved as JPG instead of PNG.
- The wrong part was saved: make sure the cutout is placed correctly on the canvas before exporting.
- The edit cannot be changed later: the file may have been saved as a flat image instead of a Paint 3D project.
A Simple Workflow That Usually Works Best
- Open the image in Paint 3D.
- Use Magic Select to isolate the subject.
- Refine the cutout if needed.
- Place the object on the desired background or leave it transparent.
- Save a Paint 3D project copy if you may edit again later.
- Export a PNG if you need transparency, or a JPG if you only need a regular image.
When to Use Paint 3D’s Save as Options
Use Save as when you want to create a new file without changing the original. This is especially helpful after using Magic Select, because it lets you preserve both the editable project and the final exported image.
What to Do If the Cutout Still Looks Wrong
If the saved image still includes part of the old background, go back to the selection and refine it before exporting again. Magic Select works best on objects with clear edges and contrast against the background, so small touch-ups are often necessary.





