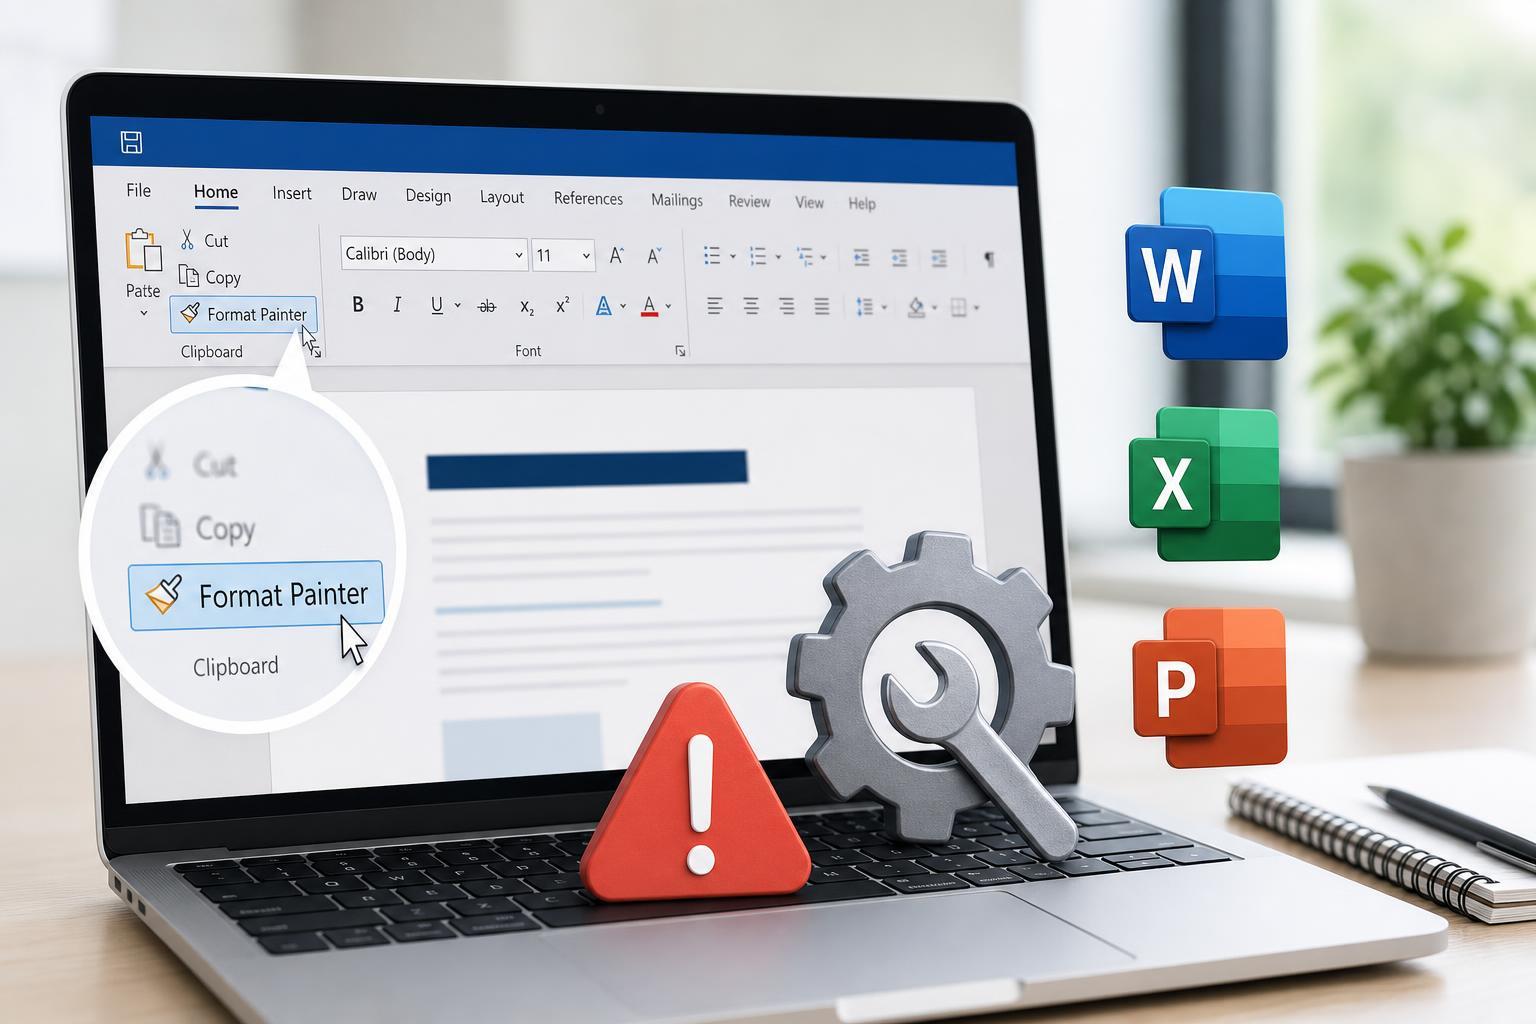
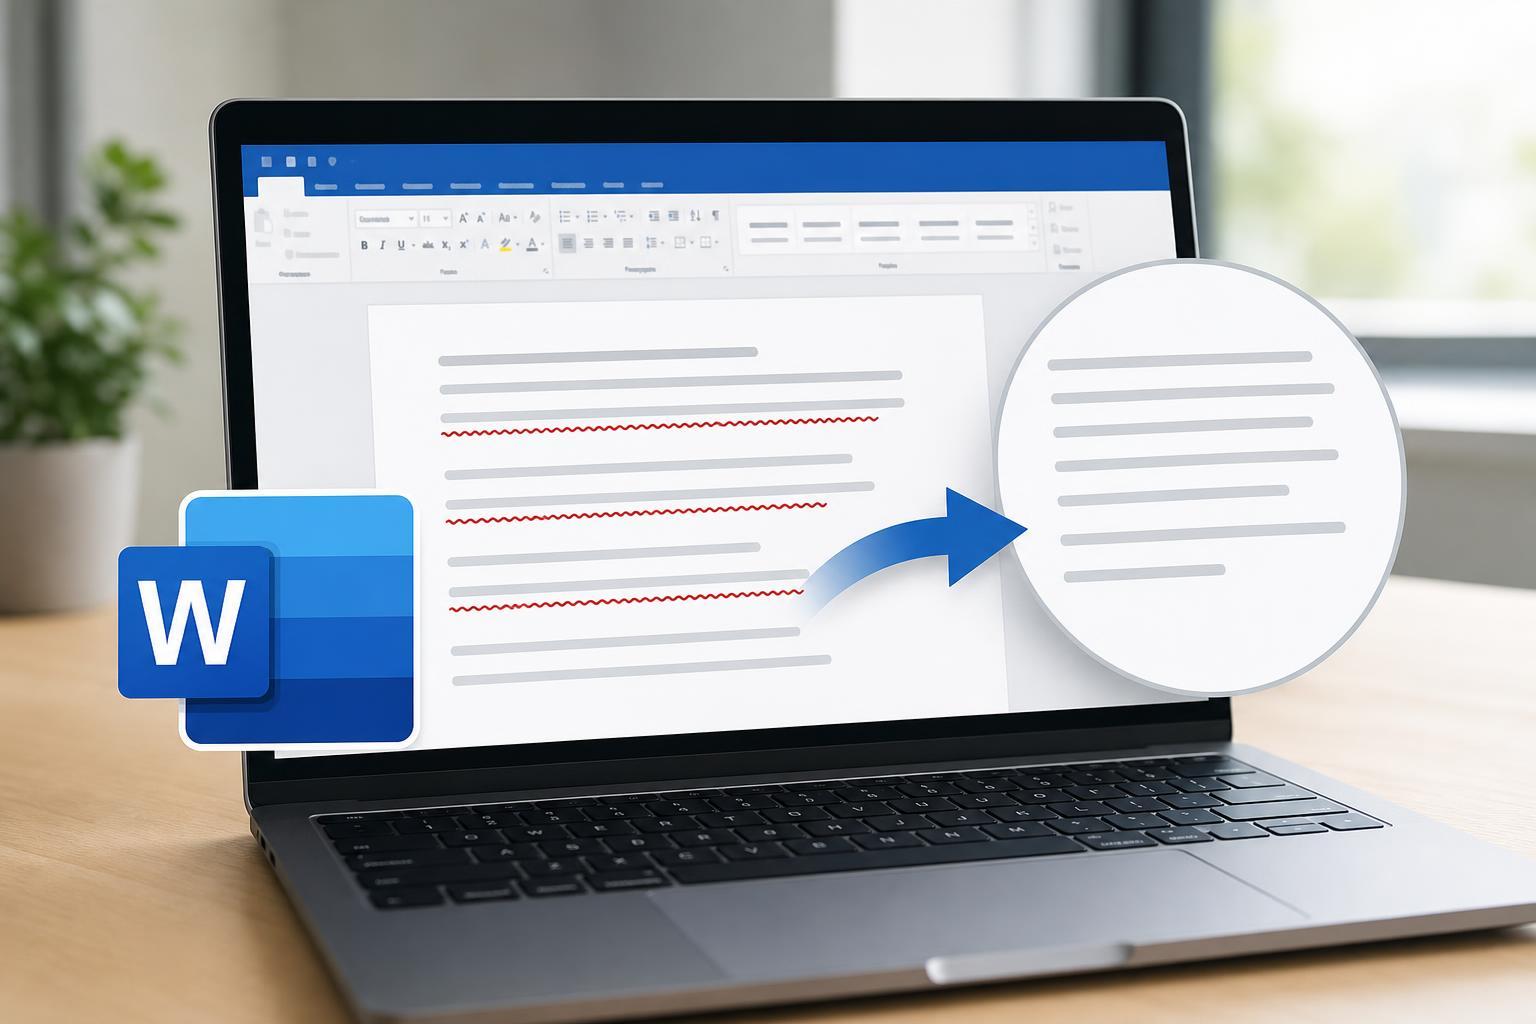
Red underlined text in Word is usually a spell-check warning, not a formatting problem. In most cases, Word is marking words it thinks are misspelled, written in the wrong language, or excluded from proofing.
If the underlines are distracting or appear on text that is actually correct, you can usually remove them by changing Word’s proofing settings, correcting the language, or updating the document’s spelling rules.
Why Word Shows Red Underlines
Word uses red squiggly underlines to flag words it does not recognize as correctly spelled in the current proofing language. That can happen for obvious misspellings, but also for names, technical terms, acronyms, slang, and text written in another language.
Check for Actual Misspellings First
Before changing settings, make sure the underlined text is not simply misspelled. Right-click a red-underlined word to see Word’s suggested corrections.
- Right-click the underlined word.
- Choose the correct suggestion if Word offers one.
- If the word is correct and should stay that way, choose Ignore Once or Add to Dictionary.
- Repeat for other red underlined words if needed.
Change the Proofing Language
If Word is checking the document in the wrong language, it may underline perfectly correct words as misspellings. This is common when text was pasted from another source or when a document uses more than one language.
- Select the text with the red underlines, or press Ctrl + A to select the whole document.
- Open the Review tab.
- Choose Language, then Set Proofing Language.
- Select the correct language for the text.
- Make sure Do not check spelling or grammar is not selected unless you intentionally want proofing turned off.
- Click OK.
Turn Off Spell Check for Part of the Document
If you only want to remove the red underlines from a specific section, you can disable proofing for that text. This is useful for code snippets, product lists, dummy text, or text in a language Word should not check.
- Select the text you want Word to ignore.
- Open Review > Language > Set Proofing Language.
- Check Do not check spelling or grammar.
- Click OK.
Disable Red Underlines for the Whole Document
If you want to remove all red underlines in a document, you can turn off spelling checks entirely for that file. This does not fix the words themselves; it only hides Word’s spelling warnings.
- Open the document in Word.
- Go to File > Options.
- Select Proofing.
- Under When correcting spelling and grammar in Word, clear Check spelling as you type.
- Click OK.
This is the best option if you are editing a draft where constant spell-check highlights are distracting. You can turn the setting back on later.
Remove Underlines Caused by Grammar and Proofing Display Settings
Sometimes the lines you are seeing are not just spelling markers. Word can also show grammar and proofing feedback in different colors and styles. If the red underlines seem to cover correct text, the display settings may be the issue.
- Go to File > Options > Proofing.
- Look for spelling and grammar settings related to marking errors as you type.
- Adjust the relevant proofing options or disable the ones you do not want.
- Apply the changes and check the document again.
Add Correct Words to the Dictionary
If Word keeps underlining a word that is spelled correctly and should appear in future documents, add it to the dictionary. This is the best long-term fix for names, acronyms, brand terms, and technical language.
- Right-click the underlined word.
- Choose Add to Dictionary.
- Confirm the word is saved if Word asks you to.
Once added, Word should stop treating that word as an error in future documents that use the same dictionary.
If the Red Underlines Still Won’t Go Away
If you have changed the proofing language, added words to the dictionary, and checked spelling settings but still see red underlines, the document may be using formatting or language settings inherited from pasted content. In that case, select the affected text and reapply the correct language or proofing settings directly to that selection.
If the problem only happens in one document, the issue is usually document-specific. If it happens in every document, check Word’s global proofing settings and your default language preferences.
What to Do When You Want the Underlines Hidden Temporarily
If you just need a cleaner view while editing, the fastest approach is often to hide spelling errors through Word’s proofing options rather than fixing every word individually. That keeps your document readable while preserving the ability to re-enable checks later.