Moving Google Photos from one account to another is possible, but Google does not offer a simple one-click "transfer everything" button for most accounts. The best method depends on whether you want to move a few albums, a full library, or only selected photos and videos.
In this guide, you’ll learn the main ways to copy or transfer your Google Photos to a different account, what each method can preserve, and where the common pitfalls are.
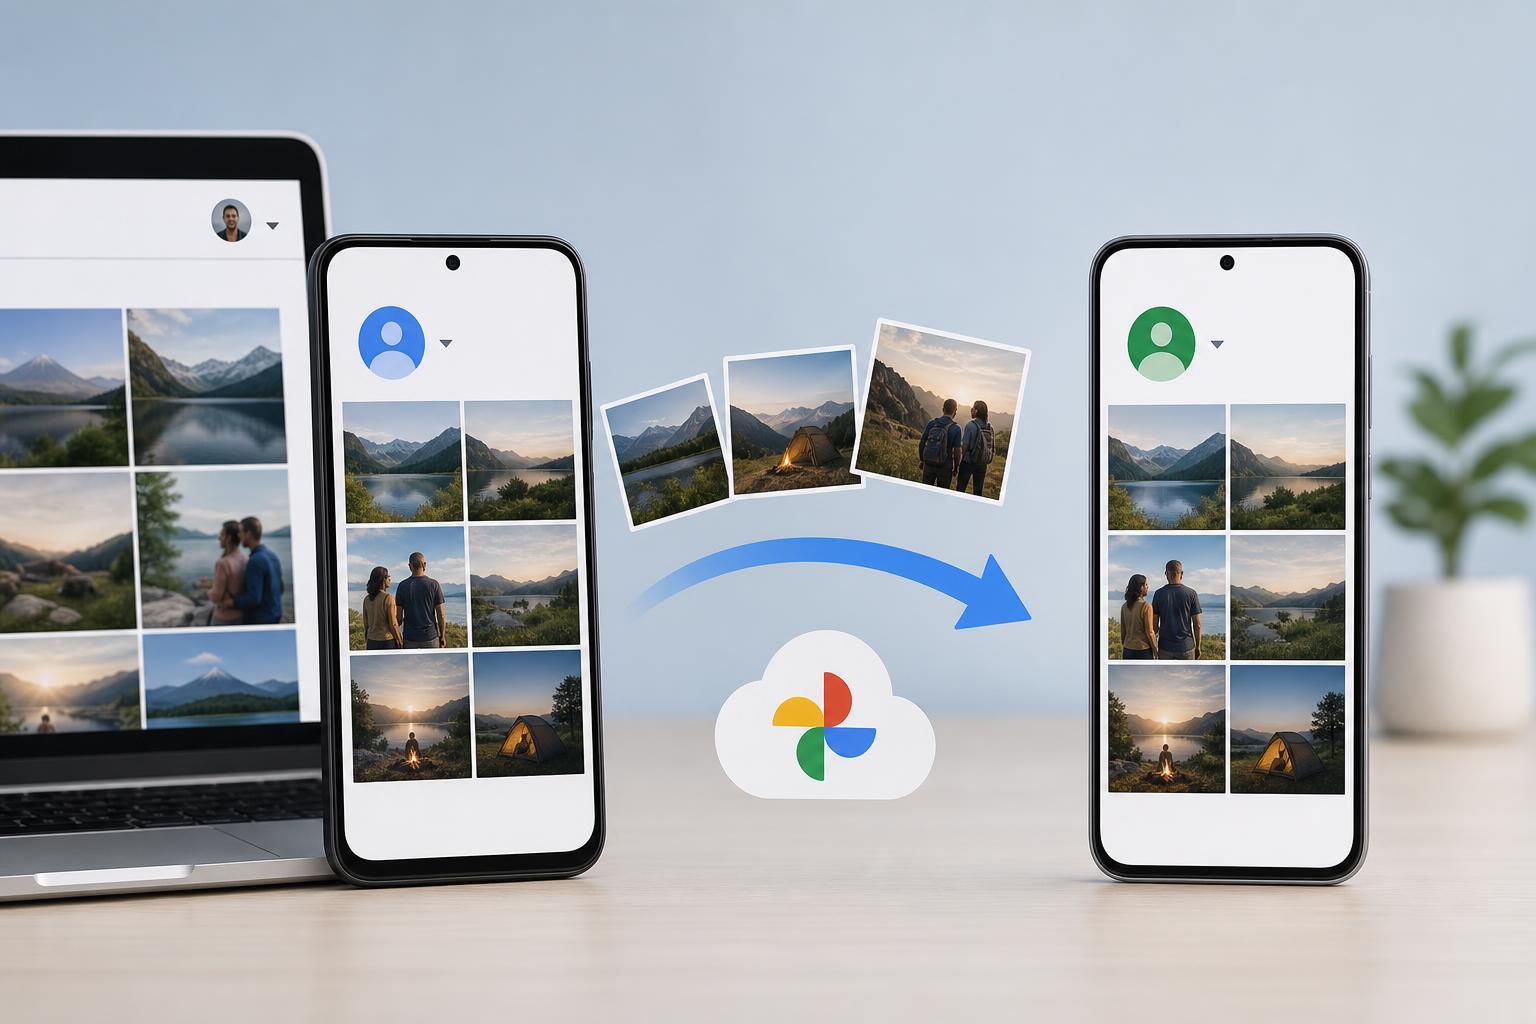
Before You Start
It helps to know what you are trying to move. Google Photos can include individual photos, videos, albums, shared albums, and library organization. Some methods copy the files themselves but not the exact original structure, while others preserve sharing and album grouping better.
- A second Google account you can sign in to
- Enough storage in the destination account
- A computer makes large transfers easier, though some steps can be done on a phone
- Time to complete the upload or copy process, especially for large photo libraries
The Best Method Depends on Your Goal
Method 1: Share Photos or Albums With the Other Account
If your goal is to let another Google account access your photos, sharing is the simplest option. This does not always move ownership in the traditional sense, but it does let the second account see and save the content.
- Open Google Photos in the account that currently has the photos.
- Select the photos or open the album you want to share.
- Click or tap the Share icon.
- Enter the email address of the other Google account.
- Send the share invitation or create a shared album link.
- On the destination account, open the invitation and accept it.
Shared albums are useful when you want both accounts to access the same set of photos. If the other account needs its own copy, it can often save the photos from the shared album into its library, depending on the settings and device being used.
Method 2: Use Partner Sharing to Copy an Entire Library or Selected Photos
Google Photos has a partner sharing feature that is designed for sharing photos with one chosen account. It is especially useful if you want one account to automatically receive photos from another account, such as family photos or a personal-to-personal transfer.
- Open Google Photos on the source account.
- Go to Settings and look for Partner Sharing.
- Choose the destination Google account.
- Select whether to share all photos or only photos from a specific date onward.
- Send the invitation and have the other account accept it.
- After acceptance, choose whether the destination account can save the shared photos to its own library.
Partner sharing is handy because it is built for ongoing access, not just one-time sharing. It works well when the new account should keep receiving photos from the old account going forward.
Method 3: Download Your Photos and Upload Them to the New Account
If you want the photos fully moved into another account’s library, the most reliable method is to download them from the old account and upload them to the new one. This works especially well for a smaller library or a carefully chosen set of albums.
- Sign in to the source Google account and select the photos or albums you want to move.
- Download the photos to your computer or device.
- Sign out of the source account and sign in to the destination Google account.
- Open Google Photos and upload the downloaded files.
- Check that the photos, videos, and dates appear correctly in the new account.
This method gives you the most control, but it is also the most manual. Large libraries may take a long time to download and upload, and some organizational details may not carry over exactly the way you expect.
Method 4: Use Google Takeout for a Large Export
Google Takeout is useful when you want to export a large amount of Google Photos data from the source account. It is better for backup and migration than for quick sharing.
- Go to Google Takeout while signed in to the source account.
- Select Google Photos for export.
- Choose the export format and delivery method.
- Download the exported files when Google prepares them.
- Sign in to the destination account and upload the exported photos and videos to Google Photos.
Takeout can be helpful if you want a full archive first, then decide what should be uploaded to the new account. It is not usually the fastest method, but it is one of the most flexible for large collections.
What Does Not Transfer Perfectly
When moving Google Photos between accounts, a few things may not survive the process exactly as they were.
- Album structure may need to be rebuilt
- Shared link settings may not carry over
- Face grouping and some Google Photos organization features may change
- Metadata such as timestamps usually remains, but it is worth checking after upload
- Original comments or sharing activity may not transfer as expected
How to Move a Small Number of Photos Quickly
If you only need to move a few images or one album, use sharing first and then save the files into the new account if needed. For a small set of personal photos, this is usually the fastest path with the least hassle.
- Open the source account in Google Photos.
- Select the photos or album.
- Share them with the destination account.
- Open the shared item in the destination account.
- Save the photos to the destination library if that option is available.
How to Move an Entire Library Safely
For a full library transfer, the safest approach is usually to make sure the destination account has a complete copy before removing anything from the source account. That means first transferring or uploading the photos, then verifying them, and only then deciding whether to clean up the old account.
- Create a backup of the source library if possible.
- Transfer or upload the photos to the destination account.
- Verify that important albums, videos, and dates look correct.
- Check available storage in the destination account.
- Only after confirming the transfer, remove anything you no longer need from the source account.
Which Method Should You Choose?
- Use sharing if the destination account only needs access to view or save selected photos.
- Use partner sharing if you want an ongoing connection between the two accounts.
- Use download and re-upload if you want the destination account to own its own copy.
- Use Google Takeout if you need a broad export from the source account before importing elsewhere.
Finish the Transfer the Right Way
The safest way to move Google Photos from one account to another is to choose the method that matches your goal, test it with a small set first, and verify the destination library before deleting anything from the original account. For most people, sharing is easiest for access, while downloading and re-uploading is best for a true move into a new account.