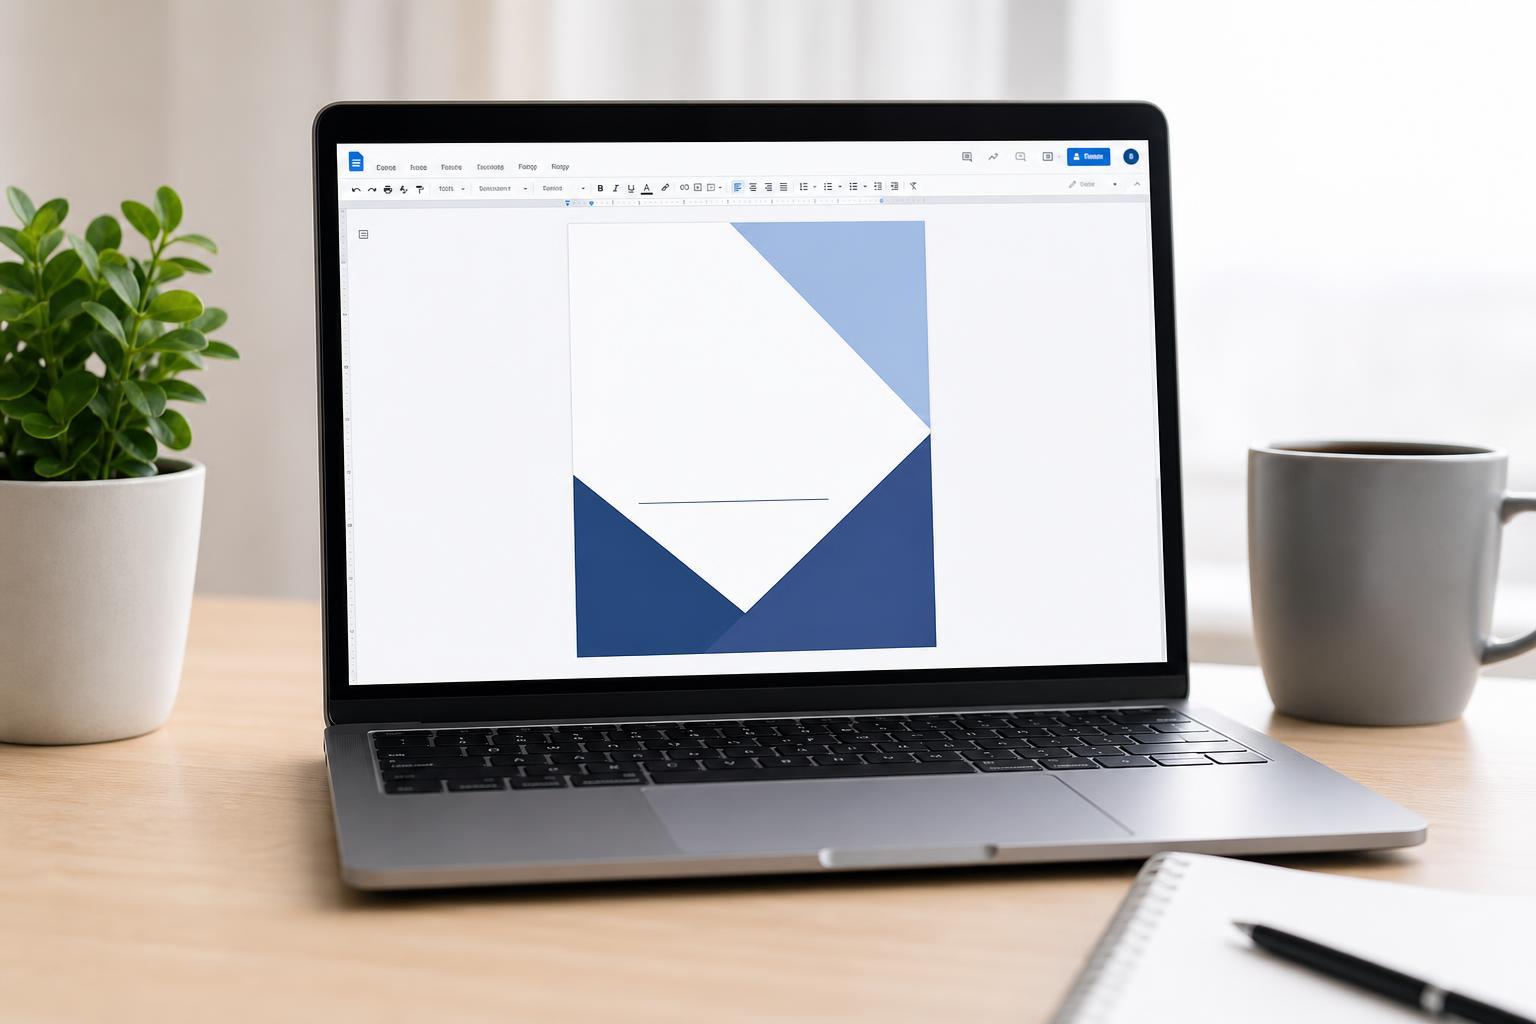
A good cover page makes a document look more professional and easier to identify. In Google Docs, you can build one manually with text, spacing, images, and page layout tools, then reuse the same approach for reports, school assignments, proposals, or handouts.
Google Docs does not offer a one-click cover page feature, but it is still easy to create a clean, well-formatted first page that stands out.
Start With the Right Page Setup
Before adding text or graphics, check your page settings. This helps you make sure the cover page has the right size, margins, and orientation for the rest of the document.
- Open your document in Google Docs.
- Go to File > Page setup.
- Choose the paper size, orientation, and margins you want.
- Click OK to apply the settings to the document.
Add a Title and Main Text
A basic cover page usually includes the document title and a few key details such as the author name, class name, date, company name, or submission information.
- Click near the top of the first page and type your main title.
- Highlight the title and adjust the font, size, and alignment from the toolbar.
- Press Enter several times to create space below the title.
- Type the remaining details, one line at a time.
- Format those lines so they are smaller than the title but still easy to read.
Use Spacing to Build a Clean Layout
Spacing matters as much as the text itself. A cover page usually looks better when the title sits in the upper-middle area of the page rather than crowded at the top.
- Use blank lines to position the title and details.
- Adjust line spacing if the text feels too tight.
- Keep the layout simple unless the document calls for a more creative style.
- Avoid crowding too many elements on the page.
Add an Image, Logo, or Decorative Element
If your document should look more polished, you can add a logo, icon, or relevant image. This works especially well for business reports, portfolios, or project cover pages.
- Place the cursor where you want the image.
- Go to Insert > Image and choose where to get it from.
- Resize the image so it does not overpower the title.
- Drag it into a visually balanced position.
- If needed, use the image options to adjust wrapping or transparency.
Format the Cover Page to Match the Document
The cover page should look like part of the same document, not a separate design. Use fonts, colors, and spacing that fit the rest of the file.
- Use one or two fonts at most.
- Keep the title larger than the rest of the text.
- Use bold sparingly for emphasis.
- Choose a readable color palette.
- Match the style to the purpose of the document.
Make the Cover Page Stay Separate From the Main Content
If you want the cover page to stand alone while the rest of the document starts on the next page, insert a page break after it.
- Place the cursor at the end of the cover page content.
- Go to Insert > Break > Page break, or press Ctrl+Enter on Windows or Command+Enter on Mac.
- Begin typing the rest of your document on the next page.
Simple Cover Page Example
If you are unsure what to include, a basic cover page can follow this structure:
- Document title
- Subtitle or course/project name
- Your name
- Teacher, class, or company name
- Date of submission
That layout works well for most school papers, business reports, and basic project documents.
How to Make It Look Better Quickly
- Center the text on the page.
- Use a larger title size than the rest of the text.
- Leave enough empty space around the content.
- Add a small logo or image only if it fits the purpose.
- Preview the page before printing or sharing.
What to Check Before You Finish
Before you send or print the document, review the cover page for alignment, spelling, and spacing. Make sure the title is easy to read and the page looks balanced on screen and in print.
- Check spelling and capitalization.
- Make sure the title is centered or aligned intentionally.
- Confirm the page break appears where you want it.
- Preview the document to see how the cover page prints.
- Verify that any image is clear and not stretched.