
A blurry webcam or laptop camera in Windows 11 can make video calls look soft, grainy, or out of focus. In many cases, the problem is caused by something simple such as a smudged lens, poor lighting, or the wrong app settings. In other cases, Windows drivers or camera software may be the reason.
This guide walks through the most practical fixes first, then moves on to deeper checks if your camera still looks blurry.
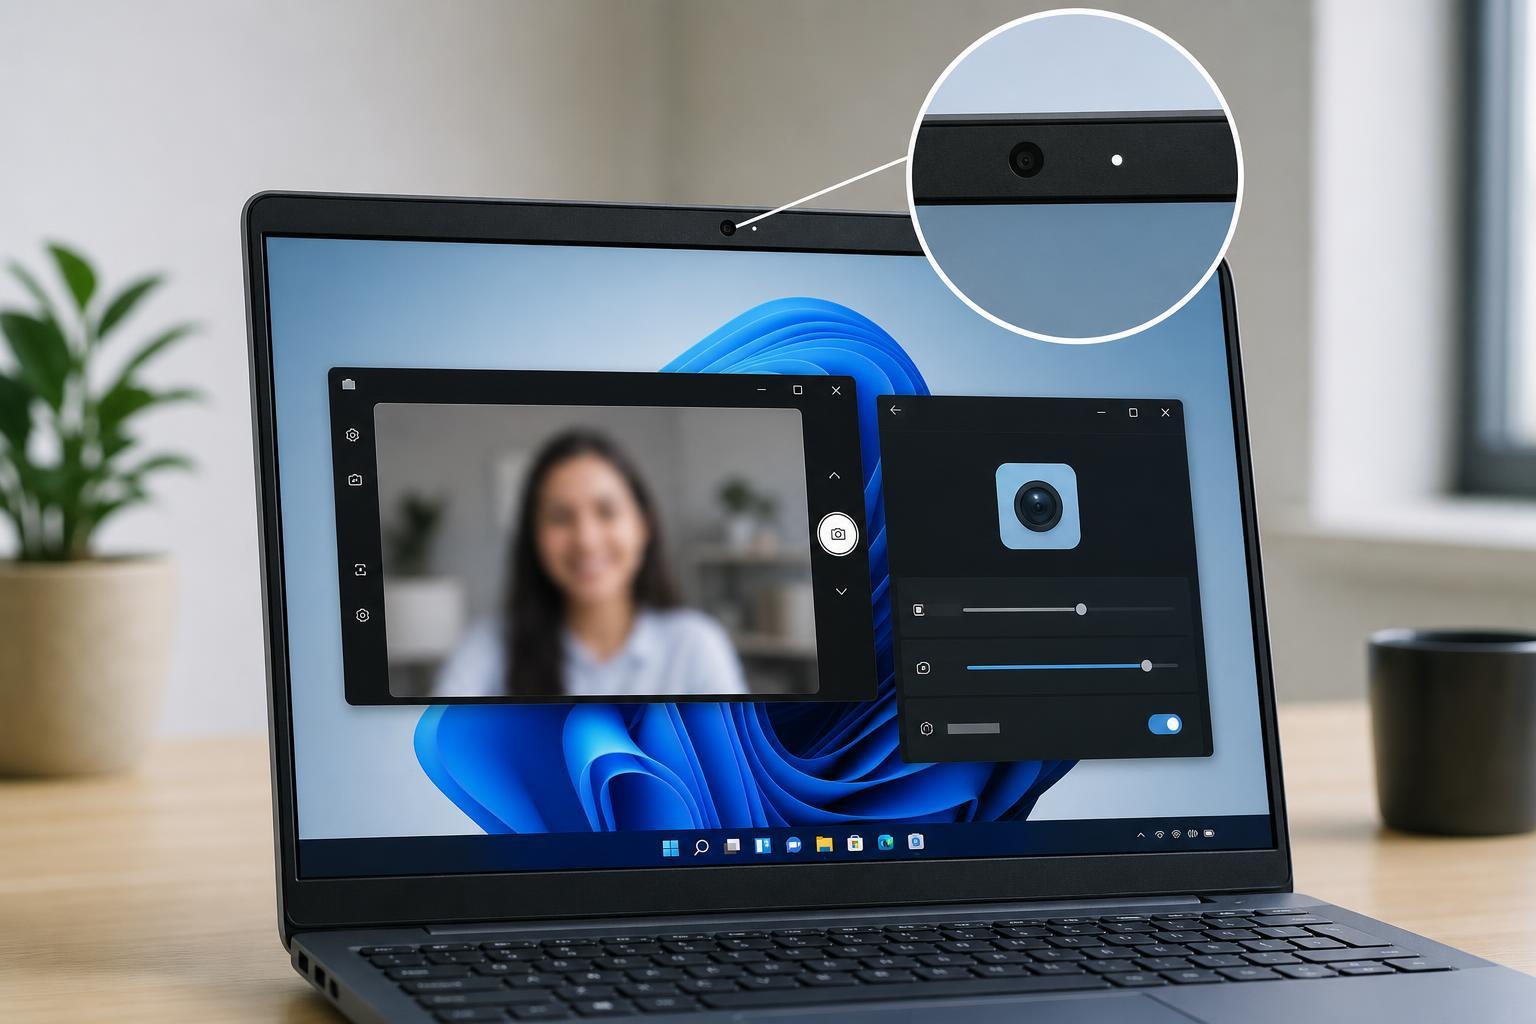
Start With the Lens and Lighting
Before changing Windows settings, check the camera itself. A surprising number of blurry webcam problems come from a dirty lens, a protective film, or lighting that makes the image look worse than it really is.
- Wipe the lens gently with a clean microfiber cloth.
- Check whether a shipping sticker or privacy cover is partially blocking the camera.
- Make sure the camera lens is not dusty, greasy, or smudged.
- Move to a brighter location or face a light source that illuminates your face evenly.
- Avoid having a bright window or lamp directly behind you, which can make the camera exposure struggle.
Check the Camera in More Than One App
If the blur appears only in one app, the issue may be with that app’s settings rather than the webcam. Compare how the camera looks in the Windows Camera app, Microsoft Teams, Zoom, or another video app you use.
- Open the Windows Camera app and check whether the image is blurry there too.
- Test the camera in your video meeting app.
- If the image looks sharp in one app but blurry in another, look for that app’s video, HD, or background settings.
- Turn off any filters, beauty effects, or blur options that may be softening the image.
- If the app lets you choose a camera resolution, select the highest supported option.
Make Sure Windows Is Using the Right Camera
Some laptops have both an internal webcam and a connected external camera. If the wrong device is selected, Windows may be pulling video from a lower-quality camera than you expected.
- Open the app where the camera looks blurry.
- Go to the app’s video or camera settings.
- Confirm that the intended webcam is selected.
- If you use an external webcam, unplug it and reconnect it to make sure Windows detects it correctly.
- Test the built-in camera separately if your laptop has one.
Update or Reinstall the Camera Driver
If the lens is clean and the image is still blurry across multiple apps, the camera driver may be outdated or behaving incorrectly. Windows 11 usually handles webcam drivers automatically, but driver problems can still affect image quality.
- Right-click the Start button and open Device Manager.
- Expand Cameras or Imaging devices.
- Right-click your webcam and choose Update driver.
- Select Search automatically for drivers and let Windows check for updates.
- If the problem remains, right-click the camera again and choose Uninstall device, then restart Windows so it can reinstall the driver.
- If you use a branded external webcam, check the manufacturer’s website for a newer driver or camera utility.
Adjust Resolution and Video Quality Settings
Some camera apps default to lower-quality video to improve performance. That can make a webcam look soft even when the hardware is capable of a sharper image.
- Look for HD, 720p, 1080p, or similar quality options in the app.
- Turn off low-bandwidth or data-saving video modes if you do not need them.
- Close other apps that may be using the camera at the same time.
- If the webcam software includes image enhancement settings, reset them to default and test again.
Check Camera Privacy and Windows Settings
Windows 11 privacy settings usually prevent camera access entirely rather than making the image blurry, but it is still worth checking the camera permissions if the device behaves strangely or only works poorly in certain apps.
- Open Settings and go to Privacy & security.
- Select Camera.
- Make sure camera access is turned on for the device.
- Check that the specific app is allowed to use the camera.
- If you are on a work or school PC, confirm that an administrator has not restricted camera features.
Update Windows 11 and Optional Camera Software
Windows updates can include camera fixes, driver updates, and compatibility improvements for video apps. If your webcam started looking worse after a system change, checking for updates is a practical step.
- Open Settings and go to Windows Update.
- Check for updates and install anything available.
- Restart only if Windows asks you to after an update installs.
- If your webcam came with its own utility app, open it and check for updates there as well.
Test for Autofocus or Hardware Limitations
Some webcams are fixed-focus cameras, which means they are designed to be sharp only at certain distances. If you sit too close or too far away, the image may never look properly focused. Other cameras can lose sharpness if the autofocus is struggling.
- Move farther from the camera if you are very close to it.
- Sit at the distance recommended by the webcam maker, if known.
- Make sure nothing is blocking the lens or autofocus mechanism.
- If the image sharpens briefly and then goes blurry again, the autofocus system may be hunting or failing.
- Try the camera on another PC to see whether the blur follows the camera itself.
Check USB Connection Issues for External Webcams
An external webcam that is connected through a weak USB port, hub, or cable may not behave as well as it should. While this more often causes disconnects or lag, poor connections can also make the image seem unstable or degraded.
- Plug the webcam directly into a USB port on the computer instead of a hub.
- Try a different USB port, preferably one on the PC itself.
- If the webcam uses a detachable cable, test with another cable if available.
- Avoid long extension cables unless the webcam manufacturer supports them.
When the Problem Is Probably the Webcam Itself
If the camera is still blurry after cleaning, testing in multiple apps, updating drivers, and checking settings, the webcam may simply be low quality, worn out, or damaged.
- The blur appears in every app and on every PC you test.
- Focus never becomes sharp, even after adjusting distance and lighting.
- The image is soft, hazy, or cloudy as if the lens is permanently affected.
- A replacement camera or external webcam looks much clearer on the same computer.
What to Try First if You Want the Fastest Fix
If you want the shortest path to a sharper image, start with the highest-probability fixes in this order: clean the lens, improve lighting, test the camera in another app, and confirm the correct camera is selected. If the blur persists, move on to the driver and Windows update checks.
- Clean the lens and remove any obstruction.
- Improve the lighting in front of your face.
- Test the camera in a second app.
- Update or reinstall the camera driver.
- Check app-specific video settings and resolution options.
- Test the webcam on another PC if possible.





