Putting an image inside a shape is a simple way to make Google Slides look cleaner and more polished. It is useful for profile photos, icons, classroom slides, presentations, and design elements where you want an image to follow a circle, square, or other shape.
The exact steps depend on whether you are using Google Slides on a computer or on a phone or tablet. On desktop, you can crop an image into a shape directly. On mobile, the options are more limited, so the best method depends on what you need to do.
How Google Slides Handles Image Shapes
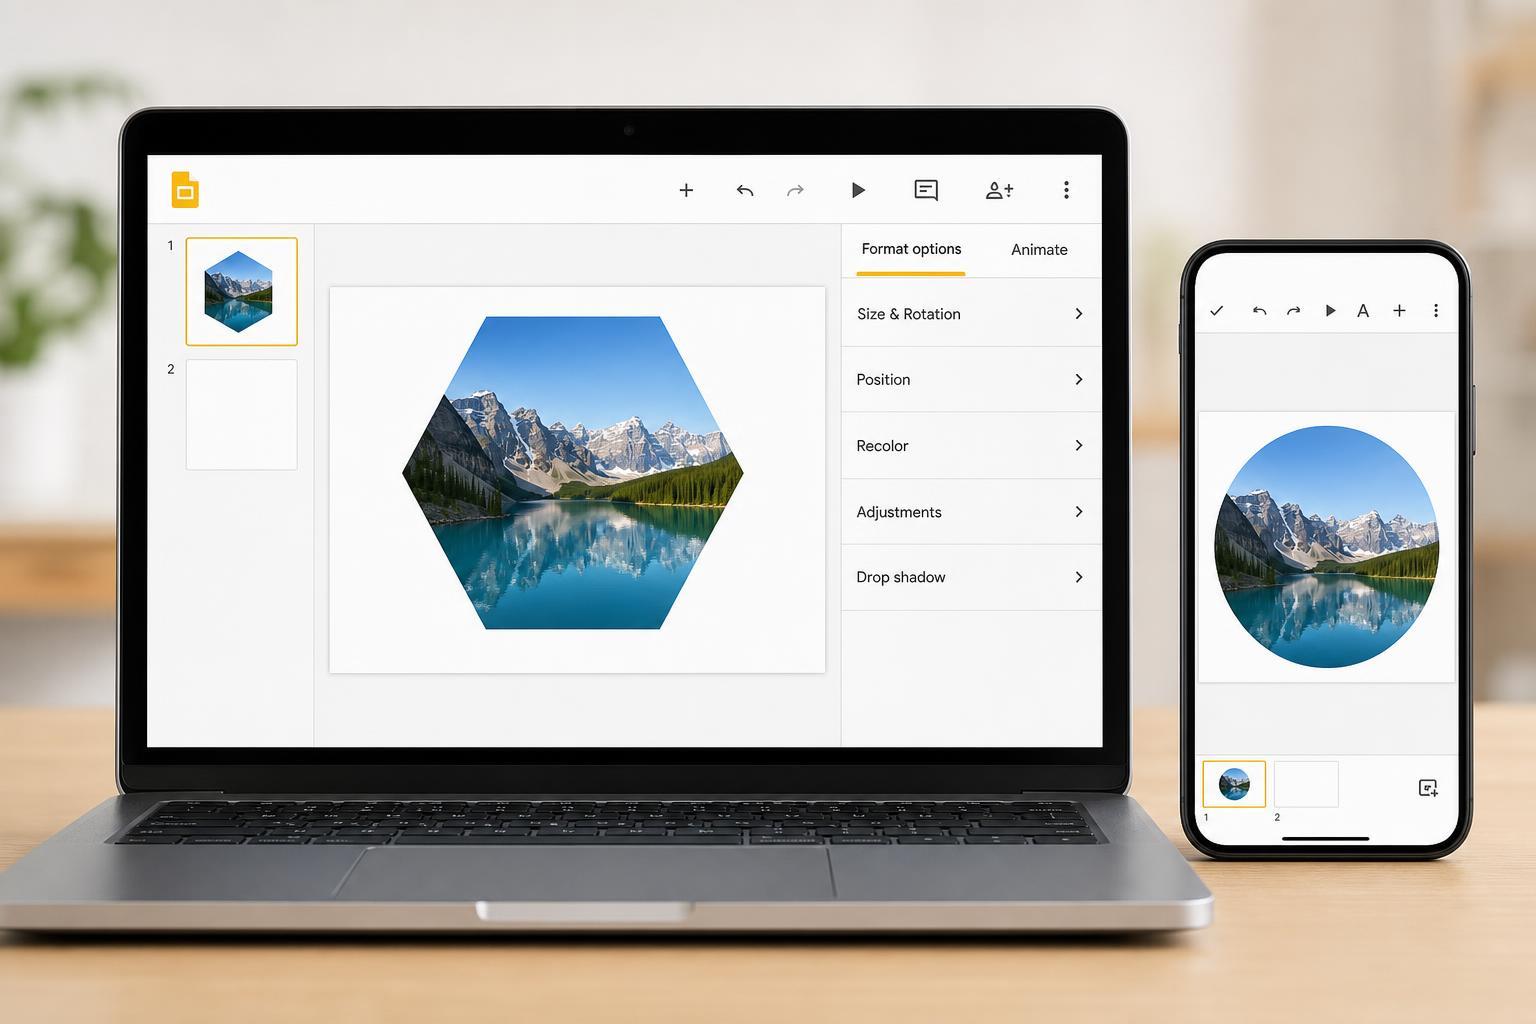
On a computer, Google Slides lets you mask an image into preset shapes such as circles, arrows, and rounded rectangles. This works directly in Slides and is the easiest way to get an image to fit neatly inside a shape.
How to Fit an Image in a Shape in Google Slides on PC
- Open your presentation in Google Slides on a computer.
- Click Insert, then choose Image and upload the picture you want to use.
- Click the image once to select it.
- In the toolbar, click the Crop image arrow next to the crop icon.
- Choose Mask image.
- Select the shape you want, such as a circle, rounded rectangle, or other preset shape.
Google Slides will crop the image to fit the chosen shape. You can then drag the image slightly inside the mask to adjust which part is visible.
- To fine-tune the result, double-click the masked image.
- Drag the image within the shape to reposition it.
- Press Enter or click outside the image when you are done.
How to Adjust the Image After Masking
After you fit the image into a shape, you may want to change how it sits inside that shape. You can usually do this without starting over.
- Move the picture within the shape to center the subject better
- Resize the masked image if you need more or less of the picture visible
- Swap the image for a different one while keeping the same shape
- Change the mask shape if the first choice does not suit the design
How to Do It on Google Slides Mobile
Google Slides on mobile is more limited than the desktop version. In many cases, you can insert images and resize them, but you may not see the same full image masking tools that are available on PC.
- Open the Google Slides app and go to your presentation.
- Tap the slide where you want the image.
- Use the Insert or plus menu to add an image from your device or Google Drive.
- Select the image and resize it using the corner handles.
- If the app version you are using shows crop or mask options, use them to fit the image into a shape. If not, you may need to finish the shape masking on a computer.
If You Do Not See Shape Masking on Mobile
If the mobile app does not offer shape masking, the easiest workaround is to use Google Slides on a desktop browser. You can also prepare the image first in another app before importing it into Slides.
- Use a desktop browser for the full shape-cropping tools
- Crop the image in a photo editor before inserting it into Slides
- Create the shaped image elsewhere, then add it as a normal picture in Slides
- Use a simple rectangle on mobile if the shape is not essential
Best Shapes to Use for Common Designs
Different shapes work better for different jobs. Choosing the right one makes the slide look intentional instead of cramped.
- Circle: best for profile photos, avatars, and speaker images
- Rounded rectangle: good for modern layouts and featured images
- Square: useful for icons, logos, and simple layout blocks
- Arrow or callout shapes: helpful when you want the image to support an explanation
- Custom-looking preset shapes: useful for creative slides, but they can hide more of the image
Troubleshooting When the Image Does Not Fit Well
If the image looks awkward inside the shape, the issue is usually the crop position or the image proportions rather than Google Slides itself.
- Try a different image with a better composition.
- Reposition the image inside the mask so the main subject is centered.
- Use a less restrictive shape, such as a rounded rectangle instead of a circle.
- Check whether the image is too small or blurry for the size of the slide.
- Make sure the subject is not too close to the edges of the original picture.
When to Use Desktop Instead of Mobile
Use a computer if you need precise image shaping, repeated edits, or a presentation that has to look consistent across multiple slides. Mobile is fine for quick edits, but desktop gives you much better control over the final result.