Creating a Discord channel is a simple way to organize conversations, gaming groups, study servers, or community spaces. Discord lets you make channels from both the desktop app and the mobile app, but the steps are a little different on each device.
This guide shows how to create a new Discord channel, choose the right channel type, and adjust the most important settings so people can use it the way you want.
What You Need Before You Create a Channel
- A Discord server where you have permission to manage channels
- The Discord desktop app, browser version, or mobile app
- A clear idea of whether you want a text channel, voice channel, or another channel type
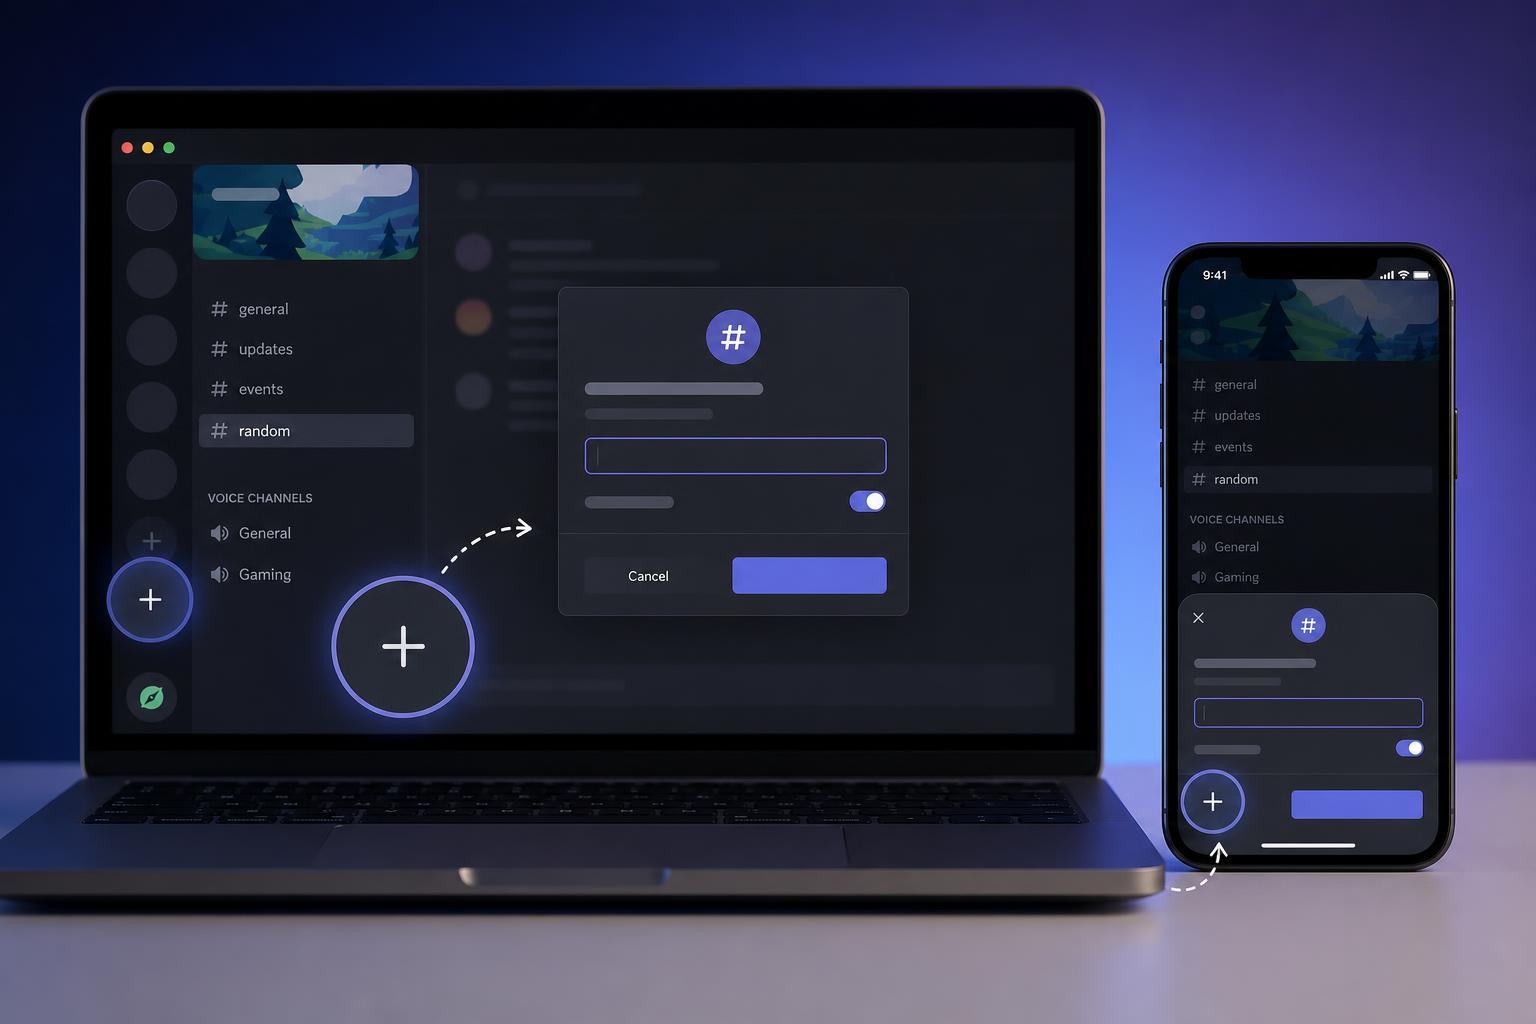
How to Create a Discord Channel on Desktop
- Open Discord and select the server where you want the new channel.
- In the server channel list, find the category where you want the channel to appear. If you want it in a specific category, use that one now.
- Hover over the category name and click the plus icon, or right-click the server/category and choose Create Channel.
- Select the channel type, such as Text Channel or Voice Channel.
- Enter a channel name. Keep it short and easy to understand.
- Choose whether the channel should be private or visible to everyone in the server, if that option appears.
- Click Create Channel to finish.
How to Create a Discord Channel on Mobile
- Open the Discord app on your phone and go to the server where you want the channel.
- Tap the server name at the top to open the server menu.
- Tap Channels or the plus icon, depending on your app version.
- Choose Create Channel.
- Pick the channel type you want, such as text or voice.
- Type a channel name.
- Adjust privacy settings if available, then tap Create or the check mark to save.
Choose the Right Channel Type
- Text channels are best for chat, updates, links, and written discussion.
- Voice channels are for live audio chats, game parties, or meetings.
- Stage channels are useful for events where a few speakers talk to a larger audience.
- Forum-style channels are better for structured discussions and topic-based posts, if your server has that feature.
Set Up Channel Permissions Carefully
After creating the channel, check who can see, post in, or join it. Discord permissions can be inherited from the category or changed specifically for that channel. This is especially important for private channels, staff-only areas, and announcement channels.
- Open the channel settings or edit menu.
- Go to Permissions.
- Review roles and members that can view, send messages, or connect to the channel.
- Remove access where needed or allow access for the right roles.
- Save your changes.
Useful Setup Tips for New Channels
- Place the channel in the right category so related channels stay grouped together.
- Keep channel names consistent across the server, especially if you have multiple topic channels.
- Use announcements, rules, or welcome channels to help new members understand where to post.
- Avoid creating too many near-duplicate channels, which can make the server feel cluttered.
- If a channel is temporary, consider naming it clearly so it can be deleted later without confusion.
What to Do If You Don’t See the Create Channel Option
- Check whether you are using the correct server and category.
- Confirm that your role has permission to manage channels.
- Make sure you are not trying to create a channel in a server where you only have read-only access.
- If you are on mobile, open the server menu rather than staying on the main chat screen.
- Ask a server admin to review your permissions if the option is still missing.
If you do have permission but still cannot create a channel, the server may have reached a layout or permission setup that limits where new channels can be added. In that case, an admin can check the category settings or create the channel for you.
How to Narrow Down the Best Channel Setup
Before creating a channel, think about what people will use it for. A server with clear channel purposes is easier to moderate and easier for members to follow. If the channel is meant for ongoing chat, use text. If it is for real-time conversation, use voice. If it is for a special event or announcement, choose the format that matches that purpose.