
The Windows 11 message “Your PC did not start correctly” usually appears after a failed boot, an update problem, a driver issue, or file corruption. In many cases, Windows can still be repaired without reinstalling the entire system.
The right fix depends on what changed before the problem started. If this message appears once after an update or power loss, a simple repair may be enough. If it keeps coming back, you may need to use Windows recovery tools to fix startup files, undo a bad update, or repair system files.
What the Message Usually Means
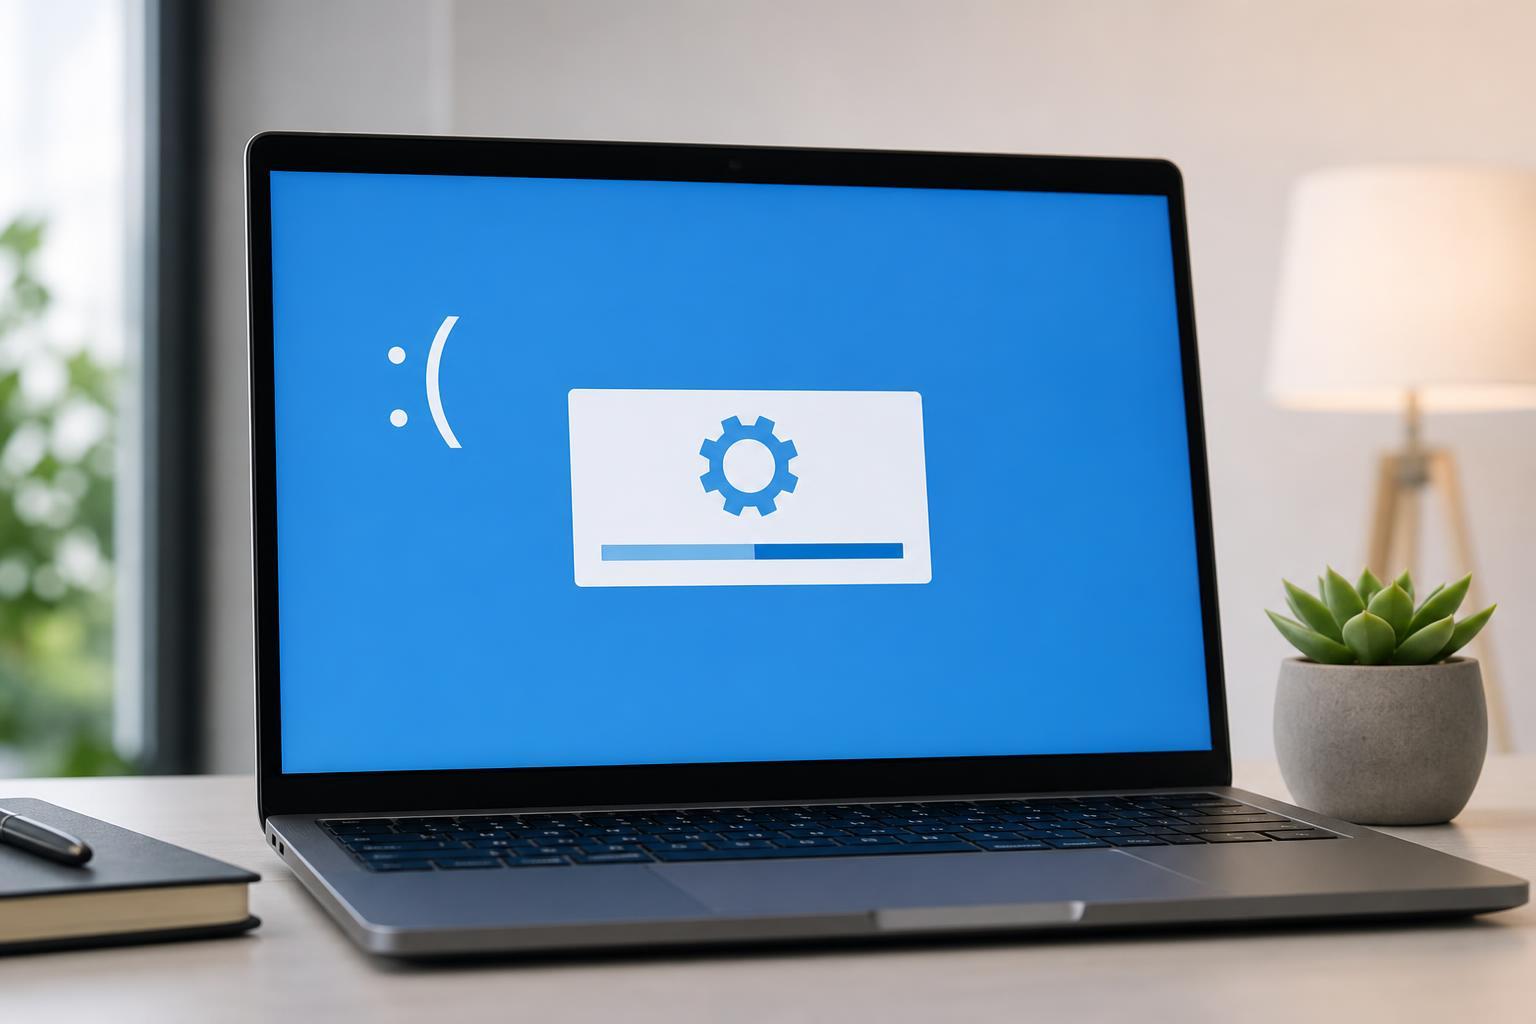
This screen is Windows telling you that it could not load normally. It does not point to one specific fault. Instead, it is a general recovery screen that can be caused by software problems, damaged boot data, or a hardware issue that is stopping Windows from loading.
- A failed Windows update
- Corrupted system files
- A bad driver update
- Disk errors or file system damage
- Changed BIOS/UEFI settings
- Startup settings or boot data corruption
- Failing storage hardware
Try These Quick Checks First
- Disconnect any unnecessary USB devices, external drives, printers, and dongles, then try starting the PC again.
- If the PC was powered off unexpectedly, wait a minute and try booting again to rule out a temporary startup glitch.
- Check whether the system drive is still detected in the BIOS/UEFI setup. If the drive is missing, Windows cannot start normally.
- If you recently changed BIOS/UEFI settings, restore the settings to their default or undo any boot-related changes you made.
Use Windows Recovery Options
When Windows cannot boot normally, the built-in recovery environment is usually the best place to start. From the error screen, choose Advanced options if it is available. If you cannot reach recovery that way, you may need a Windows 11 installation USB to access repair tools.
- On the recovery screen, select Advanced options.
- Choose Troubleshoot.
- Open Advanced options again to see the available repair tools.
- Try Startup Repair first, because it can automatically fix boot problems without changing your files.
Run Startup Repair
Startup Repair is the safest first repair tool because it targets common boot problems such as missing boot files, damaged startup configuration, and some update-related failures.
- Open Advanced options in Windows Recovery.
- Select Startup Repair.
- Choose your Windows 11 installation if prompted.
- Let the repair run and restart when it finishes.
Uninstall the Latest Update
If the problem began right after a Windows update, uninstalling the most recent quality update or feature update may get the system booting again.
- Go to Troubleshoot > Advanced options.
- Select Uninstall Updates.
- Try Uninstall latest quality update first.
- If that does not help and the issue began after a major upgrade, try Uninstall latest feature update.
Try System Restore if You Have Restore Points
System Restore rolls Windows system files and registry settings back to an earlier working state. It can fix problems caused by bad drivers, unstable software, or recent configuration changes.
- Open Advanced options in Windows Recovery.
- Select System Restore.
- Choose a restore point from before the issue started.
- Follow the prompts to restore Windows and then restart.
Repair Corrupted System Files
If Windows recovery tools still allow you to open Command Prompt, you can check the system files and the disk itself. This is especially useful when the error followed a crash, forced shutdown, or disk warning.
- Open Advanced options > Command Prompt.
- First run: sfc /scannow /offbootdir=C:\ /offwindir=C:\Windows
- If needed, run: chkdsk C: /f /r
- Restart the PC after the checks complete.
Use Command Prompt to Repair the Boot Files
If the boot configuration itself is damaged, Windows may stop at the “did not start correctly” screen even when the operating system files are mostly intact. Repairing the boot records can help.
- Open Command Prompt from Advanced options.
- Run the boot repair commands appropriate for your system and Windows installation.
- Restart the PC after the commands finish.
- If the issue continues, return to recovery and try Startup Repair again.
Check for a Failing Drive or SSD
If Windows keeps failing to start even after repairs, the storage drive may be developing errors. Repeated startup failures, very slow boots, clicking sounds from a hard drive, or frequent disk-check prompts can all be warning signs.
- The PC started showing the error after unusual freezing or crashing
- Windows repair keeps failing in the same place
- Files or folders disappeared before the startup problem
- The drive is not always detected in BIOS/UEFI
- Disk repair tools report repeated errors
If you suspect the drive is failing, back up important data as soon as you can. A drive that is still readable now may not stay that way for long.
When a Reset or Reinstall Makes Sense
If none of the repair tools work, Windows may be too damaged to recover quickly. At that point, a Reset this PC option or a clean reinstall may be the most practical path.
- Choose Reset this PC if you want to keep some settings or files and repair Windows with less manual work.
- Choose a clean reinstall if the system is badly damaged, the drive has been replaced, or you want the most thorough fresh start.
How to Narrow Down the Cause
A few clues can help you choose the right fix faster:
- Started after an update: try uninstalling the latest update or System Restore
- Started after power loss: try Startup Repair and file-system checks
- Started after a driver or hardware change: remove the new device or undo the driver change
- Started with disk errors or odd noises: check the storage drive first
- Started after BIOS changes: restore default firmware settings
What to Do Next
For most Windows 11 systems, the best order is Startup Repair, then update rollback, then System Restore, and finally file or boot repair commands. If the problem keeps returning, check the drive and consider a reset or reinstall only after you have tried the recovery tools that match the cause.





