Canva does not work like a spreadsheet app, but it does let you build simple, polished tables for presentations, reports, social posts, worksheets, and printable designs. If you only need a table for organizing information visually, Canva’s table tools are usually enough.
This guide shows you how to create a table in Canva, add data, adjust the layout, and customize the style so it fits your design instead of looking like a pasted-in spreadsheet.
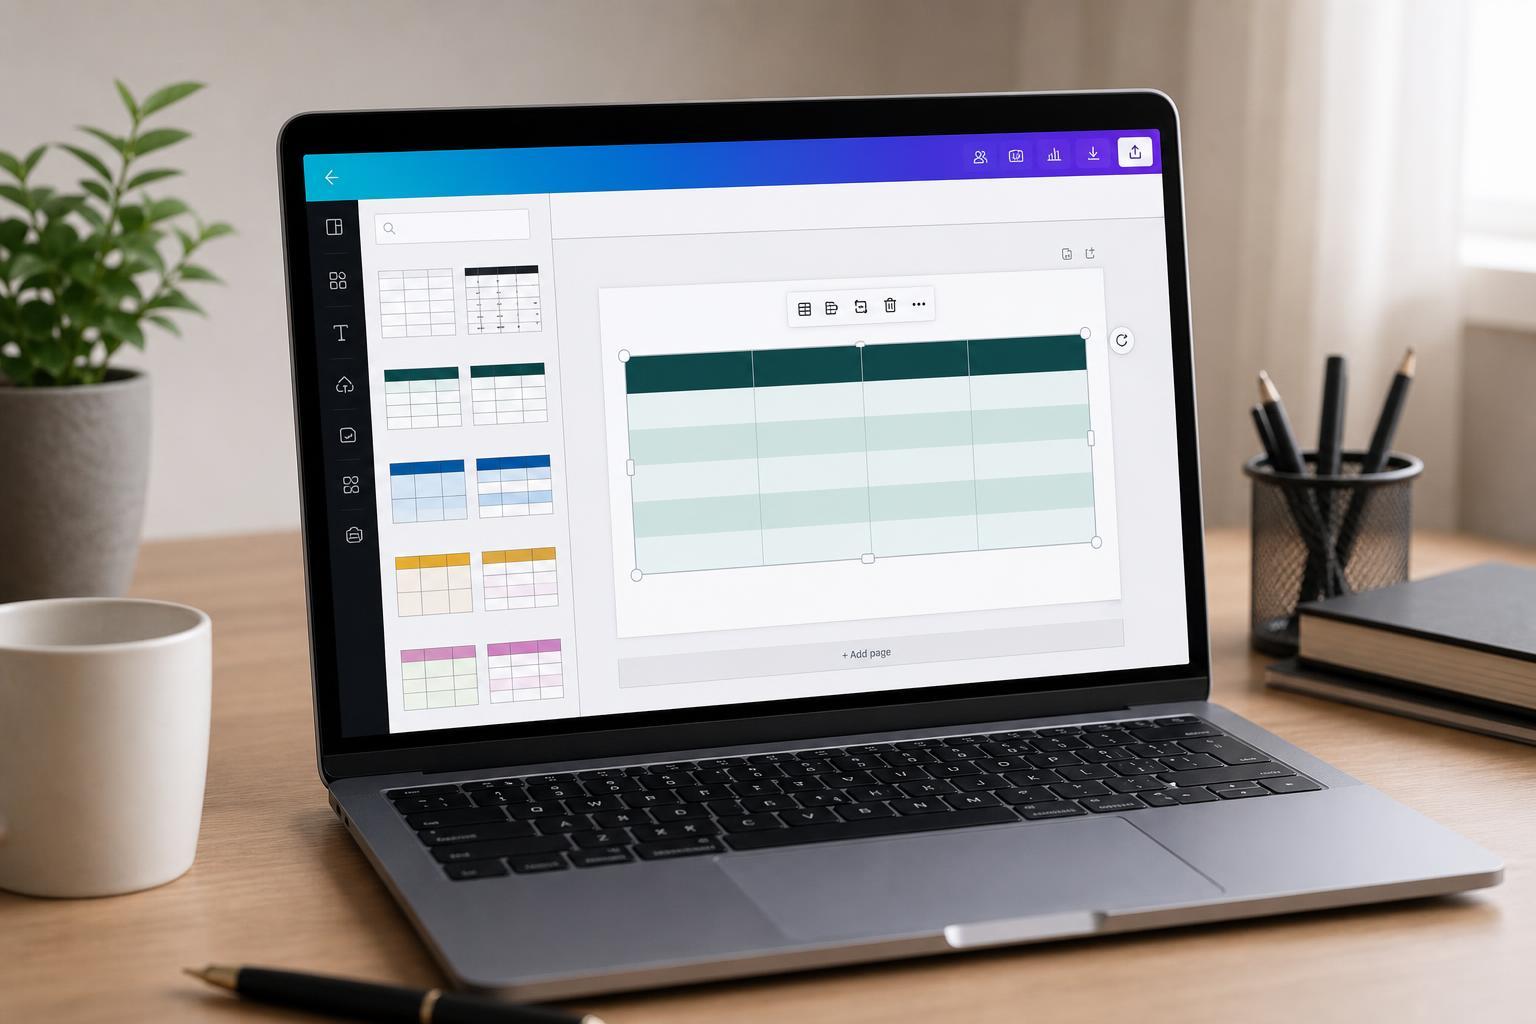
How to Add a Table in Canva
- Open your design in Canva and go to the left-hand sidebar.
- Select Elements.
- Search for table or scroll to the Tables section if it appears in your account.
- Click a table template to insert it into your design.
- Drag the table edges to resize it and make room for your content.
Canva’s table tool is built for visual layout rather than heavy data work. That means it is ideal for showing schedules, comparison charts, price lists, class information, or simple summaries.
Add Rows, Columns, and Content
- Click inside the table to reveal the table editing controls.
- Use the row and column controls that appear near the table to add or remove cells.
- Click a cell and type your text directly into it.
- Use Tab to move to the next cell and Shift + Tab to move backward.
- Repeat until all rows and columns contain the information you want.
If you are pasting data from another source, check the formatting carefully after paste. Canva may not preserve every spreadsheet layout exactly, so you may need to resize cells or adjust spacing manually.
Customize the Look of the Table
- Select the table to open its formatting options.
- Change the border color, border thickness, and line style if those controls are available.
- Adjust the fill color of rows or individual cells to create contrast.
- Resize columns and rows by dragging their borders.
- Use the text formatting tools to change font, size, alignment, and color.
- Make sure the table fits the rest of your design style, such as your brand colors and fonts.
A simple table is usually easier to read than a heavily decorated one. Light borders, subtle shading, and clear text often work better than strong colors everywhere.
Make Tables Easier to Read
- Use a bold header row so readers can identify categories at a glance.
- Keep text aligned consistently within similar columns.
- Leave enough padding so text does not feel cramped.
- Use alternating row colors if your design needs extra readability.
- Avoid making columns too narrow for the content you want to show.
When to Use a Canva Table Template
Table templates are useful when you want to save time or when your design needs a clean starting point. They can be especially helpful for timetables, pricing tables, comparison charts, and classroom materials.
- Use a template if you need a fast, polished starting point.
- Build a table manually if you need a very specific number of rows or columns.
- Choose a simple template if your content is text-heavy.
- Choose a more styled template if the table is part of a presentation or marketing design.
Common Problems and Fixes
- If text looks cut off, widen the column or reduce the font size.
- If the table feels crowded, add more space around it or remove unnecessary columns.
- If row colors look inconsistent, check whether one cell or row was formatted separately.
- If the table does not match the rest of your design, update the font and color choices so everything feels consistent.
- If the table is hard to edit, click directly on the table element rather than the text alone.
Exporting Your Design
Once your table is finished, export the design as a PNG, JPG, PDF, or other available format depending on how you plan to use it. If you need crisp text for printing or sharing as a document, PDF is often the safest choice.
A Simple Workflow for Better Canva Tables
- Plan the table content before you start designing.
- Insert the table and set the number of rows and columns you need.
- Enter the text and check that it fits cleanly.
- Style the header row and borders first.
- Adjust spacing, colors, and alignment last.
- Preview the final design before exporting.
That workflow keeps the table clean and prevents you from over-designing it too early. In most cases, the best Canva tables are the ones that stay easy to read.