
If you want to upgrade memory, confirm compatibility, or troubleshoot a system problem, knowing your RAM type is essential. Windows 10 and Windows 11 offer several ways to check it, from simple built-in tools to more detailed hardware information.
In this guide, you’ll learn five practical ways to identify your RAM type, including the memory generation, speed, capacity, and other details that can help you buy the right upgrade or compare modules already installed in your PC.
What You Need to Know Before Checking RAM Type
When people say “RAM type,” they may mean a few different things. The most important detail is usually the generation, such as DDR3, DDR4, or DDR5. You may also want the RAM speed, total installed memory, number of slots in use, or the model number printed on the memory stick itself.
1. Check RAM Type in Task Manager
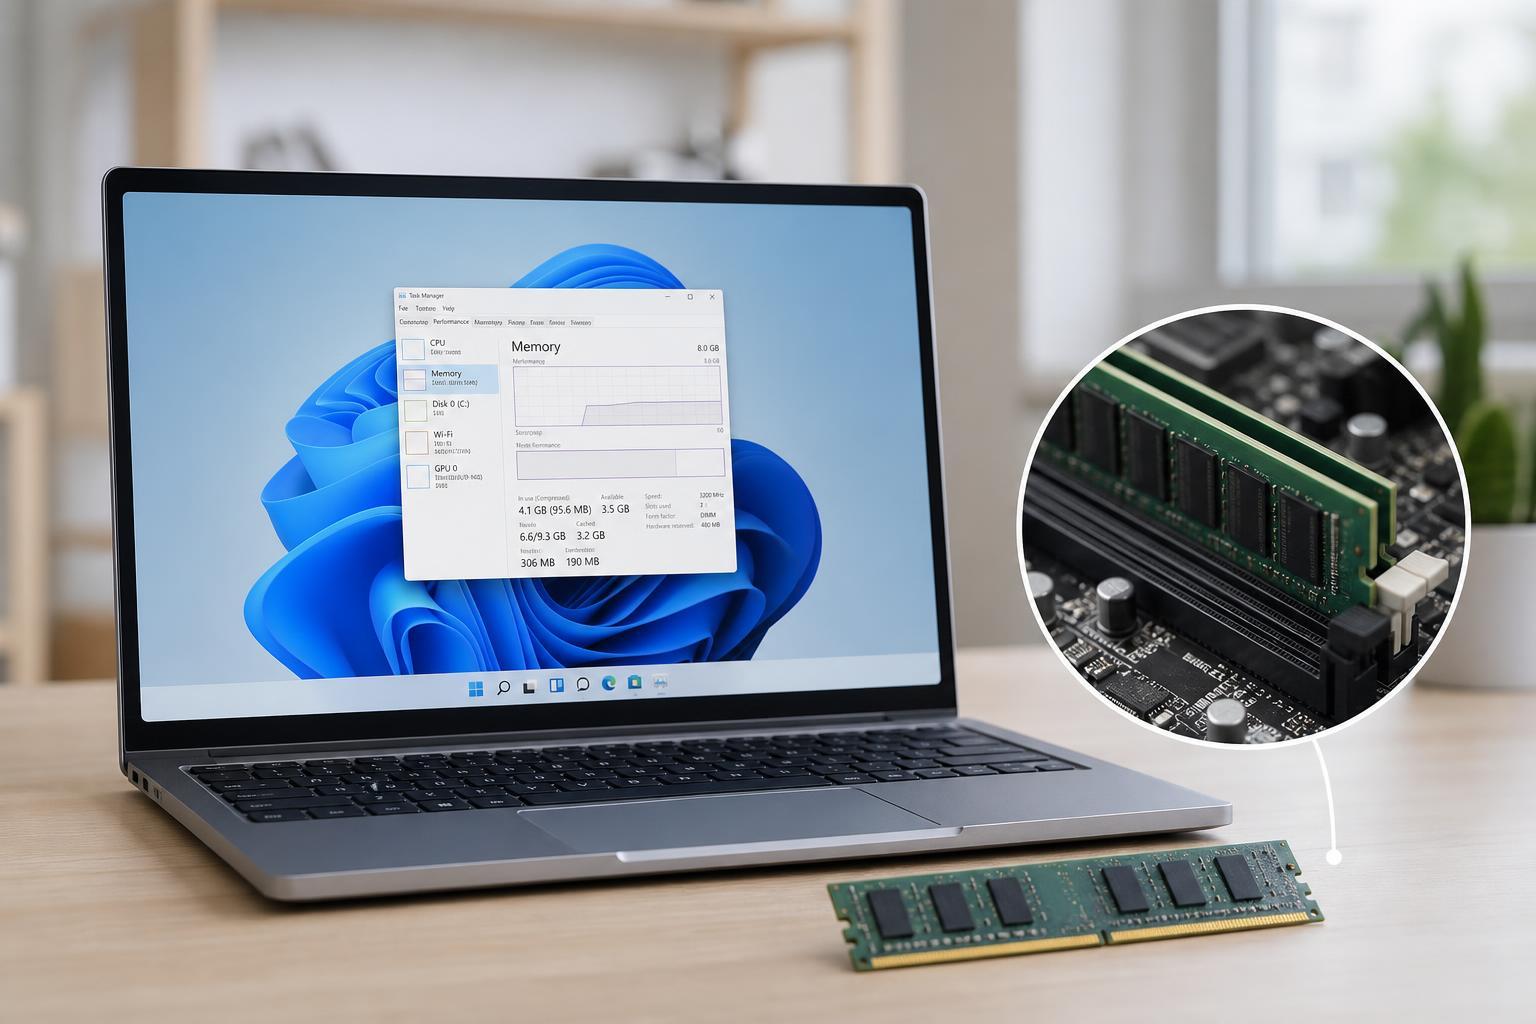
Task Manager is the quickest built-in place to start. It shows basic memory information such as speed, slots used, and total installed RAM. On many systems, it also helps you confirm whether the system is running modern DDR memory based on the reported speed and platform details.
- Press Ctrl + Shift + Esc to open Task Manager.
- If Task Manager opens in compact mode, click More details.
- Select the Performance tab.
- Click Memory in the left panel.
- Look for the installed memory amount, speed, and slots used.
2. Use Windows Settings to View Installed RAM
Windows Settings can show how much RAM is installed, which is helpful if you are mainly checking capacity before an upgrade or troubleshooting a low-memory problem. While it is not the most detailed method, it gives a fast overview without opening extra tools.
- Press Windows + I to open Settings.
- Go to System.
- Open About.
- Find the Installed RAM entry under Device specifications.
This method confirms total memory, but it does not usually show whether the RAM is DDR4 or DDR5. For that, you will need one of the more detailed methods below.
3. Use Command Prompt to Check Memory Details
Command Prompt can give more technical hardware details than the Settings app. The Windows Management Instrumentation command line can list memory capacity, part numbers, manufacturer names, and sometimes speed-related information.
- Open Start and type cmd.
- Right-click Command Prompt and choose Run as administrator if needed.
- Type the following command and press Enter: wmic memorychip get capacity, speed, manufacturer, partnumber.
- Review the results for each installed memory module.
The part number can be especially useful because you can search it online to identify the exact RAM model and type. This is often the easiest way to confirm the memory generation if Windows itself does not label it clearly.
4. Check RAM Type with PowerShell
PowerShell can reveal the same kind of hardware data as Command Prompt, and in some cases it is easier to filter and read. It is especially useful if you want to inspect each memory stick separately.
- Right-click the Start button and open Windows Terminal or PowerShell.
- Type the following command and press Enter: Get-CimInstance Win32_PhysicalMemory | Select-Object Manufacturer, PartNumber, Capacity, Speed, ConfiguredClockSpeed.
- Review the output for each RAM module.
If you are comparing modules, pay attention to the part number and speed. Matching sticks matter for stability, especially in systems with dual-channel memory. A part number search can also help identify whether the memory is DDR3, DDR4, or DDR5.
5. Use a Hardware Information Tool or Check the RAM Label
If Windows tools do not clearly identify the RAM generation, a hardware information utility or the label on the memory stick itself can provide the final answer. This is the most reliable method when you need exact identification for an upgrade.
- Look for the RAM model number in a trusted hardware info tool and search that model online.
- Open the PC case and read the label on the memory module, if your system allows safe access.
- Check your motherboard or laptop manual for supported memory types before buying an upgrade.
The physical label usually includes the model, capacity, speed, and sometimes a code that identifies the RAM generation. If you are using a laptop or compact PC, removing the cover may void warranty coverage or be difficult, so check the manual first.
How to Tell DDR3, DDR4, and DDR5 Apart
If your goal is specifically to identify RAM generation, the safest method is to combine software and model-number checks. Windows may show speed and capacity, but the module part number or physical label usually gives the clearest answer.
- DDR3 is older and commonly found in older desktops and laptops.
- DDR4 is very common in many Windows 10 and Windows 11 PCs.
- DDR5 is newer and found in newer systems and platforms that support it.
Which Method Should You Use First?
If you only need a fast answer, start with Task Manager. If you need total installed RAM, check Settings. If you want module-level information, use Command Prompt or PowerShell. If you are buying an upgrade or the type still is not clear, confirm the model number from the RAM label or a hardware information tool.
- Fastest basic check: Task Manager
- Simple installed RAM check: Settings
- More technical details: Command Prompt
- Per-stick memory info: PowerShell
- Most reliable for upgrades: RAM label or hardware tool
Common Reasons to Check RAM Type
Checking RAM type is useful before upgrading memory, troubleshooting slow performance, diagnosing random crashes, or matching a replacement module after one fails. It can also help you avoid buying incompatible RAM that will not work in your PC.
A Quick Final Check Before Buying RAM
Before ordering new memory, confirm three things: the RAM generation your motherboard supports, the maximum capacity supported by your system, and whether you need desktop DIMM or laptop SO-DIMM modules. The wrong physical size or memory generation will not fit or work properly.





