
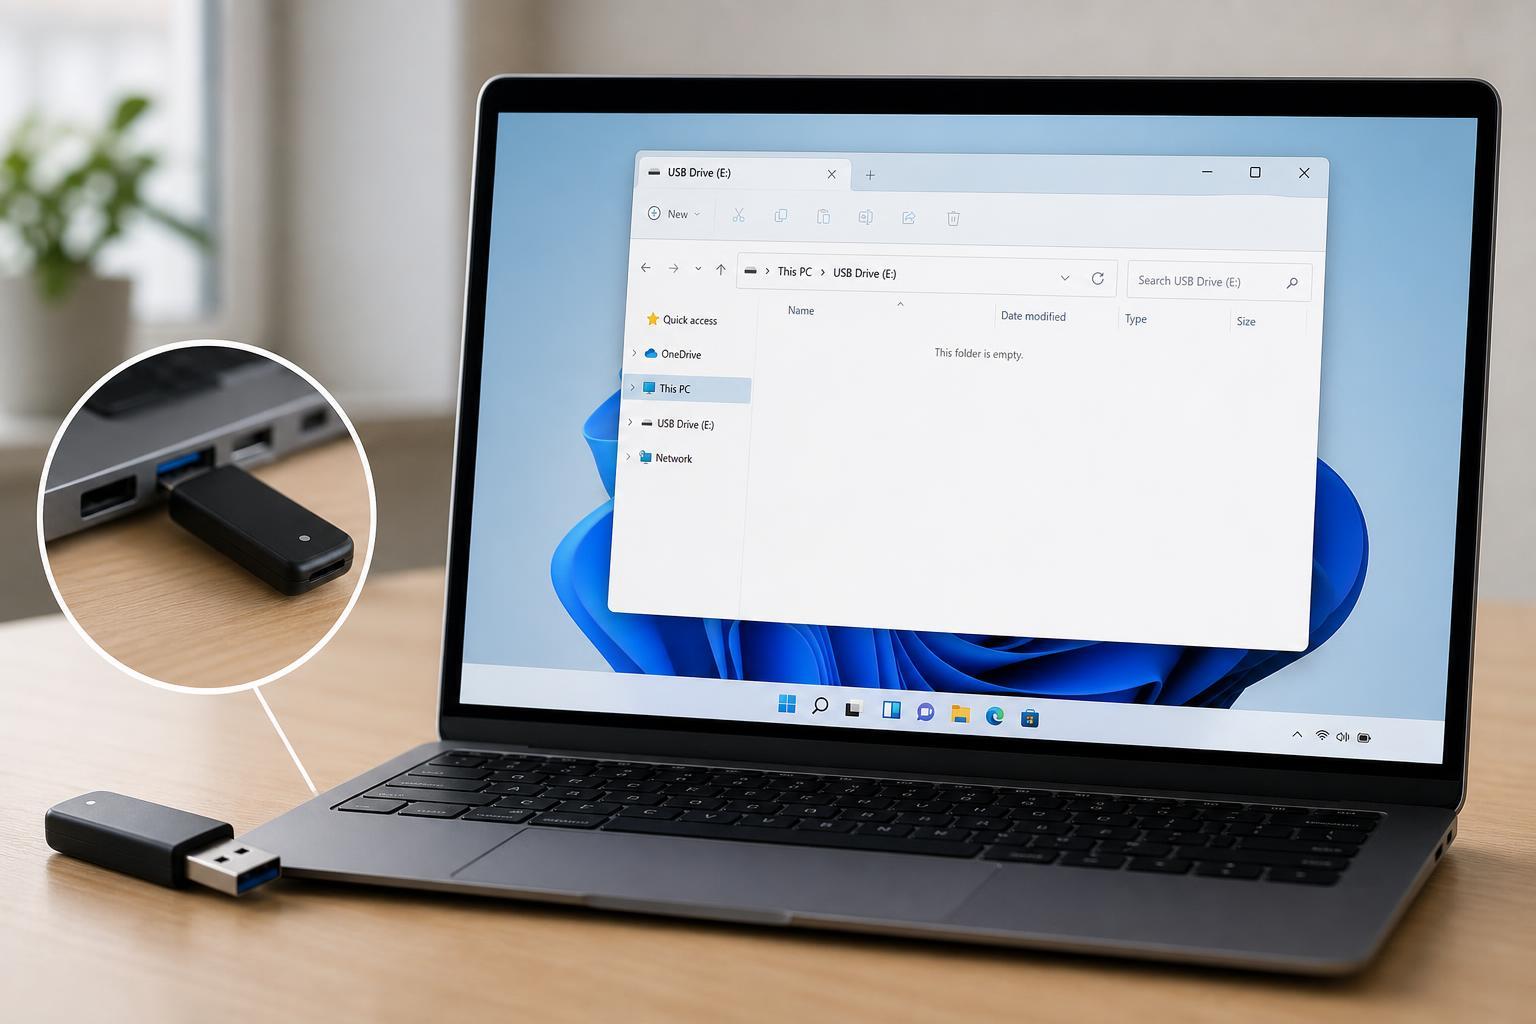
If your USB drive is connected to Windows 11 but looks empty, the files may still be there. In many cases, the problem is caused by hidden items, a drive letter issue, file system errors, or malware-related file attributes rather than permanent data loss.
This guide walks through three effective ways to make the files and folders visible again, starting with the simplest checks and moving to deeper repair options.
1. Check Whether the Files Are Simply Hidden
The first thing to check is whether Windows is hiding the content on the USB drive. This can happen if folder visibility settings were changed, or if the files were marked as hidden by another device or by a script.
- Open File Explorer and go to the USB drive.
- On the toolbar, select View.
- Choose Show, then turn on Hidden items.
- If the files appear, right-click the drive, choose Properties, and make sure the Hidden attribute is not being applied to the files or folders you need.
- If needed, open Folder Options and confirm that protected operating system files are not being hidden only if you understand the risk of showing system files.
2. Check the Drive in Disk Management and File Explorer
If the USB drive appears in File Explorer but not with the files you expect, the problem may be with the partition or drive letter rather than the data itself. Windows can sometimes mount the drive incorrectly or show only part of the storage.
- Right-click the Start button and open Disk Management.
- Find your USB drive in the list and confirm that Windows detects the correct size.
- Check whether the drive has a healthy partition and whether it has a drive letter assigned.
- If the drive does not have a letter, right-click the partition and choose Change Drive Letter and Paths, then assign one.
- If the partition shows as RAW, unallocated, or unreadable, do not format it if you still need the files.
- Try the USB drive in another USB port or another PC to see whether the issue follows the drive.
3. Use Command Prompt to Reveal or Repair the Files
If the files are hidden by attributes or the USB drive has minor file system damage, Command Prompt can sometimes fix the issue. This is especially useful when File Explorer does not show the content correctly but Windows still detects the drive.
- Open the Start menu, type cmd, and run Command Prompt as administrator.
- Type the following command, replacing X with your USB drive letter: attrib -h -s /s /d X:\*.*
- Press Enter and wait for the command to finish.
- If the drive still seems broken, run: chkdsk X: /f
- Let Windows check and repair the file system if prompted.
- Open the USB drive again in File Explorer and see whether the files now appear.
When the Drive Still Looks Empty
If none of these methods bring the files back, the USB drive may have file system corruption, hardware failure, or actual data loss. In that case, avoid copying new files to the drive, because that can overwrite recoverable data.
- Try the drive on another computer to rule out a Windows 11 issue.
- Use recovery software only if the drive is still detected and you have not written new data to it.
- If the data is valuable, consider professional recovery before attempting aggressive repair tools or formatting.
- If Windows asks to format the drive, cancel the prompt until you know whether the files can still be recovered.
Which Fix Should You Try First?
Start with hidden items, then check Disk Management, and only then move to Command Prompt repair. That order gives you the best chance of restoring access without making the problem worse.





