
Windows 11 lets you control how long your screen stays on before it turns off. That can help save battery, reduce screen wear, and stop your display from going dark too quickly while you are reading, watching, or working.
In this guide, you will learn three practical ways to adjust screen timeout settings in Windows 11: through Settings, through Power options in Control Panel, and with advanced power settings for more detailed control.
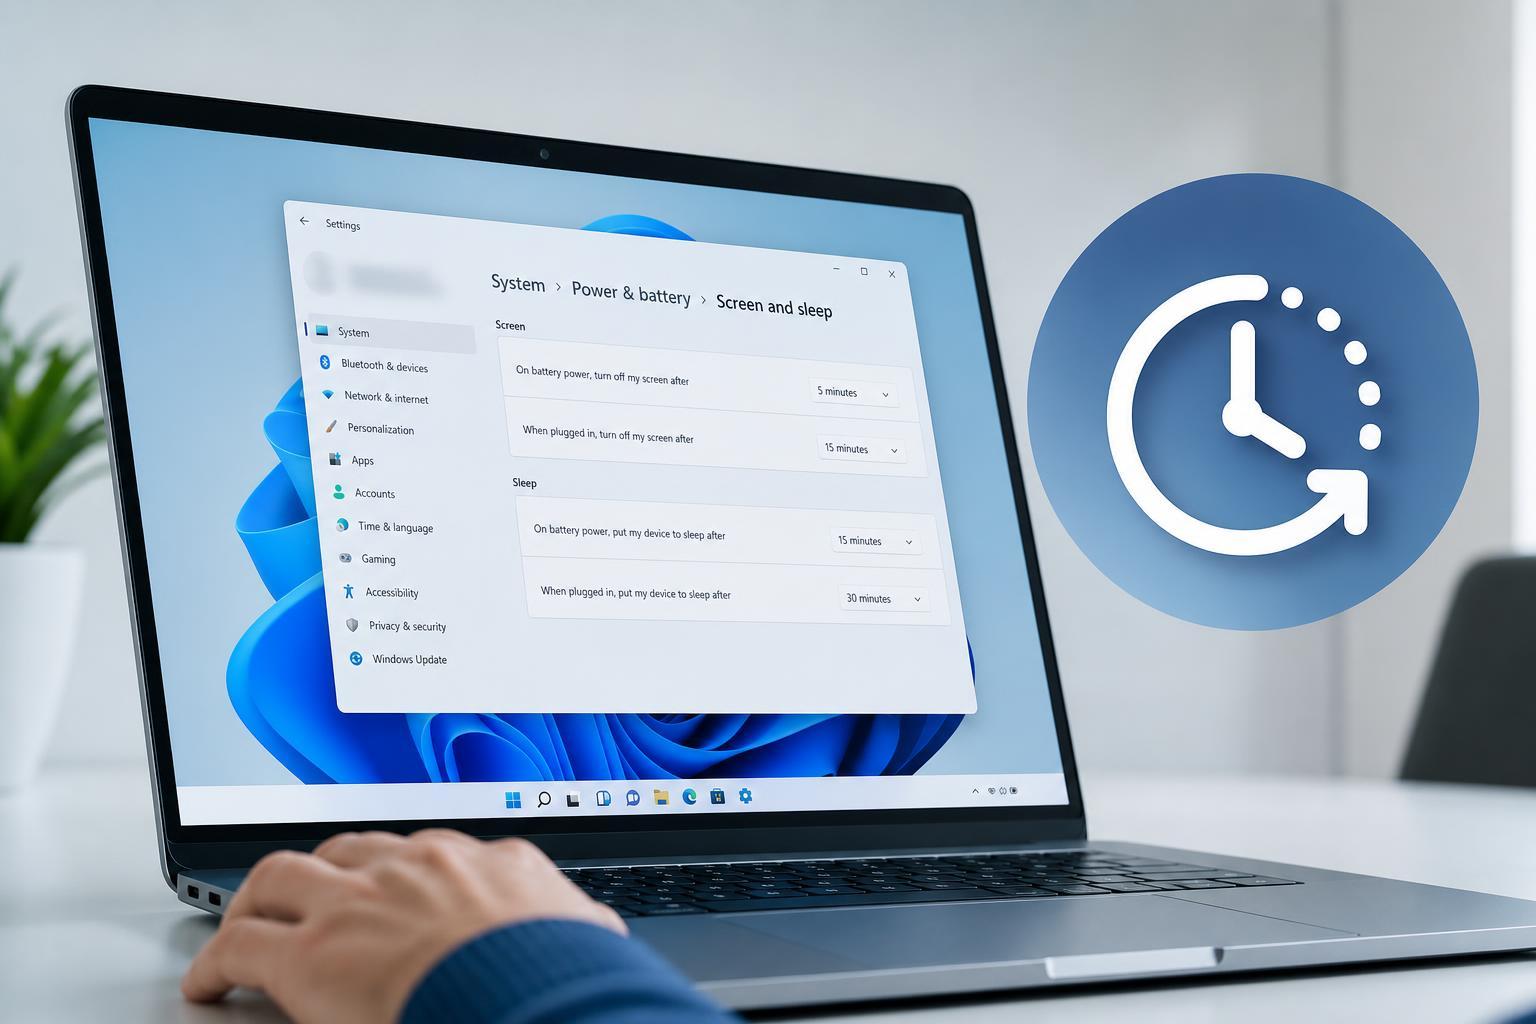
1. Change Screen Timeout in Windows Settings
For most people, the quickest method is the Settings app. Windows 11 separates screen timeout from sleep settings, so make sure you are changing the display timeout and not the sleep timer.
- Press Windows + I to open Settings.
- Select System, then choose Power & battery.
- Expand Screen and sleep.
- Under each option, choose how long Windows should wait before turning off the screen for battery power and when plugged in.
2. Use Control Panel Power Options
If you prefer the classic Windows interface, you can adjust screen timeout from Control Panel. This is useful on some systems where you want a familiar power plan view or need access to older power settings.
- Open Control Panel from the Start menu or by searching for it.
- Select Hardware and Sound, then Power Options.
- Next to your active power plan, click Change plan settings.
- Set Turn off the display to the time you want for both battery and plugged-in modes.
- Click Save changes.
3. Adjust Advanced Power Settings for More Control
If the basic timeout options are not enough, advanced power settings let you fine-tune behavior more precisely. This is especially helpful on laptops, docking setups, and shared PCs where you want tighter control over power use.
- Open Control Panel and go to Power Options.
- Click Change plan settings next to the active plan.
- Select Change advanced power settings.
- In the Power Options window, expand Display.
- Adjust settings such as Turn off display after and related display behavior options.
- Click Apply, then OK.
Screen Timeout vs Sleep: What Is the Difference?
Screen timeout only turns off the display. Sleep mode is different: it puts the whole PC into a low-power state and usually pauses your work more deeply. If your monitor turns off but music keeps playing or downloads continue, that is normal screen timeout behavior.
- Screen timeout: turns off only the display
- Sleep: reduces overall power use and pauses most activity
- Hibernate: saves the session to disk and shuts the PC down more fully
When to Choose a Longer or Shorter Timeout
A shorter screen timeout can be useful if you leave your PC unattended often, want to save battery, or prefer a more power-conscious setup. A longer timeout makes sense if you frequently read documents, follow recipes, monitor downloads, or step away briefly while keeping something visible on screen.
- Use a shorter timeout for battery saving and privacy
- Use a longer timeout for reading, presentations, or monitoring tasks
- Set different values for battery and plugged-in use on laptops
If the Setting Does Not Seem to Work
If Windows still turns the screen off sooner than expected, check whether a separate sleep timer, screen saver, or vendor power utility is overriding your setting. Some laptop brands add their own power management tools, and those can sometimes take priority over Windows defaults.
- Confirm you changed display timeout, not sleep timeout
- Check for screen saver settings that may activate first
- Look for OEM power tools from your laptop manufacturer
- Make sure the PC is not in a power-saving mode that overrides your plan
Which Method Should You Use?
If you just want a quick change, use Windows Settings. If you want the classic power-plan approach, use Control Panel. If you need more detailed power behavior, go to Advanced power settings.
- Windows Settings: best for most users
- Control Panel: best for people who prefer the classic interface
- Advanced power settings: best for fine-tuning power plan behavior
No matter which method you use, the goal is the same: set your display to turn off at a time that matches how you actually use the PC.





