
If Windows 11 keeps assigning a drive letter to your Recovery partition, it usually means the partition is visible to the system when it should be hidden. That can happen after a disk change, cloning, installation issue, or a partition that lost its hidden status. In most cases, you can remove the letter manually and prevent Windows from exposing it again.
This matters because the Recovery partition is meant to stay out of the way. Giving it a drive letter can confuse File Explorer, tempt you to modify a partition Windows depends on, and sometimes points to a disk layout problem worth checking.
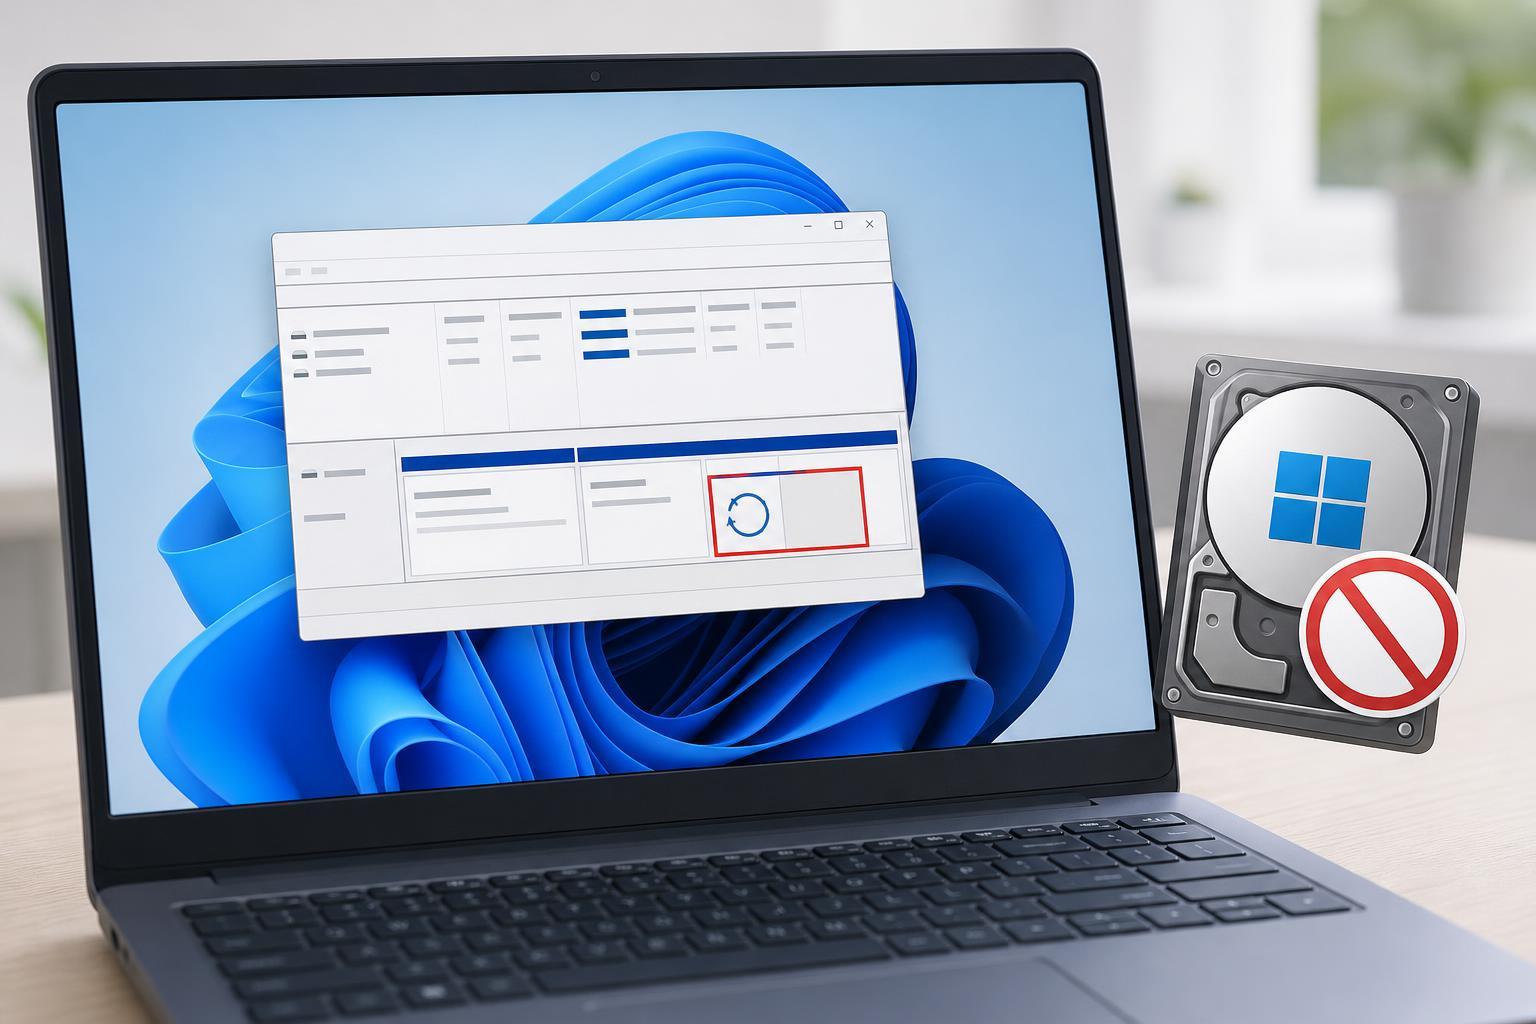
Why Windows 11 Gives the Recovery Partition a Letter
Windows normally hides the Recovery partition so it is not shown in File Explorer. If it suddenly appears with a drive letter, one of these is usually true:
- The partition was cloned or restored from another drive and the hidden attributes did not carry over correctly.
- A disk management tool or setup process assigned a letter during installation or repair.
- The recovery partition was recreated, resized, or modified and is no longer marked as hidden.
- A storage or partitioning utility changed the partition type or attributes.
Remove the Drive Letter in Disk Management
For many systems, the simplest fix is to remove the letter manually. This is safe as long as you are working on the correct Recovery partition and not another recovery-related volume from a different disk.
- Press Windows + X and open Disk Management.
- Find the partition that is labeled as Recovery or appears as a small hidden system partition.
- Right-click the partition and choose Change Drive Letter and Paths.
- Select the assigned letter and click Remove.
- Confirm the change.
Use DiskPart if Disk Management Will Not Remove It
If Disk Management does not work, DiskPart can remove the letter directly. This is often the better option when Windows keeps reapplying the same letter or when the partition is not behaving normally.
- Right-click Start and open Terminal (Admin) or Command Prompt (Admin).
- Type diskpart and press Enter.
- Type list volume and press Enter.
- Identify the Recovery partition by size and file system, then note its volume number.
- Type select volume X, replacing X with the correct volume number.
- Type remove letter=R, replacing R with the current drive letter.
- Press Enter and exit DiskPart.
Make Sure the Partition Is Still Marked as Recovery
If Windows repeatedly gives the partition a letter, check whether it is still identified as a proper Recovery partition. A recovery partition should normally have a special partition type and hidden attributes, not just a regular NTFS volume with a small size.
You can inspect the partition more closely with DiskPart:
- Open Terminal (Admin).
- Run diskpart.
- Type list disk and press Enter.
- Type select disk X for the disk that contains the Recovery partition.
- Type list partition and identify the Recovery partition.
- Use detail partition to review its type and attributes.
If the Recovery Partition Is Not Hidden Correctly
If the partition no longer has the right attributes, Windows may continue to expose it. In that case, the fix is not only removing the letter, but restoring the correct hidden status. On some systems this can be handled by Windows recovery tools, while on others it may require recreating the recovery layout.
- This can happen after cloning a drive to a larger SSD.
- It can happen after a manual partition resize.
- It may happen if third-party partition software changed the partition type.
- It can also happen after some repair installs or system image restores.
Check Whether Windows Created a Duplicate Recovery Entry
Sometimes the issue is not a single bad partition but a duplicate or leftover recovery configuration. This is more likely after a Windows upgrade or a disk migration. If your PC has more than one recovery-related partition, Windows may assign a letter to the wrong one or show the wrong volume in File Explorer.
Look for signs such as:
- Multiple small recovery-related partitions on the same disk
- A recovery partition on a secondary drive that should not be used by Windows
- A partition with no clear label but a drive letter assigned unexpectedly
- Windows Recovery Environment failures after a disk clone or restore
Prevent the Letter from Coming Back
If Windows keeps reassigning a letter after you remove it, the best long-term fix is usually one of these:
- Restore the partition’s hidden recovery attributes.
- Use the correct partition type for a Windows Recovery partition.
- Remove leftover mount points or stale volume assignments.
- Rebuild the recovery layout if the partition table was altered incorrectly.
In many home setups, simply removing the letter is enough. If it returns after reboot, Windows is receiving a signal that the partition is still mountable, so the partition metadata needs attention.
When You Can Ignore It
If the partition only appeared once and disappears after removing the letter, there may be no deeper problem. In that case, the system likely retained a temporary assignment after repair, upgrade, or drive migration. As long as the partition is no longer visible and Windows Recovery still works, you may not need to do anything else.
What to Do if Recovery Is Missing or Broken
If the Recovery partition keeps acting strangely and Windows Recovery Environment no longer works correctly, the problem may be broader than the drive letter. You may need to rebuild the recovery environment or recreate the partition layout using Windows recovery tools.
A Safe Order to Try the Fixes
- Remove the letter in Disk Management.
- If needed, remove it with DiskPart.
- Check whether the partition is still marked as a proper Recovery partition.
- Look for cloning, resizing, or restore changes that may have altered its attributes.
- Only consider rebuilding the recovery layout if the problem keeps returning or recovery features are broken.





