
Installing more RAM should make your PC feel faster and more responsive, but sometimes Windows 11 does not show the new memory correctly or the system refuses to boot normally after the upgrade. In many cases, the issue is caused by something simple such as an unseated stick, a BIOS setting, or unsupported memory. In other cases, it points to a motherboard or compatibility problem that needs a closer look.
This guide walks through the most likely reasons upgraded RAM does not show up or work on Windows 11, starting with the easiest checks and moving toward the more technical fixes.
Check Whether the RAM Is Fully Detected
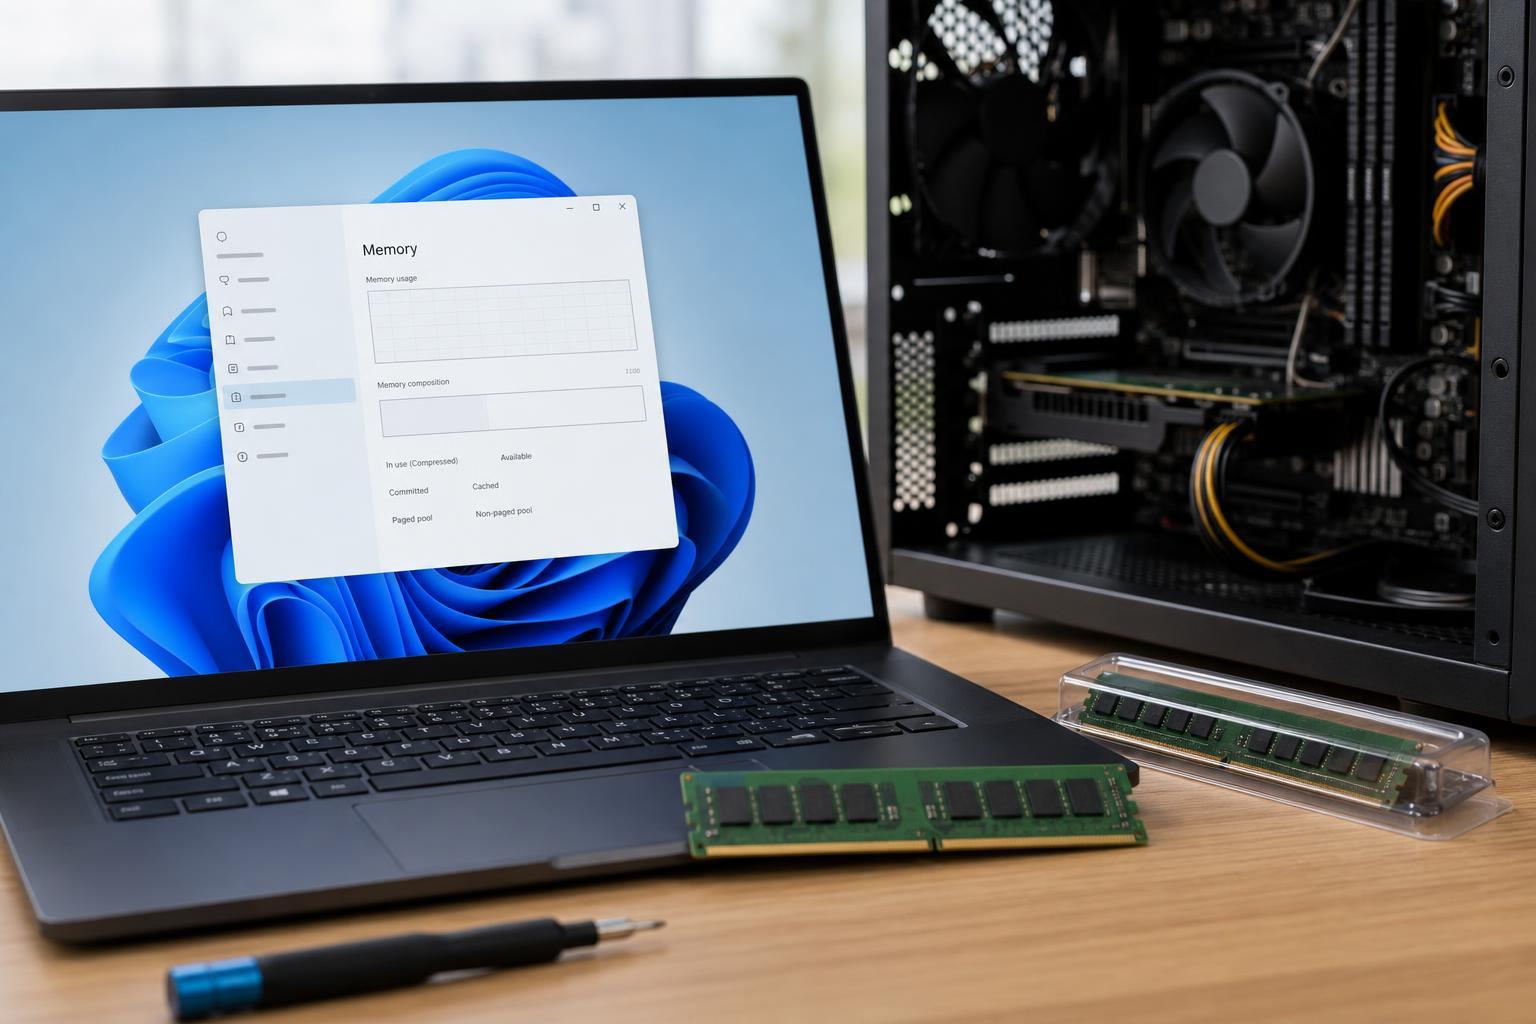
Before troubleshooting further, confirm what Windows 11 is actually seeing. Open Task Manager, go to the Performance tab, and select Memory. You can also check Settings > System > About to view installed RAM. If Windows shows less memory than you installed, one stick may not be seated properly, a slot may be disabled, or the motherboard may not support the full configuration.
Make Sure the RAM Is Compatible
Not all memory works with all systems, even if it fits physically. The RAM type, speed, capacity per stick, and supported configuration all have to match what your motherboard and CPU can handle.
- DDR4 and DDR5 are not interchangeable.
- Laptops and desktops often use different memory form factors.
- Some systems limit the total RAM capacity they can use.
- Certain motherboards do not support every speed or density of memory module.
- Mixing different kits can sometimes cause instability or prevent detection.
Reseat the RAM Modules
A DIMM that is not fully clicked into place can cause anything from no boot to only partial RAM detection in Windows 11. Power off the PC completely, switch off the power supply if you have a desktop, and disconnect power before opening the case.
- Remove the RAM stick(s) from the motherboard.
- Inspect the module and slot for dust or damage.
- Align the notch on the RAM with the slot and press down evenly on both ends until the latches click into place.
- If you have multiple sticks, install them in the recommended slots shown in the motherboard manual.
- Close the system and test again.
Test One Stick at a Time
If Windows still does not detect the new memory, isolate the problem by testing each stick individually. This helps determine whether one module is faulty or whether a specific slot on the motherboard is causing trouble.
- Shut the system down and remove all RAM modules.
- Install one stick in the primary recommended slot.
- Boot the PC and check whether Windows detects it correctly.
- Repeat the test with each stick, one at a time.
- If all sticks work alone but fail together, the issue may be a slot layout, BIOS, or compatibility problem.
Check the Motherboard Slot Order
Many motherboards require memory to be installed in specific slots for dual-channel operation. If the RAM is placed in the wrong slots, the computer may still boot, but Windows may not report the configuration as expected or may run less reliably.
Look at the motherboard manual for the recommended slots. On many systems, two sticks should go into slots A2 and B2 rather than A1 and B1, but this is not universal.
Update the BIOS or UEFI
A BIOS or UEFI update can improve memory compatibility, especially with newer RAM kits. This is one of the most important fixes if the system boots with old RAM but struggles with an upgraded kit.
- Find your motherboard model or laptop model number.
- Go to the manufacturer’s support page and look for the latest BIOS or UEFI release.
- Read the update notes to see whether memory compatibility is mentioned.
- Follow the vendor’s instructions carefully to apply the update.
- After updating, recheck whether Windows 11 detects the full amount of RAM.
Disable Memory Overclocking or XMP Temporarily
If your system has XMP, EXPO, or another memory profile enabled, the RAM may be trying to run at settings your motherboard cannot handle reliably. This can cause boot loops, crashes, or missing memory detection.
- Enter the BIOS or UEFI setup.
- Find the memory profile, XMP, EXPO, or overclocking section.
- Turn the profile off or switch to the default memory settings.
- Save and restart the system.
- Check whether the RAM is now detected correctly in Windows 11.
Verify Windows Sees the Full Amount as Usable
Sometimes Windows detects the installed RAM but does not allow all of it to be used. This can happen if the operating system is configured with a memory limit.
- Press Windows + R, type msconfig, and press Enter.
- Open the Boot tab and choose Advanced options.
- Check whether Maximum memory is enabled.
- If it is checked, clear it and save the change.
- Restart the computer and check the available RAM again.
Run a Memory Test
If the RAM is detected but the computer is unstable, freezes, or crashes, test the modules for errors. Windows Memory Diagnostic can identify obvious memory faults, while manufacturer tools or MemTest-style utilities can provide a deeper check.
- Search for Windows Memory Diagnostic and run it.
- Choose to restart and check for problems.
- Let the test finish and note any errors.
- If errors appear, test each RAM stick separately to find the faulty module.
- Replace any bad module under warranty if possible.
Look for Bent Pins, Dust, or Slot Damage
If the problem started immediately after installation, inspect the hardware closely. Desktop motherboards with Intel-style sockets may be sensitive to bent CPU socket pins, which can affect memory channels. Dust in the RAM slot or physical damage to the slot can also prevent proper detection.
- A module that looks seated but is not fully latched
- Dust or debris inside the DIMM slot
- Visible damage to the RAM connector
- Bent socket pins on affected platforms
- Cracked slots or signs of board damage
When the Problem Is Probably the RAM Kit
If the modules are installed correctly, the slots are good, the BIOS is updated, and the system still fails to detect them, the memory kit itself may be incompatible or defective. This is especially likely if the problem began only after swapping from a known-working kit to the new one.
At that point, compare the new RAM’s exact model number with your motherboard’s compatibility list if one is available. If the kit is listed as supported but still fails, contact the seller or manufacturer for a replacement or RMA.
How to Narrow Down the Cause Quickly
If you want a fast way to isolate the issue, work through the problem in this order:
- Confirm how much RAM Windows 11 sees in Task Manager.
- Reseat the modules and make sure they click in fully.
- Test each stick one at a time in the primary slot.
- Check the correct slot order in the motherboard manual.
- Disable XMP or EXPO and retest.
- Update the BIOS or UEFI.
- Run a memory diagnostic.
- Replace any stick or slot that consistently fails.
What Usually Fixes It
For most people, the fix is one of these: the RAM was not seated correctly, the sticks were installed in the wrong slots, XMP was too aggressive, or the motherboard needed a BIOS update for compatibility. If Windows 11 still does not show the upgraded memory after those checks, the RAM kit or motherboard hardware is the most likely culprit.





