Google Forms can collect more than text responses. If you need people to send documents, images, PDFs, or other files, the file upload question lets you gather everything in one place.
This guide shows how to add file uploads in Google Forms, what restrictions apply, and what your respondents need to do before they can submit a file.
Before You Start
File upload is only available in Google Forms when you are signed in with a Google account. In many cases, respondents also need to sign in before they can upload anything.
- A Google account for the form owner
- A Google account for the person uploading files in many setups
- Enough Google Drive storage for the uploaded files
- A clear plan for what file types and sizes you want to accept
How to Add a File Upload Question
- Open Google Forms and create a new form or open an existing one.
- Click the plus button to add a new question.
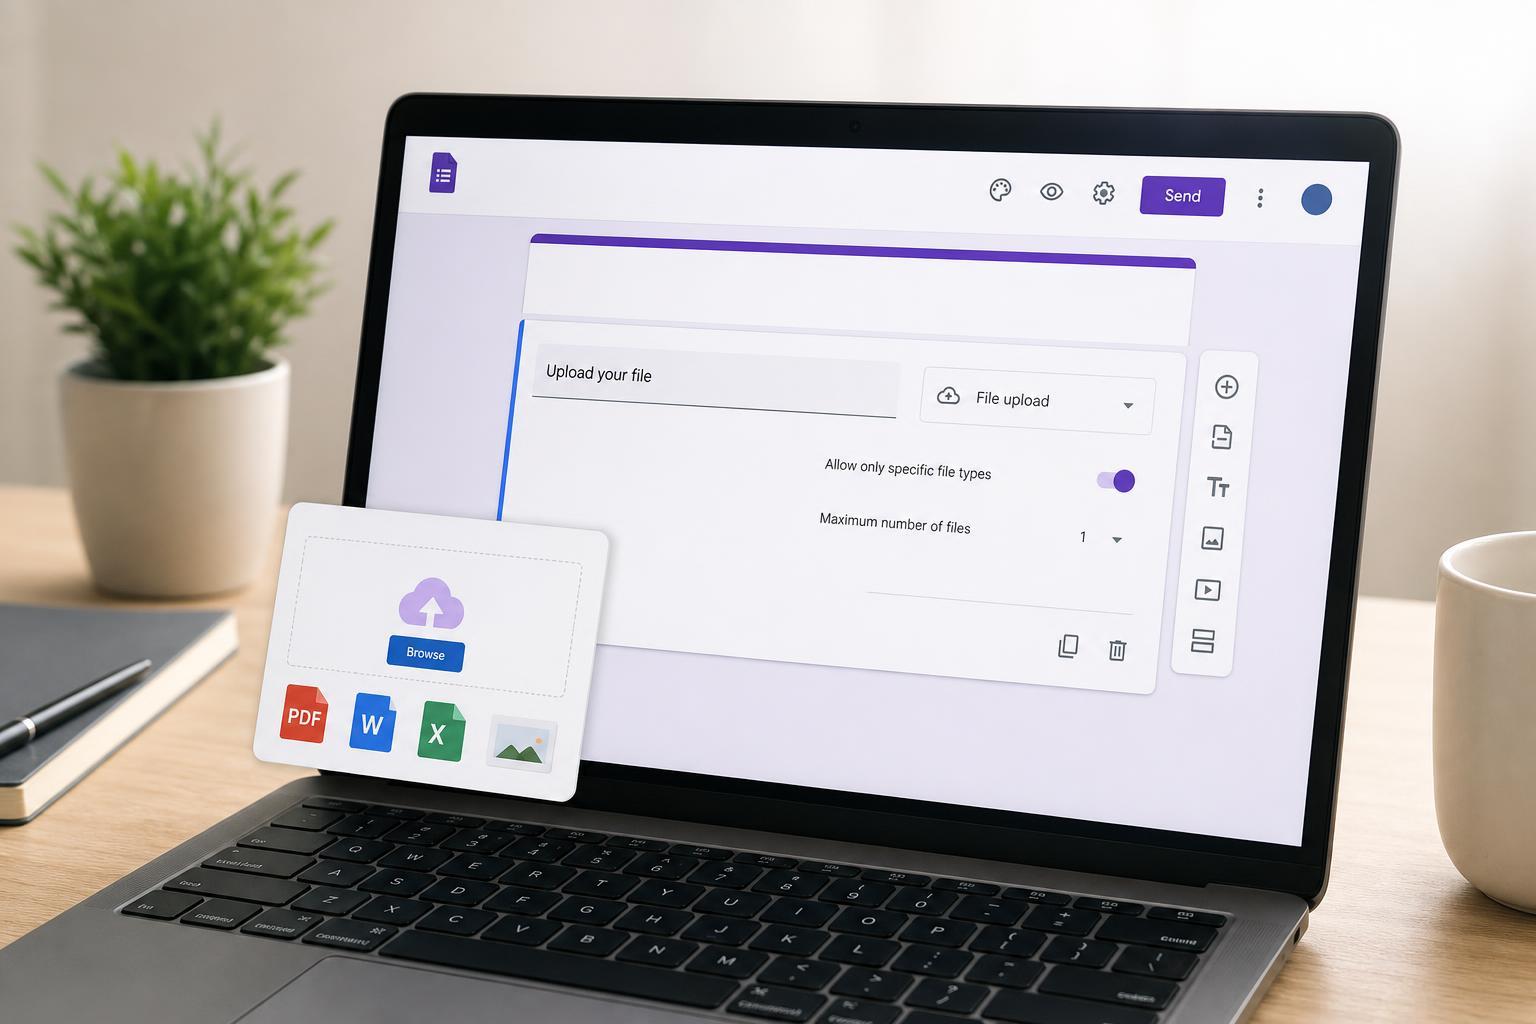
- Open the question type drop-down and choose File upload.
- If prompted, review the warning that Google will store uploaded files in Drive and may require users to sign in.
- Confirm that you want to use the file upload question.
- Set the file type, maximum number of files, and maximum file size for the question.
Choose the Right Upload Limits
Google Forms lets you control what people can upload. This is useful if you want only certain file types or need to keep submissions manageable.
- File types such as documents, spreadsheets, PDFs, images, videos, or archives
- The number of files a respondent can attach
- The maximum file size per file
- Whether respondents may submit one file or several files in a single response
What Respondents Need to Do
When someone opens the form, the file upload question appears as a button or drop zone. They click it, choose a file from their device, and then wait for the upload to finish before submitting the form.
- Open the form link.
- Sign in with a Google account if required.
- Click Add file or the upload area.
- Select the file from the device.
- Wait until the upload completes.
- Submit the form after the file has uploaded successfully.
Common Reasons File Upload Does Not Work
If the file upload option is missing or people cannot attach files, the cause is usually related to account restrictions or form settings.
- The form owner is not signed in with a Google account
- The respondent is not allowed to sign in or does not have permission
- The upload question is disabled or was removed
- The file type is not allowed by the question settings
- The file is too large for the selected limit
- Google Drive storage for the form owner is full
Best Uses for Google Forms File Uploads
File upload questions are especially useful when you need respondents to send a file without using email attachments. They keep submissions organized and make it easier to review responses in one place.
How to Manage Uploaded Files
Each uploaded file is saved to a folder in Google Drive linked to the form. You can open the form responses in Google Forms or go to Drive to review the uploaded files directly.
- Open the form responses tab to review submissions
- Use the linked Drive folder to find uploaded files
- Rename or move files if you need a different organization system
- Make sure you have enough Drive storage for incoming files
If You Need Uploads Without Sign-In
Google Forms file upload usually requires sign-in, so it is not ideal when you need completely anonymous or public submissions. If that is a requirement, you may need a different form tool or another way to collect files.
Checking the Form Before Sharing
- Use Preview to open the form as a respondent.
- Test the file upload question with a sample file.
- Confirm that the allowed file types and size limits match your needs.
- Check that the uploaded file appears in the linked Drive folder after submission.