The iPhone 13 can take excellent photos, but a few built-in camera settings make a noticeable difference in sharpness, color, low-light performance, and overall consistency. If your photos sometimes look too dark, too bright, or just not as clear as you expected, these settings are the best place to start.
This guide focuses on the five settings most likely to improve everyday photos on the iPhone 13, whether you are shooting people, pets, scenery, or quick snapshots.
1. Turn on Smart HDR and leave it enabled
Smart HDR helps the iPhone 13 balance bright and dark areas in the same shot. It is especially useful when you are photographing a person in front of a bright window, a cloudy sky, or any scene with strong contrast.
For most people, the best choice is to keep HDR active so the camera can automatically decide when it is needed. This reduces the chance of blown-out skies and dark faces in mixed lighting.
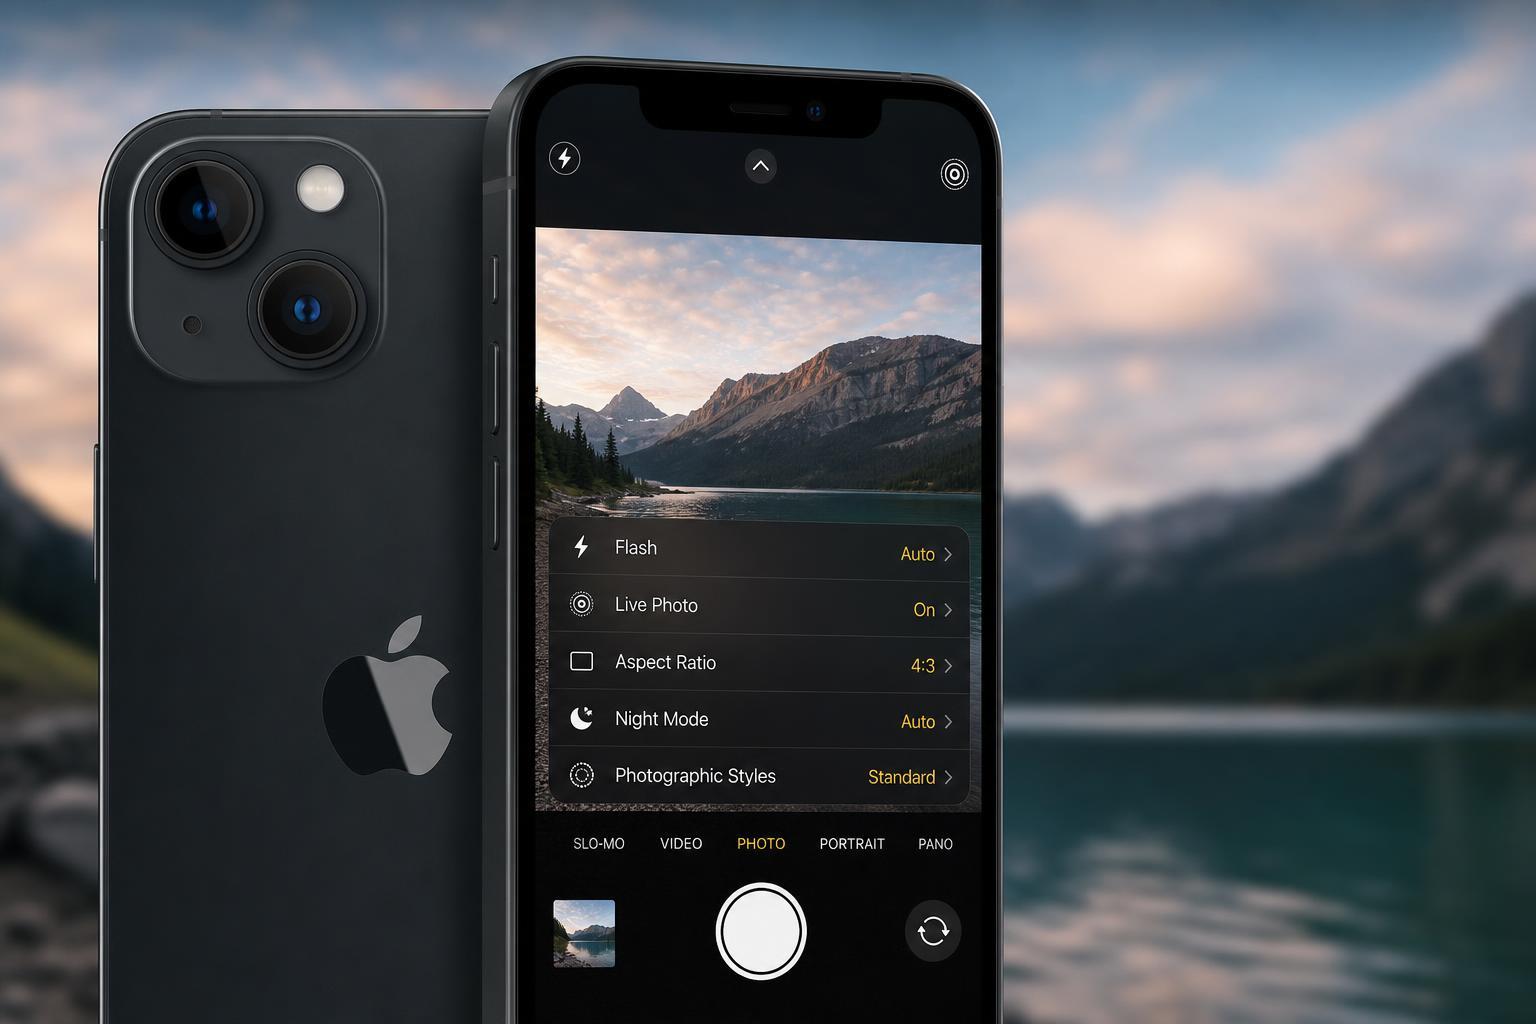
2. Use Photographic Styles instead of heavy filters
Photographic Styles let you change the look of your photos without applying a harsh post-shot filter. Unlike older filter effects, these styles are built to keep skin tones and important colors more balanced.
- Open the Camera app and look for the Photographic Styles icon near the top of the screen.
- Choose a style such as Standard, Rich Contrast, Vibrant, Warm, or Cool.
- Adjust the tone and warmth sliders if you want a slightly stronger or softer look.
- Take a few test shots in the type of lighting you use most often.
If you want photos that look polished straight from the camera, this is one of the most useful settings to experiment with. Standard is the safest choice, but Rich Contrast or Vibrant can help scenes look a little more striking without looking overly edited.
3. Keep Live Photos on for more flexible shots
Live Photos capture a short moment before and after you press the shutter. That extra motion can help you choose a better frame later, especially when someone blinks or moves at the wrong second.
This setting does not directly make the image sharper, but it can help you save more usable shots from the same scene. For fast-moving kids, pets, or group photos, that matters a lot.
4. Adjust exposure before you shoot
The iPhone camera often does a good job automatically, but you can improve the result by tapping the subject and sliding the exposure control up or down before taking the photo. This is one of the easiest ways to prevent faces from looking too dark or bright skies from being overexposed.
- Open the Camera app.
- Tap on the part of the scene you want to expose correctly.
- When the yellow focus box appears, slide the sun icon up to brighten or down to darken the image.
- Take the photo after the preview looks right on screen.
A small adjustment usually works better than a large one. If you push exposure too far, you may lose detail in highlights or shadows. The goal is to guide the camera, not overpower it.
5. Use the highest practical resolution and image format options
The best quality comes from keeping your photos as detailed as possible while still matching how you plan to use them. On iPhone 13, you should use the most detailed capture option available in your settings when you want better cropping flexibility or larger prints.
If your iPhone model and iOS version offer ProRAW or a higher-resolution mode through compatible apps or settings, use it for important shots where you want more editing room. For everyday casual photos, the standard camera format is still very good and easier to manage.
- Use the highest quality setting for important moments you may edit later.
- Stick with standard capture for quick everyday photos if storage space matters.
- Check your available iPhone storage if you start taking more large photo files.
- Use editing only after you have the best possible original image.
A few quick habits that help every setting work better
Good camera settings help, but a few simple habits matter just as much. Clean the lens before shooting, hold the phone steady in lower light, and tap to focus on the main subject instead of letting the camera guess.
- Wipe the lens gently with a soft cloth before important photos.
- Use natural light whenever possible.
- Avoid zooming too far digitally unless you have no better option.
- Take two or three shots if the moment matters and delete the weaker ones later.
Which settings should you change first?
If you want the biggest improvement with the least effort, start with exposure control and Photographic Styles. Then make sure HDR is available, keep Live Photos on for important moments, and only move into higher-resolution or advanced capture options when you need more editing flexibility.