
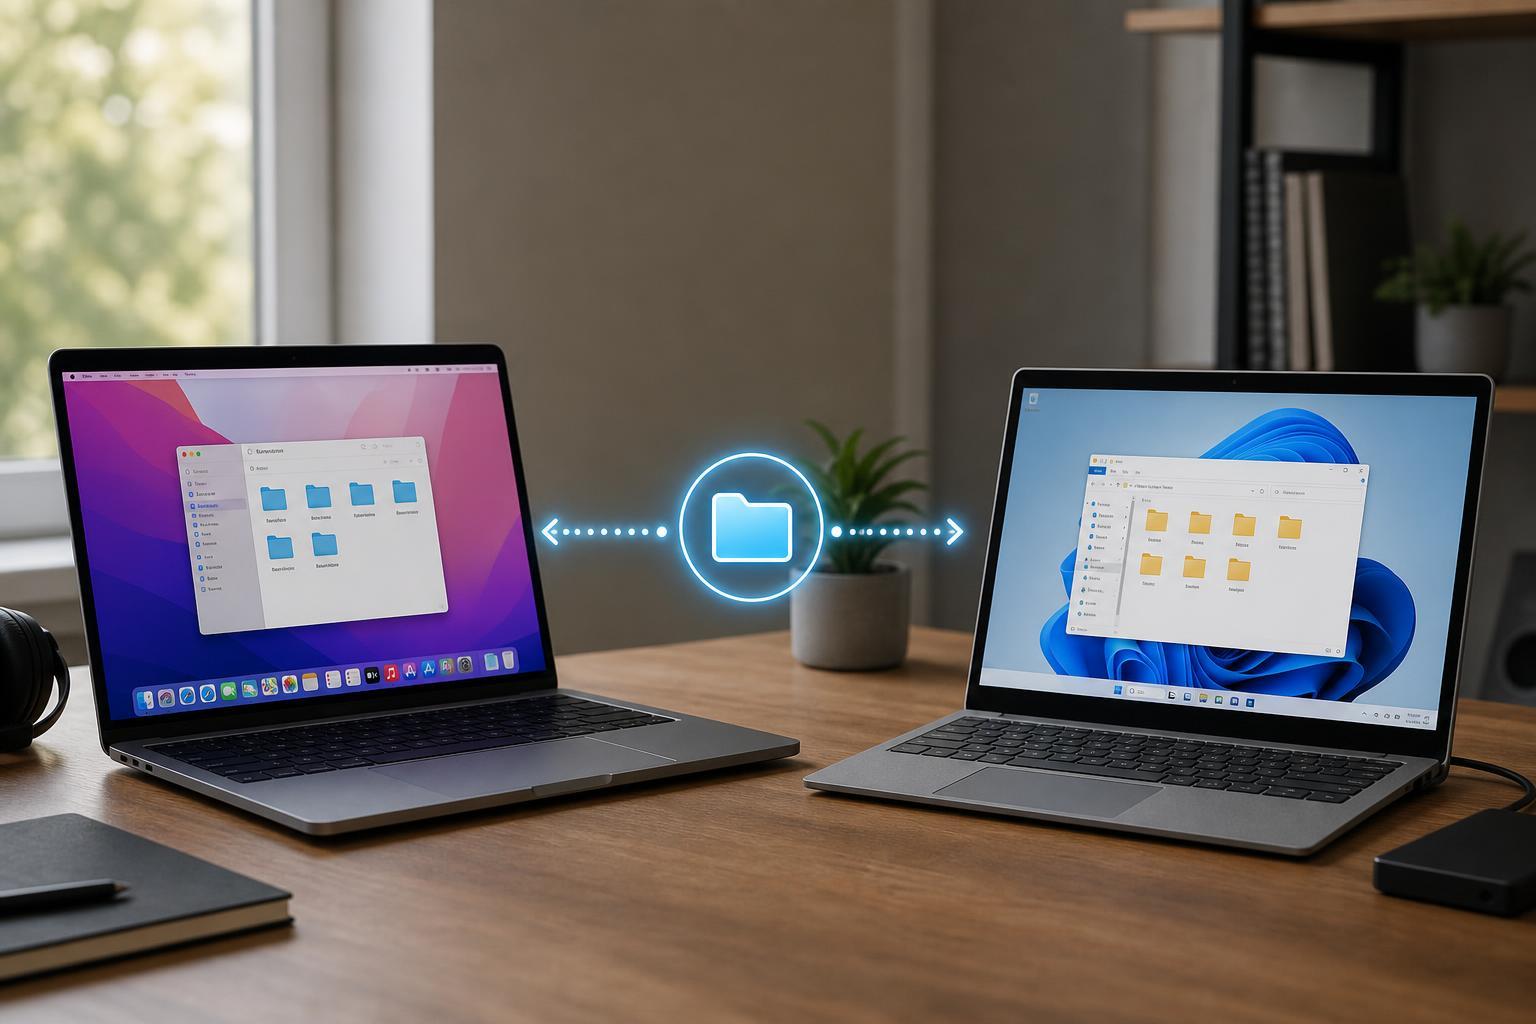
If you use both Windows and Mac computers on the same network, local folder sharing can make it much easier to move files back and forth without using email, cloud storage, or a USB drive. The good news is that Windows and macOS can both connect to the same shared folder using standard network file sharing.
The basic idea is simple: you choose one computer to host the shared folder, turn on file sharing, set permissions, and then connect to that folder from the other computer. The exact steps are a little different on Windows and Mac, but they are straightforward once you know where to look.
What You Need Before You Start
- Both computers connected to the same local network
- A folder on one computer that you want to share
- An account with permission to change sharing settings
- The other computer’s network name or local IP address, if needed
Choose Which Computer Will Host the Shared Folder
Before changing settings, decide where the folder will live. That computer will act as the host, and the other computer will connect to it as a client. You can share from Windows to Mac, from Mac to Windows, or both at once if needed.
Set Up Folder Sharing on Windows
- Right-click the folder you want to share and choose Properties.
- Open the Sharing tab, then click Advanced Sharing.
- Check Share this folder.
- Click Permissions to control who can access the folder and what they can do.
- Choose the access level you want. For example, you may allow read-only access or full control for trusted users.
- Click OK to save the sharing settings, then close the Properties window.
If you want to use your Windows account when connecting from the Mac, make sure that account has a password. Windows file sharing usually works more reliably with password-protected accounts than with accounts that have no password.
Enable Network Discovery and File Sharing in Windows
- Open Control Panel and go to Network and Sharing Center.
- Select Change advanced sharing settings.
- Turn on Network discovery.
- Turn on File and printer sharing.
- If needed, confirm that password-protected sharing is enabled for better security.
- Save your changes.
Connect to a Windows Shared Folder from Mac
- On the Mac, open Finder.
- In the menu bar, choose Go, then Connect to Server.
- Type the Windows computer address in SMB format, such as smb://ComputerName or smb://192.168.1.25.
- Click Connect.
- Enter the Windows username and password when prompted.
- Select the shared folder if macOS shows more than one available share.
If the Mac cannot find the computer by name, use the Windows PC’s local IP address instead. That is often the quickest way to connect on a home network.
Set Up Folder Sharing on Mac
- On the Mac, open System Settings.
- Go to General, then Sharing.
- Turn on File Sharing.
- Click the information button or options related to File Sharing.
- Add the folder you want to share using the shared folders list.
- Set the user permissions to Read & Write, Read Only, or another option that fits your needs.
macOS uses SMB for Windows-compatible file sharing, so you usually do not need a separate app. Once File Sharing is turned on, the Mac can present the folder to Windows computers on the network.
Connect to a Mac Shared Folder from Windows
- On the Windows PC, press Windows + E to open File Explorer.
- In the address bar, type the Mac address in SMB format, such as \\MacName or \\192.168.1.20.
- Press Enter.
- If prompted, enter the Mac username and password.
- Open the shared folder from the network location shown in File Explorer.
Set the Right Permissions
Sharing a folder is only half the job. Permissions determine whether the other computer can only read files or can also add, edit, and delete them. For a simple home setup, it helps to give read and write access only to people and devices you trust.
- Read only: Good for documents you do not want changed accidentally
- Read & write: Best for active file exchange between your own devices
- Full control: Usually unnecessary unless you fully trust the other user and need advanced management
How to Make the Connection Easier
A few small choices can make local sharing much smoother over time. For example, give the shared folder a simple name, keep both devices on the same Wi-Fi or Ethernet network, and use a stable computer name or IP address if the network changes often.
Troubleshooting Common Problems
- The other computer cannot see the shared folder: try connecting directly by IP address instead of browsing the network.
- Login fails: confirm the username and password, and check that the account really exists on the host computer.
- Permission denied: review the folder permissions on the host system and make sure the account has access.
- The folder connects but you cannot save files: the share may be read-only, or the account may not have write permission.
- The connection is slow or unstable: check that both devices are on the same network band and that Wi-Fi signal strength is good.
If the folder still does not open, verify that firewalls on either computer are not blocking SMB file sharing. This is especially important on Windows if the network is set to Public instead of Private.
Security Tips for Local Sharing
- Share only the folders you actually need.
- Use user accounts with passwords.
- Keep permissions as limited as possible.
- Turn off file sharing when you no longer need it on a public or guest network.
- Avoid sharing sensitive folders unless necessary.
A Simple Setup That Works Well in Practice
For most people, the easiest arrangement is to share one folder on the computer that stores the files most often, give it read/write access for a trusted account, and connect to it from the other computer using the local IP address if the network name does not work. That setup is stable, easy to repeat, and usually avoids unnecessary network troubleshooting.





