
If Windows 11 is having trouble connecting to Wi‑Fi, Ethernet, VPNs, or Bluetooth networking features, a network reset can clear out broken adapters and corrupted settings in one step. It is a useful last-resort fix when simpler troubleshooting has not worked.
This guide shows you how to reset network settings in Windows 11, what the reset changes, and what you need to do afterward to get back online.
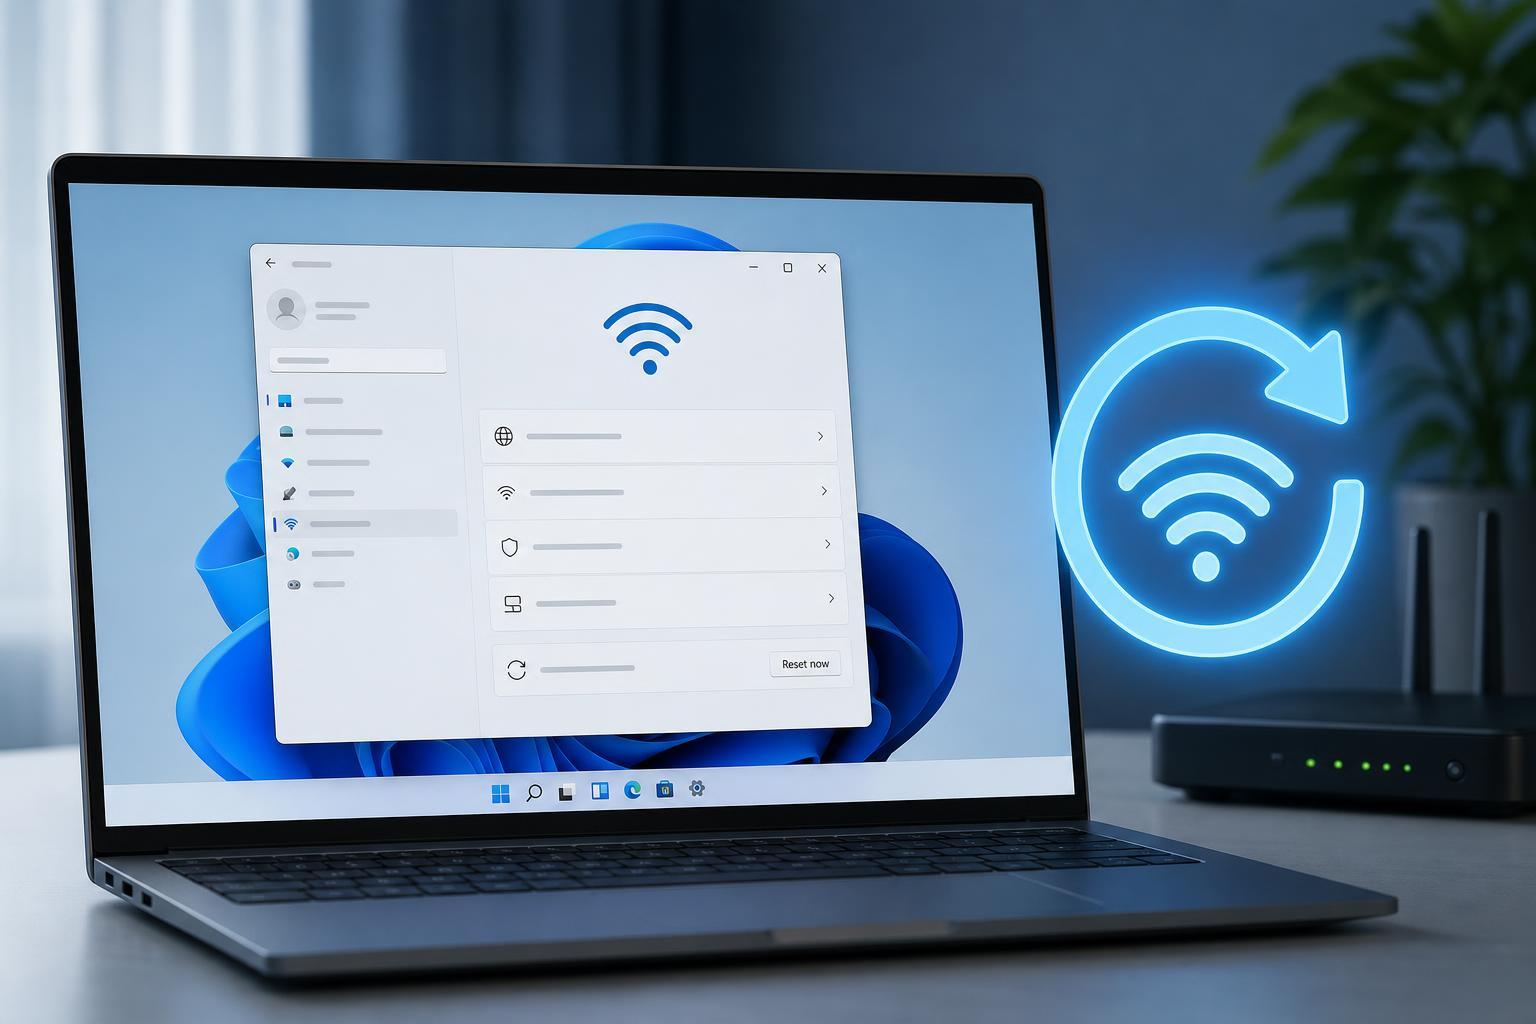
What a Network Reset Actually Does
Windows 11’s network reset removes and reinstalls your network adapters and restores many networking components to their default state. That often helps when a bad driver configuration, a damaged adapter profile, or a misbehaving VPN has broken normal connectivity.
- Removes and reinstalls network adapters
- Restores network-related settings to default values
- Forgets saved Wi‑Fi networks and passwords
- Can remove custom DNS or proxy settings
- May require reinstalling VPN or virtual network software
How to Reset Network Settings in Windows 11
- Open Settings by pressing Windows + I.
- Select Network & internet from the left side.
- Scroll down and click Advanced network settings.
- Under More settings, choose Network reset.
- Read the warning message carefully, then click Reset now.
- Confirm with Yes when Windows asks if you want to continue.
- Wait while Windows removes and reinstalls the network adapters.
- Restart your PC when prompted, or do so manually if Windows does not restart automatically.
What to Do After the Reset
After the reset, Windows may show your network connection as unavailable until the adapters finish reinstalling and the computer restarts. Once you are back on the desktop, reconnect to your network and test the connection.
- Reconnect to your Wi‑Fi network and enter the password again if needed.
- Check whether Ethernet connects automatically after the restart.
- Recreate any VPN connections you use regularly.
- Reapply custom DNS, proxy, or static IP settings if you had them before.
- Test a web browser, email app, or game launcher to confirm the issue is fixed.
When a Network Reset Is Worth Trying
A network reset is most useful when the problem affects several kinds of network access or when Windows networking features have become unstable. It is a strong option after more targeted fixes have failed.
- Wi‑Fi connects but there is no internet access
- Ethernet is detected but does not work correctly
- VPN connections fail unexpectedly
- Network adapters disappear, conflict, or act strangely
- Windows keeps showing limited or unavailable connectivity
Things to Check Before You Reset
A network reset is safe, but it is more disruptive than simpler fixes. If the problem is minor, these checks may save time and avoid reconfiguring everything afterward.
- Make sure Wi‑Fi is turned on and airplane mode is off
- Confirm the router or modem is working for other devices
- Try a different browser or app to see whether the issue is system-wide
- Check whether you use a proxy, VPN, or custom DNS setting
- Look for a disabled adapter in Advanced network settings or Device Manager
If the Reset Does Not Fix the Problem
If Windows 11 still cannot connect after a network reset, the issue is probably outside the basic networking settings. At that point, check the router, modem, cable, adapter driver, or ISP connection next.
- Update or reinstall your Wi‑Fi or Ethernet adapter driver
- Run the Windows Network troubleshooter
- Try another network to see whether the issue follows the PC
- Inspect the router and modem for errors or outages
- Check Device Manager for adapter warnings or missing hardware
A Quick Way to Decide Whether to Reset
If you have already restarted the router, reconnected to the network, and confirmed the cable or Wi‑Fi signal is fine, a Windows network reset is a sensible next step. It is especially helpful when multiple network features have stopped behaving normally at the same time.
If only one setting is wrong, fix that setting directly. If several network components seem broken, the reset is often the fastest clean slate.





