Rotating an image is usually a simple fix, but the exact steps depend on whether you are using a phone, a Windows PC, or another computer. This guide shows the fastest ways to turn a photo the right way up without using complicated editing software.
You will also see what to do if the image looks rotated in one app but not another, which is a common issue with phone photos and pictures downloaded from the web.
Rotate an Image on a Phone
Most phones let you rotate photos directly from the built-in gallery or Photos app. The steps are similar on iPhone and Android, even though the buttons may look slightly different.
- Open the photo in your phone's gallery or Photos app.
- Tap Edit or the pencil icon.
- Look for the crop, adjust, or rotate tool.
- Tap the rotate button until the image is facing the right direction.
- Save the changes.
Rotate an Image on iPhone
In the iPhone Photos app, rotation is built into the edit tools and is easy to use for quick fixes.
- Open Photos and select the image.
- Tap Edit in the top-right corner.
- Tap the crop icon at the bottom of the screen.
- Use the rotate button to turn the image 90 degrees at a time.
- Tap Done to save.
Rotate an Image on Android
Android phones vary by brand, but most gallery apps include the same basic rotate tool.
- Open the image in Google Photos or your phone's gallery app.
- Tap Edit.
- Find Rotate, Crop, or a similar tool.
- Rotate the image until it is correctly oriented.
- Save or make a copy, depending on the app.
Rotate an Image on Windows
Windows includes quick rotation tools in File Explorer and the Photos app, so you often do not need extra software.
- In File Explorer, right-click the image.
- Choose Rotate right or Rotate left if that option is available.
- For more control, open the image in the Photos app.
- Select the edit option, then use the rotate tool.
- Save the image when you are done.
Rotate an Image on Mac
On a Mac, the Preview app is the quickest built-in way to rotate a picture.
- Double-click the image to open it in Preview.
- Click the rotate button in the toolbar, or use the Tools menu.
- Rotate until the image is upright.
- Save the file or export a copy if needed.
What to Do If the Image Keeps Appearing Sideways
If a photo rotates correctly in one app but still looks wrong somewhere else, the file may contain orientation data that not every program reads the same way. This is common with photos from phones and cameras.
- Open the image in a different app and save it again after rotating it.
- If possible, export or convert the image to a standard format such as JPG.
- Check whether the app is showing a thumbnail preview instead of the actual saved file.
- If the image came from a camera or phone, try rotating it in the app that originally created or edited it.
When a Simple Rotate Is Not Enough
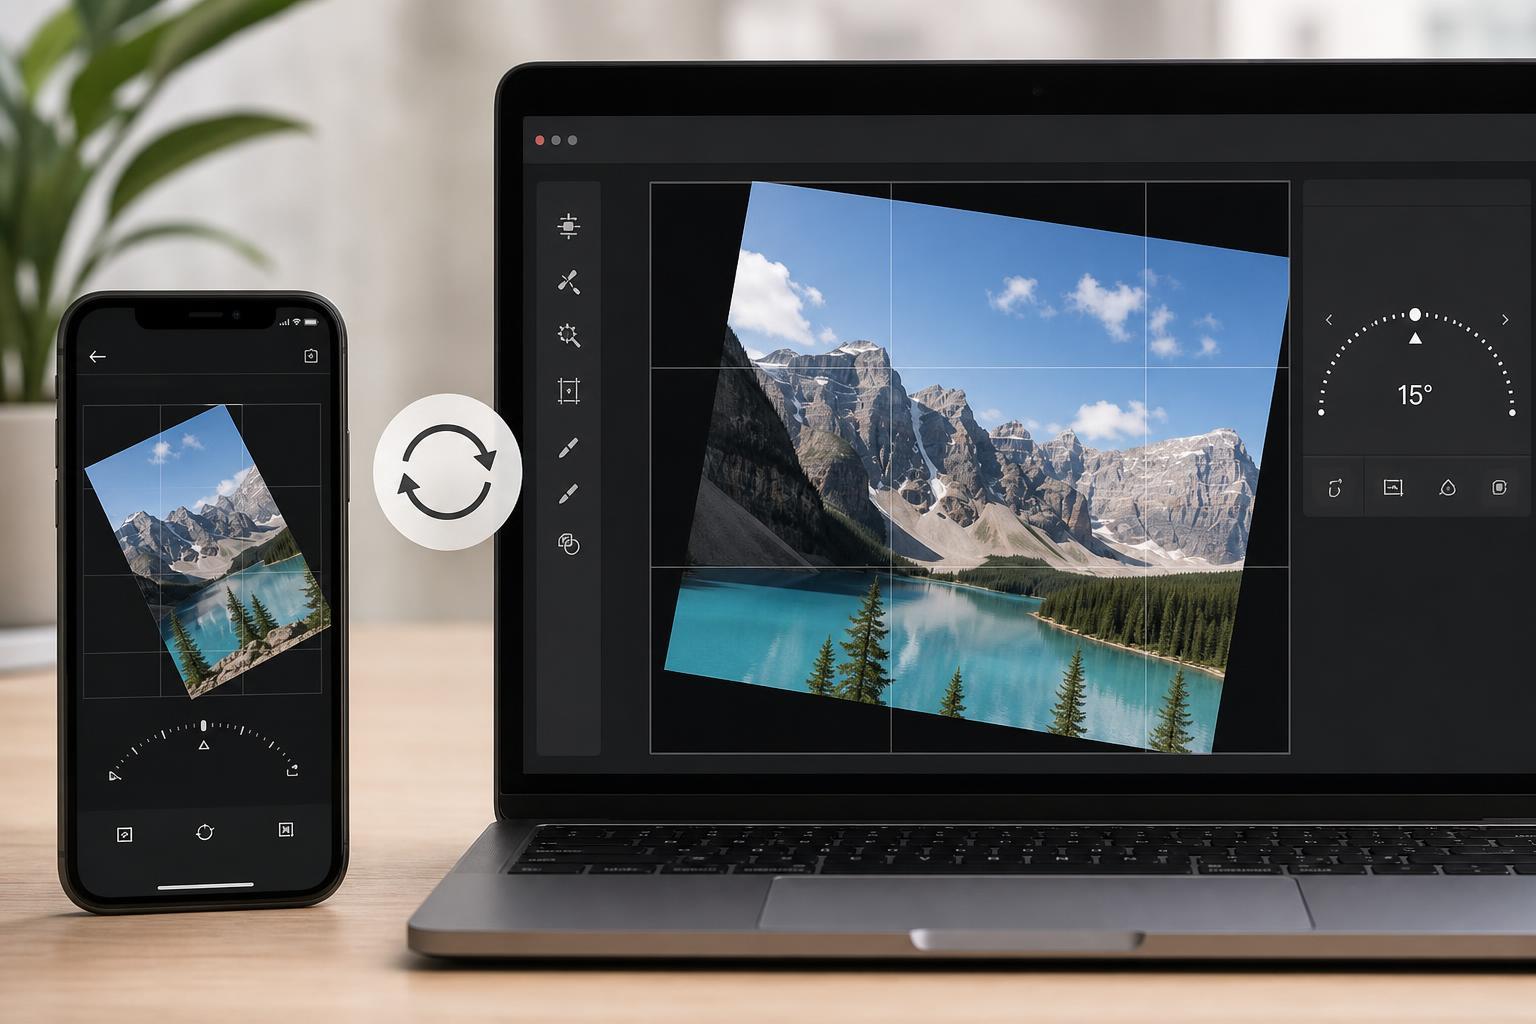
Sometimes you need more than a 90-degree turn. For example, a screenshot, scanned document, or camera image may be slightly tilted and need straightening rather than a full rotation.
- Use a photo editor with a straightening slider.
- Look for crop and rotate tools together, since they are often combined.
- Save a copy after adjusting the angle so the original remains untouched.
Quickest Method by Device
- iPhone: Photos app Edit > Crop > Rotate
- Android: Gallery or Google Photos Edit > Rotate
- Windows: Right-click the file in File Explorer or use the Photos app
- Mac: Preview toolbar rotate button