
Windows 11 lets you sign in with a Microsoft account for syncing settings, OneDrive, Microsoft Store apps, and more. But if you want more privacy, a simpler local login, or you’re handing the PC to someone else, you may want to remove that account from the device.
The exact steps depend on whether the Microsoft account is the one you use to sign in to Windows or just an additional account added for mail, apps, or work access.
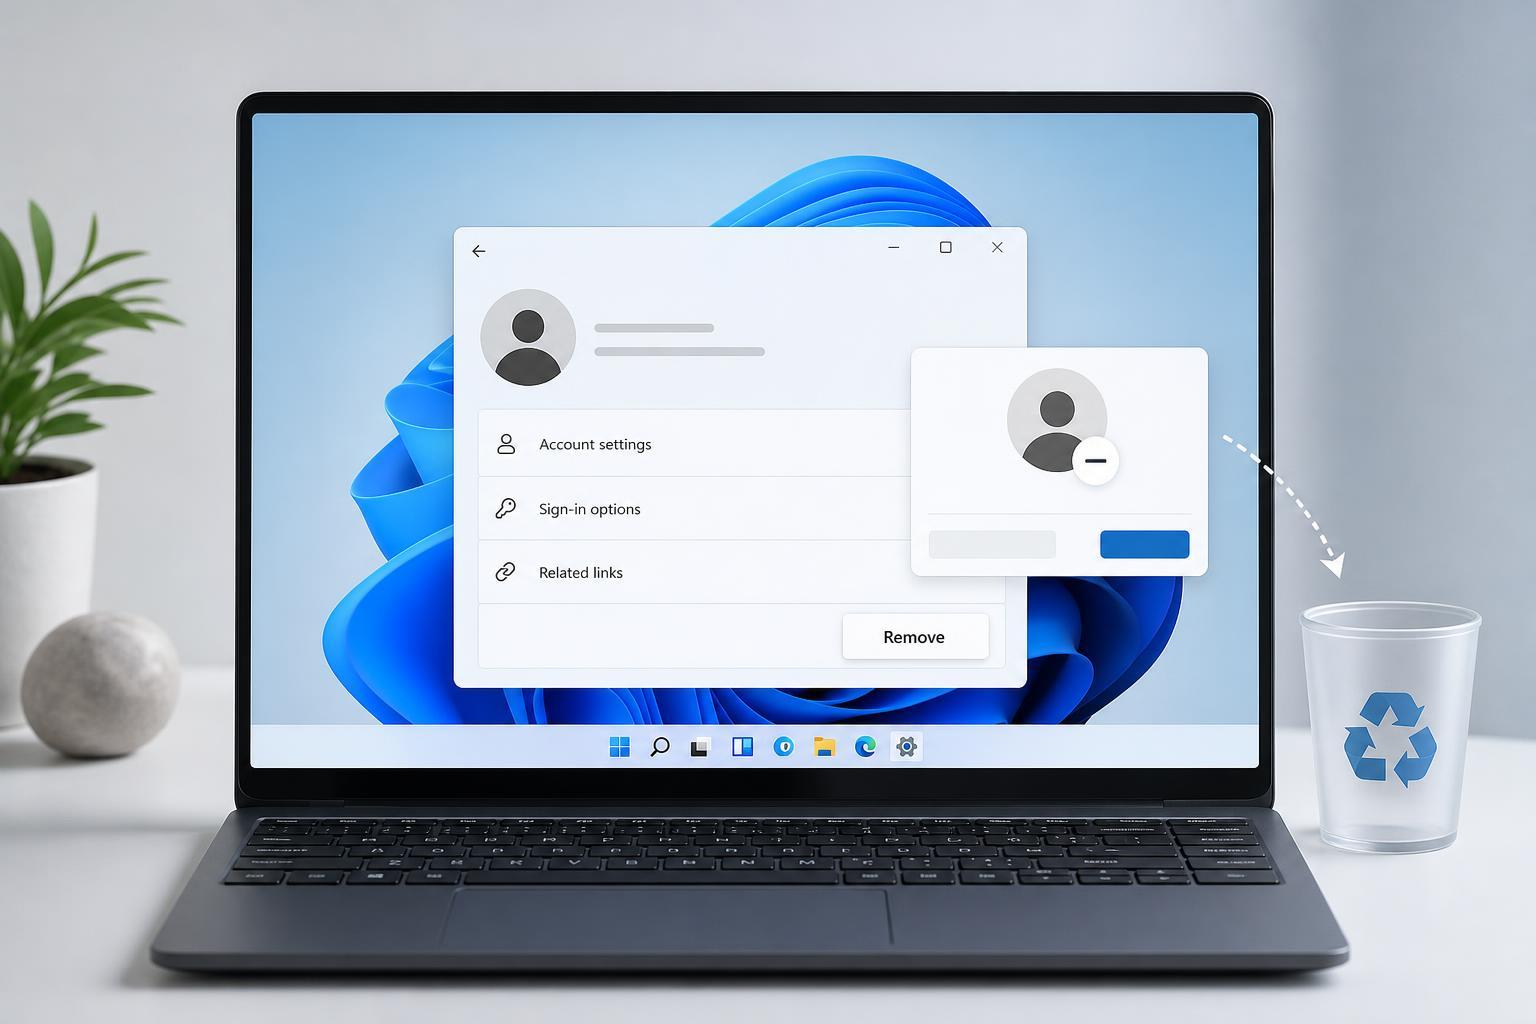
Before You Start
If this is the only account on the PC, Windows will not let you remove it while it is still the active sign-in account. In that case, you need to switch to a local account first, then remove the Microsoft account connection if needed.
Remove a Microsoft Account Used for Windows Sign-In
If you currently sign in to Windows 11 with a Microsoft account and want to stop using it, first convert the sign-in to a local account.
- Open Settings with Windows + I.
- Go to Accounts > Your info.
- Select Sign in with a local account instead.
- Follow the prompts to create a local username and password.
- Sign out and sign back in with the local account.
- Return to Settings > Accounts > Your info to confirm the switch is complete.
Once the PC is using a local account, your Microsoft account is no longer the Windows sign-in account. That removes the tight link between Windows and the Microsoft account while keeping the PC usable.
Remove an Added Microsoft Account From Windows 11
If the Microsoft account was added for email, apps, or other services, you can remove it directly from Windows settings.
- Open Settings.
- Select Accounts.
- Choose Email & accounts or Accounts used by other apps, depending on where the account appears.
- Click the Microsoft account you want to remove.
- Select Remove or Manage, then choose Remove on the confirmation prompt.
If you do not see a Remove button, the account may still be the main Windows sign-in account, or Windows may be protecting the last account needed for system access.
Remove the Account From Mail, Calendar, or Other Apps
Sometimes the account stays on the PC because it is still connected to Mail, Calendar, OneDrive, or another Microsoft app.
- Open the app that is still using the account.
- Open its Settings or Accounts section.
- Select the Microsoft account.
- Choose Delete account from this device, Remove account, or a similar option.
- Confirm the removal.
If You Want to Remove the Account for Good
Removing the account from Windows does not delete the Microsoft account online. If you no longer want the account at all, you must close it separately through Microsoft’s account closure process.
Common Problems When the Remove Option Is Missing
- The account is still the main Windows sign-in account
- You are signed in with administrator restrictions or family controls
- The account is connected to a work or school policy
- The account is being used by an app that is still open or running
- The PC has only one account and Windows will not allow the last sign-in account to be removed
What to Do If Windows Still Shows the Account After Removal
If the account still appears after you remove it, check whether it is saved in multiple places. Windows can keep separate entries for sign-in, email, apps, and work or school access.
- Check Accounts > Email & accounts
- Check Accounts > Access work or school
- Check individual apps such as Outlook, OneDrive, and Mail
- Look for synced browser profiles if you use Microsoft Edge
Best Way to Remove a Microsoft Account on Your PC
If the account is your Windows login, switch to a local account first. If it is only attached to apps or email, remove it from the relevant account section or app. That approach avoids lockouts and makes it easier to confirm the account is truly gone.
If you want, I can also create a shorter quick-guide version or a more detailed troubleshooting article for cases where Windows won’t let you remove the account.





