
OneDrive can be useful for backup and syncing, but there are times when you may want it to stop running in the background. Maybe you want to save bandwidth, avoid sync conflicts, reduce distractions, or use another cloud service instead. In Windows 11, you can pause OneDrive temporarily or disable it more permanently, depending on what you need.
This guide explains the difference between pausing sync, quitting OneDrive, unlinking your PC, and disabling OneDrive so you can choose the option that best fits your situation.
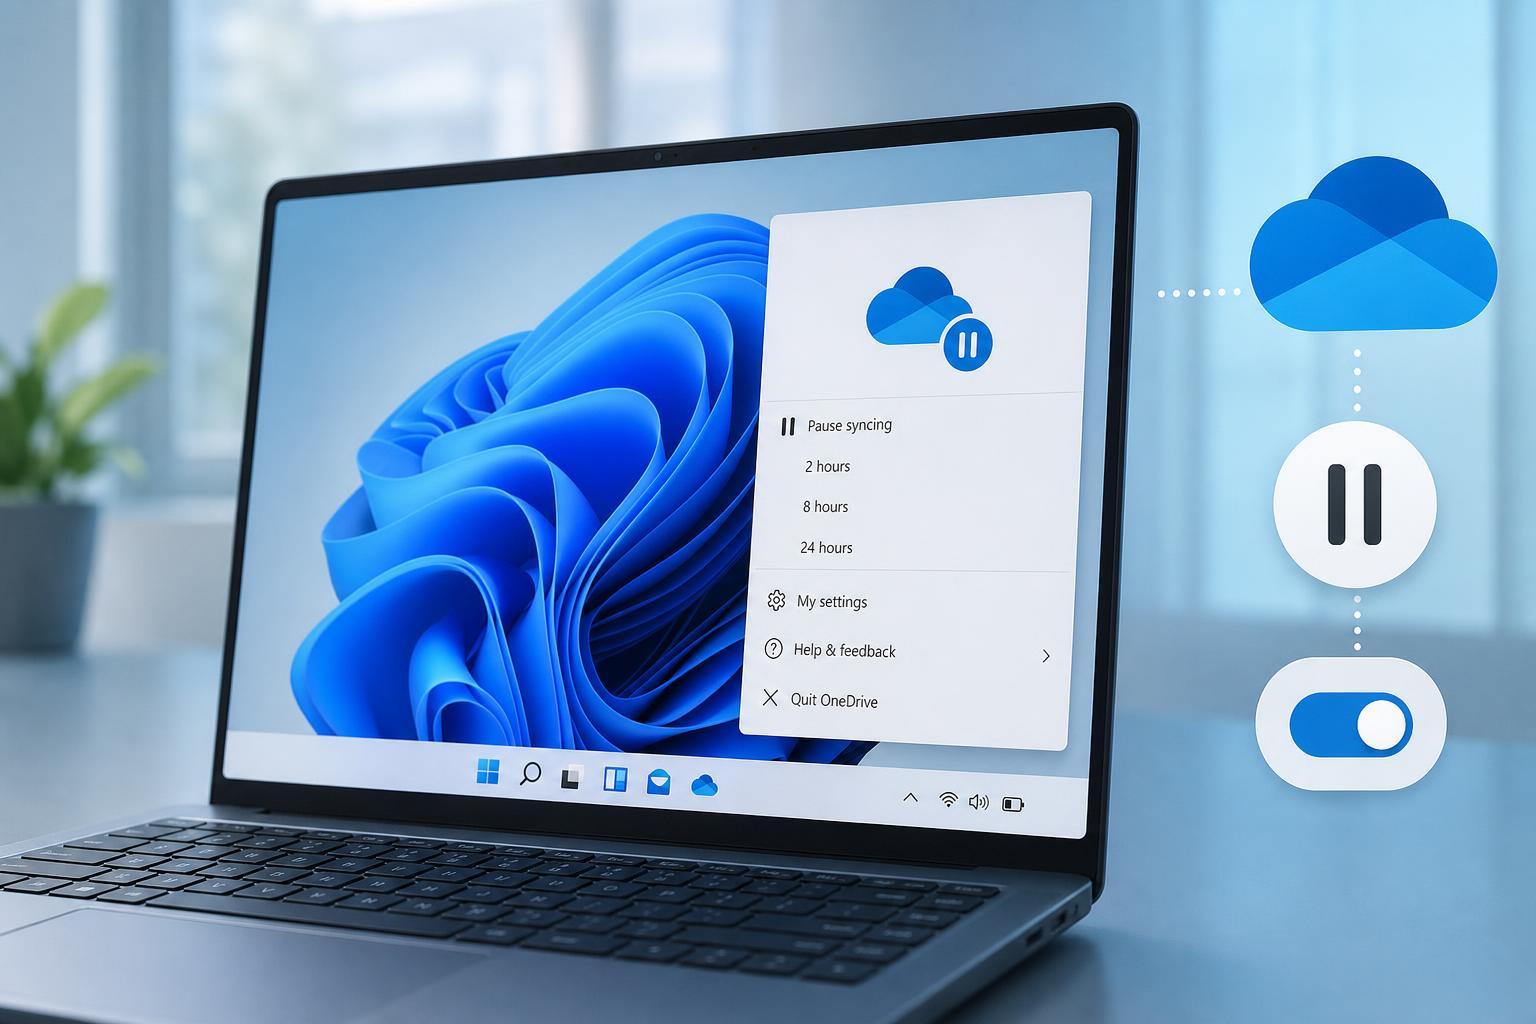
Pause OneDrive Sync Temporarily
If you only want OneDrive to stop syncing for a short time, pausing is the safest option. It does not remove your files or disconnect your account. OneDrive will simply stop syncing changes until you turn it back on.
- Select the OneDrive cloud icon in the system tray near the clock. You may need to click the hidden icons arrow first.
- Select Help & Settings.
- Choose Pause syncing.
- Pick how long you want to pause it: 2 hours, 8 hours, or 24 hours.
Quit OneDrive Without Changing Your Sync Setup
If you want OneDrive to stop running right now, you can quit the app. This closes OneDrive for the current session, but it may start again automatically later if Windows or a login item launches it.
- Select the OneDrive cloud icon in the system tray.
- Click Help & Settings.
- Select Quit OneDrive.
- Confirm if prompted.
Unlink OneDrive from Your Windows 11 PC
Unlinking your PC disconnects your device from your OneDrive account. Your files stay in the cloud and remain available on other devices, but this PC stops syncing with OneDrive until you sign in again.
- Select the OneDrive cloud icon in the system tray.
- Open Help & Settings, then select Settings.
- Go to the Account tab.
- Choose Unlink this PC.
- Confirm your choice.
Disable OneDrive Completely in Windows 11
If you do not want OneDrive to run at all, Windows 11 gives you a few ways to disable it. The best method depends on whether you want to turn it off lightly or remove it more thoroughly.
Option 1: Disable OneDrive from Startup
This prevents OneDrive from launching automatically when you sign in. It is a good choice if you still want the app installed but do not want it running unless you open it manually.
- Open Settings.
- Select Apps.
- Choose Startup.
- Find Microsoft OneDrive in the list.
- Turn the switch off.
Option 2: Uninstall OneDrive
If you do not use OneDrive at all, uninstalling it removes the app from your PC. Your cloud files are not deleted, but the OneDrive client will no longer be installed on that Windows account.
- Open Settings.
- Select Apps, then Installed apps.
- Find Microsoft OneDrive in the list.
- Select the three-dot menu next to it.
- Choose Uninstall and confirm.
Option 3: Stop OneDrive with Group Policy or Registry Tools
On some PCs, especially managed or Pro editions of Windows 11, OneDrive can be disabled more forcefully through policy settings. This is usually only necessary in business, shared, or tightly controlled environments.
What Happens to Your Files When You Turn Off OneDrive?
Turning off OneDrive does not automatically erase your cloud data. Your files normally remain in your OneDrive account online, and other devices connected to that account can still sync with them. What changes is how this PC handles those files.
- Pausing sync only delays updates temporarily.
- Quitting OneDrive closes the app for now, but it may come back later.
- Unlinking stops syncing on that PC but keeps the cloud account active.
- Uninstalling removes the local app, not your online OneDrive storage.
- Disabling startup prevents OneDrive from opening automatically when you sign in.
Which Option Should You Use?
If you only need a short break, pause syncing. If OneDrive is causing a temporary issue, quit it. If you want the PC disconnected from your account but still keep OneDrive installed, unlink the PC. If you want OneDrive to stop opening every time you log in, disable it from startup. If you never want to use it on that device, uninstall it.
How to Turn OneDrive Back On
If you paused, quit, unlinked, or disabled OneDrive, you can always turn it back on later.
- If sync was paused, open the OneDrive menu and resume syncing.
- If you quit OneDrive, search for OneDrive in the Start menu and open it again.
- If you unlinked the PC, sign back in to OneDrive and choose the folder location you want.
- If you disabled startup, return to Startup apps in Settings and turn Microsoft OneDrive back on.
- If you uninstalled it, reinstall OneDrive from Microsoft if you want the app back.





