
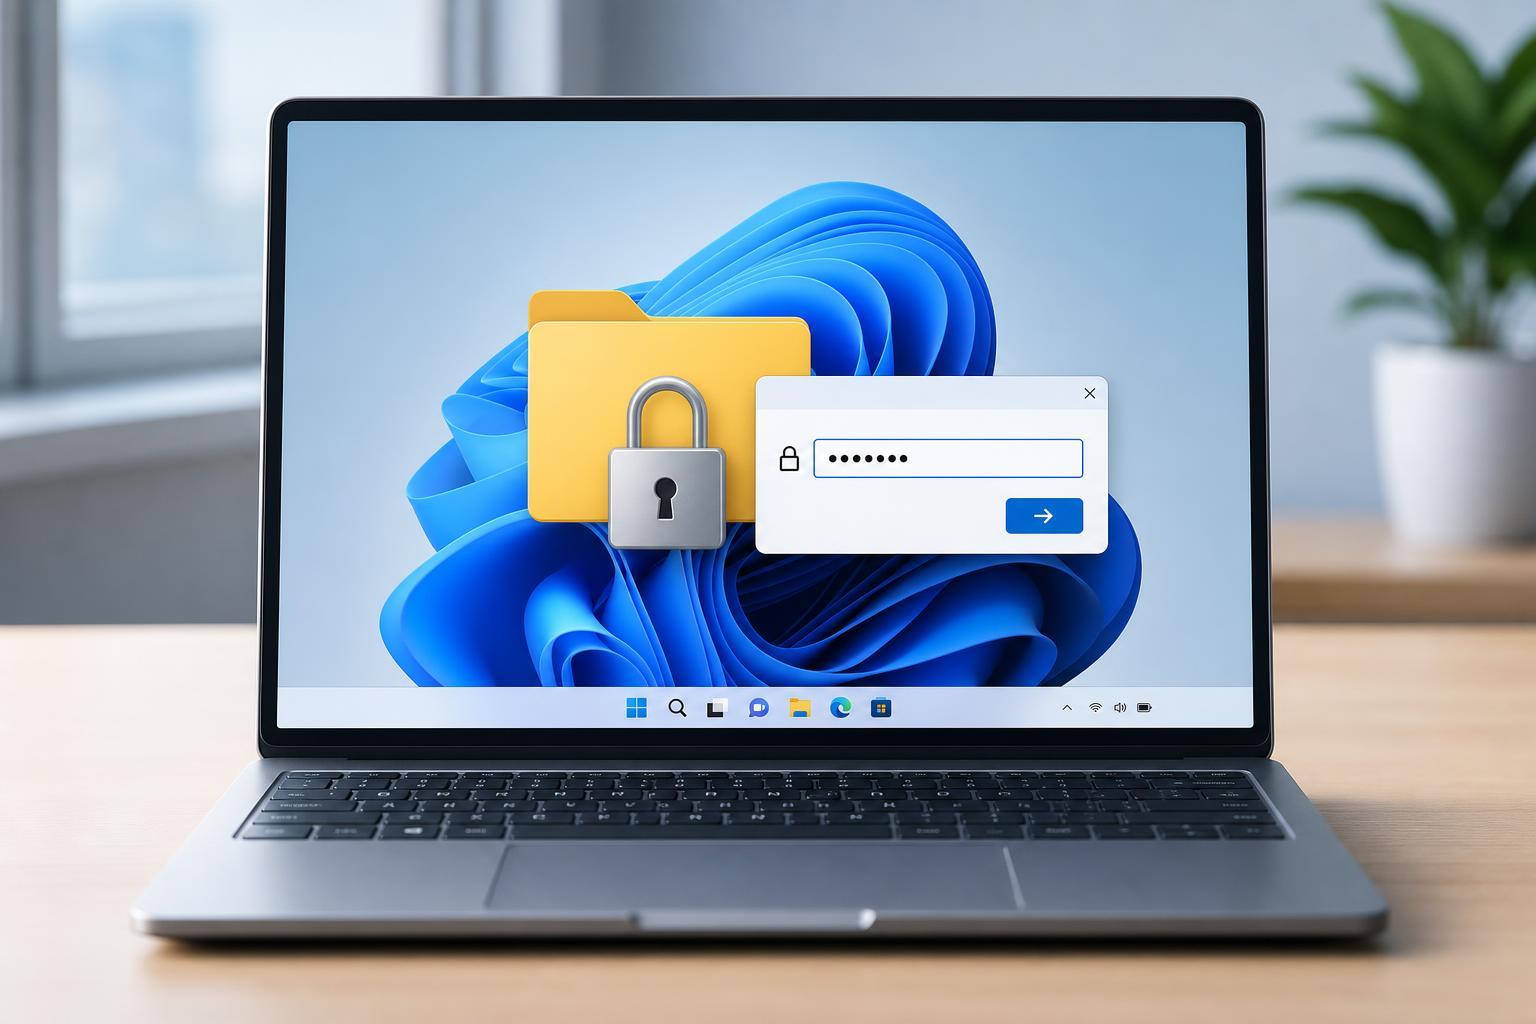
Windows 11 does not include a simple built-in “right-click and set a folder password” feature for regular folders. If you want to keep files private, you need to use a different method depending on how much protection you need and whether you share the PC with other people.
This guide explains the most practical ways to protect a folder on Windows 11, from simple ZIP passwords to stronger encryption and account-based privacy settings.
What Windows 11 Can and Cannot Do
It helps to start with one important limitation: Windows 11 does not let you password protect a standard folder in File Explorer with a native password prompt. That means you will not find a simple “set password” option for an ordinary folder the way many people expect.
- You can compress files into a password-protected archive with third-party tools.
- You can encrypt folders or files with Windows encryption features, depending on your edition and hardware.
- You can restrict access by using separate Windows user accounts and permissions.
- You can use third-party folder-locking software if you need a password prompt for a specific folder.
Option 1: Use a Password-Protected ZIP or Archive
For many people, the easiest approach is to place the files inside a password-protected archive. This is useful when you want to store documents, photos, or backups in a single locked file.
- Install a file archiver that supports encryption, such as 7-Zip or WinRAR.
- Right-click the folder you want to protect and choose the archiver’s add-to-archive option.
- Choose ZIP or 7z format, then set a strong password.
- If available, enable encryption for file names as well so the contents are less obvious.
- Create the archive and test it by opening it to make sure the password prompt appears.
After that, keep the original unprotected folder somewhere safe or delete it if you no longer need it. If you leave the original files in place, the password-protected archive does not add any real privacy.
Option 2: Use Windows File Encryption
Windows includes file encryption features that can protect data on the account that created it. This is different from a folder password: it does not usually ask for a password every time you open the folder, but it does help stop other accounts on the same PC from reading the files.
- Right-click the folder you want to protect and choose Properties.
- Open the Advanced button on the General tab.
- Check Encrypt contents to secure data, then select OK.
- Apply the changes to the folder and, if prompted, choose whether to encrypt just the folder or the folder, subfolders, and files.
- Back up any encryption keys or recovery information if Windows asks you to do so.
This method is useful if you are mainly trying to stop other Windows accounts on the same PC from opening your files. It is not the same as a shareable password lock, so it is not the best choice if you need to move the folder to another PC or give access to someone else later.
Option 3: Protect the Folder by Using a Separate Windows Account
If multiple people use the same computer, one of the simplest privacy protections is to store private files in a user account that others cannot open.
- Create a separate Windows account with its own sign-in details.
- Sign in to that account and move the private files into that user profile or a private folder.
- Make sure other users do not have permission to the folder.
- Use a strong password on the account itself.
- If needed, turn on account sign-in options such as a PIN or Windows Hello for easier access.
This approach works well because Windows already uses account permissions as a security boundary. In many cases, that is more reliable than third-party folder lockers and easier to maintain over time.
Option 4: Use Third-Party Folder Locking Software
If you specifically want a folder that opens only after entering a password, third-party folder-locking tools are the most direct solution. These apps vary a lot in quality, so choose carefully.
- Look for software from a trusted source with clear support and recent updates.
- Check whether it hides the folder, encrypts it, or only blocks access inside the app.
- Avoid tools that ask for unnecessary admin permissions or install extra bundled software.
- Make sure the app supports your version of Windows 11.
- Read how the software behaves if you forget the password or uninstall it.
Some apps simply hide folders, which is not the same as protecting them with encryption. Others create a secure vault or lock file that is much harder to open without the password. Encryption is usually the safer choice if the files are important.
Which Method Should You Choose?
- Use a password-protected archive if you want a quick, portable solution for a few files.
- Use Windows encryption if you want privacy on a shared PC and the files should stay on that device or account.
- Use a separate Windows account if several people use the computer and you mainly want local privacy.
- Use trusted third-party software only if you specifically need a password prompt for a folder and understand the trade-offs.
Common Mistakes to Avoid
- Keeping an unprotected copy of the same files somewhere else on the PC.
- Using a weak password that can be guessed easily.
- Trusting a hidden folder as if it were truly secure.
- Forgetting that synced cloud folders may copy protected and unprotected versions separately.
- Using unknown third-party software without checking whether it actually encrypts the data.
A Practical Recommendation
For most Windows 11 users, the best balance is either a password-protected archive for occasional use or Windows encryption for ongoing privacy on a shared PC. If you need stronger or more convenient folder-level locking, a reputable third-party encryption tool may be appropriate, but it should be chosen carefully.
If you want, I can also create a step-by-step guide for one specific method, such as using 7-Zip, Windows encryption, or a third-party folder locker.





