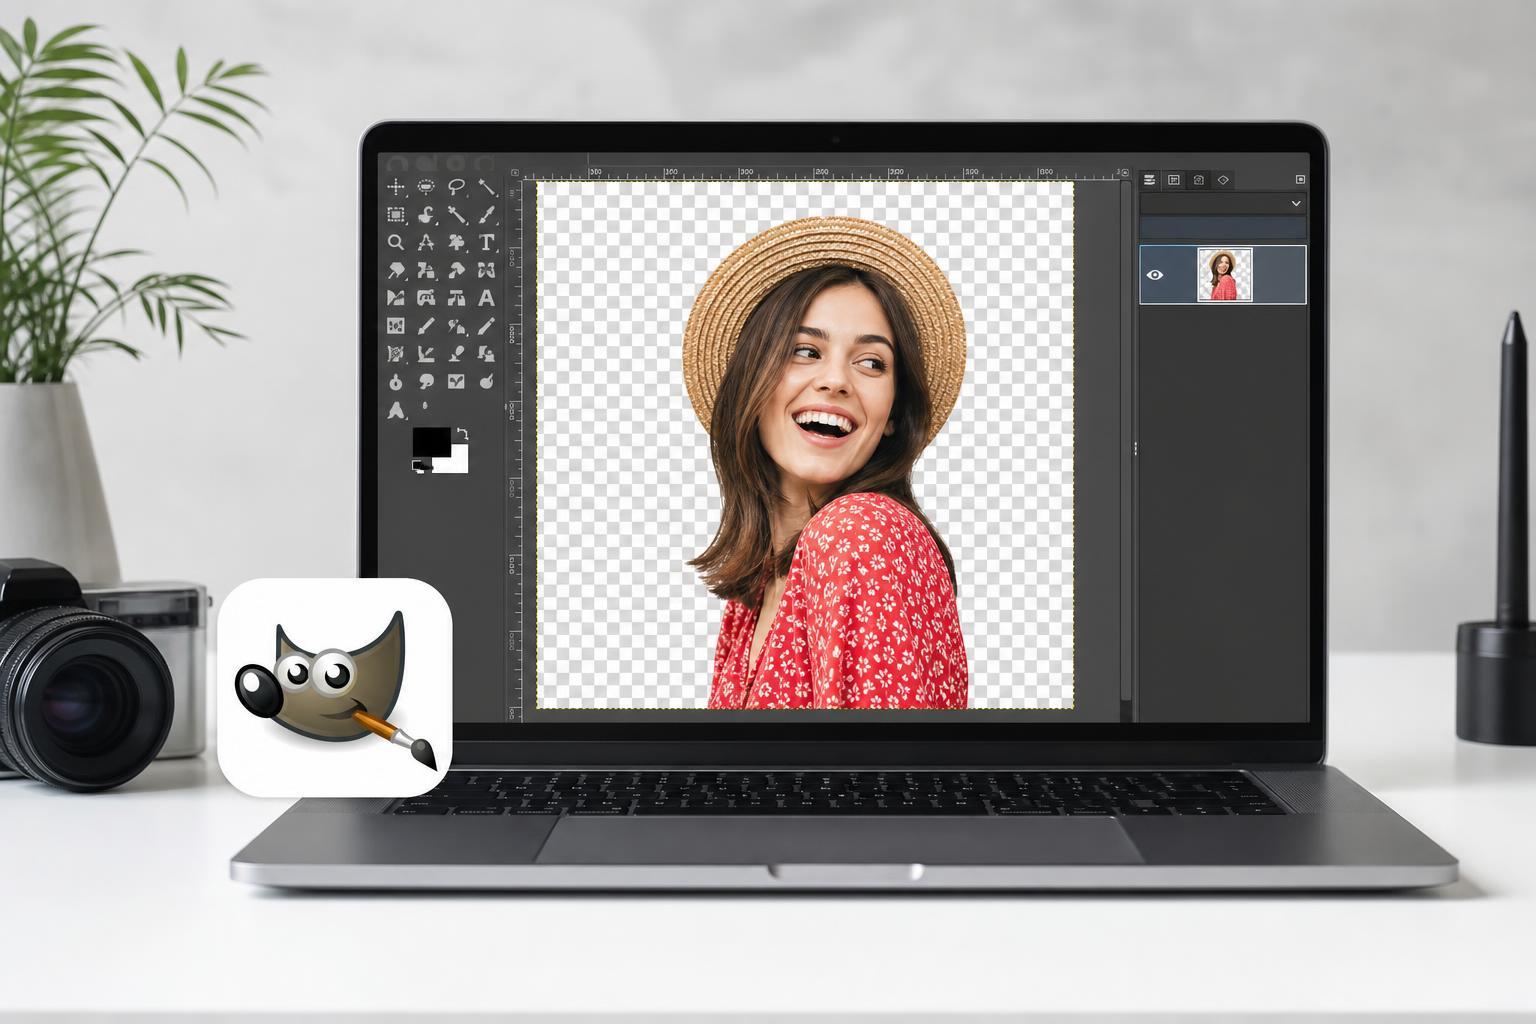
Making a background transparent in GIMP is a common editing task for logos, product photos, web graphics, and cutouts. The key is to add an alpha channel, remove the background cleanly, and export the image in a format that supports transparency.
This guide walks through the simplest method first, then shows a few better options depending on how complex your image is.
Before You Start
- Install GIMP and open the image you want to edit.
- Plan to export the finished file as PNG or another format that supports transparency.
- If your image has a simple background, the Select by Color or Fuzzy Select tools are usually enough.
- If the background is complex, you may need paths, masking, or manual cleanup.
Add an Alpha Channel First
Before deleting anything, make sure the image layer can actually store transparent pixels. In GIMP, that means adding an alpha channel to the layer.
- Open your image in GIMP.
- In the Layers panel, right-click the image layer.
- Choose Add Alpha Channel. If the option is greyed out, the layer already has one.
Method 1: Remove a Simple Background Quickly
If your image has a plain or high-contrast background, the Fuzzy Select tool is the fastest option. It works well for product shots, icons, and graphics with a solid background color.
- Select the Fuzzy Select tool from the toolbox.
- Click the background area you want to remove.
- Adjust the Threshold in the tool options if the selection is too small or too large.
- Press Delete to remove the selected background.
- Repeat for any missed areas, if needed.
Method 2: Use Select by Color for Flat Backgrounds
Select by Color is useful when the background has one main color across most of the image. It can be better than Fuzzy Select if the background is spread across different parts of the image.
- Choose Select by Color from the toolbox.
- Click the background color in the image.
- Adjust Threshold if necessary to include more or less of the background.
- Press Delete to remove the selection.
- Use the Eraser tool or a smaller selection to clean up any leftover pixels.
Method 3: Remove a More Complex Background
When the background is detailed, blurry, or similar in color to the subject, automatic selection tools are less reliable. In those cases, paths or layer masks give you more control.
- Use the Paths tool to trace around the subject, then convert the path into a selection.
- Use a layer mask if you want to hide parts of the background non-destructively.
- Zoom in and refine edges around hair, fur, transparent objects, or detailed outlines.
- Use the Brush or Eraser tool only for final cleanup.
Refine the Edges After Deleting the Background
After removing the background, zoom in and inspect the edges. Most images need some cleanup, especially around fine details.
- Zoom in to check the outline of the subject.
- Use the Eraser tool or a soft brush on a layer mask to remove leftover fragments.
- If the edges look jagged, try feathering the selection before deleting on a copy of the image.
- If the subject looks cut too tightly, leave a tiny amount of edge space rather than clipping into it.
Export the Image Correctly
Once the background is transparent, save the project file if you want to edit it again later, then export the finished image in a transparency-friendly format.
- Go to File > Export As.
- Choose PNG as the file type.
- Give the file a new name so you do not overwrite your editable project if you still need it.
- Click Export and confirm the PNG options.
Saving Versus Exporting in GIMP
GIMP project files preserve layers, masks, and editing history, while exported image files are what you actually use on the web, in documents, or in other apps.
- Save as XCF if you want to keep editing later.
- Export as PNG if you want to keep transparency.
- Use SVG only for vector artwork that was created for vector editing and export.
Common Problems and Fixes
- Background still looks white after deleting: add an alpha channel first.
- Edges look rough: zoom in and clean them manually or use a softer selection method.
- Transparent areas turn black in another app: the app may not be displaying transparency correctly, or the file may have been saved in a non-transparent format.
- Some background remains: use a second pass with Select by Color or cleanup with the Eraser tool.
Which Method Should You Use?
If you only need a quick transparent background for a logo or product image, Fuzzy Select is usually the fastest route. For anything more detailed, the extra time spent on a careful selection will give you a much better result.