Text columns can make a document easier to scan and help it look more like a newsletter, brochure, class handout, or flyer. In Google Docs, you can apply columns to an entire document or only to a selected section, then fine-tune spacing and layout so the text reads cleanly.
This guide shows how to make columns in Google Docs, how to change the number of columns, and how to customize them without breaking the rest of your document.
How Google Docs columns work
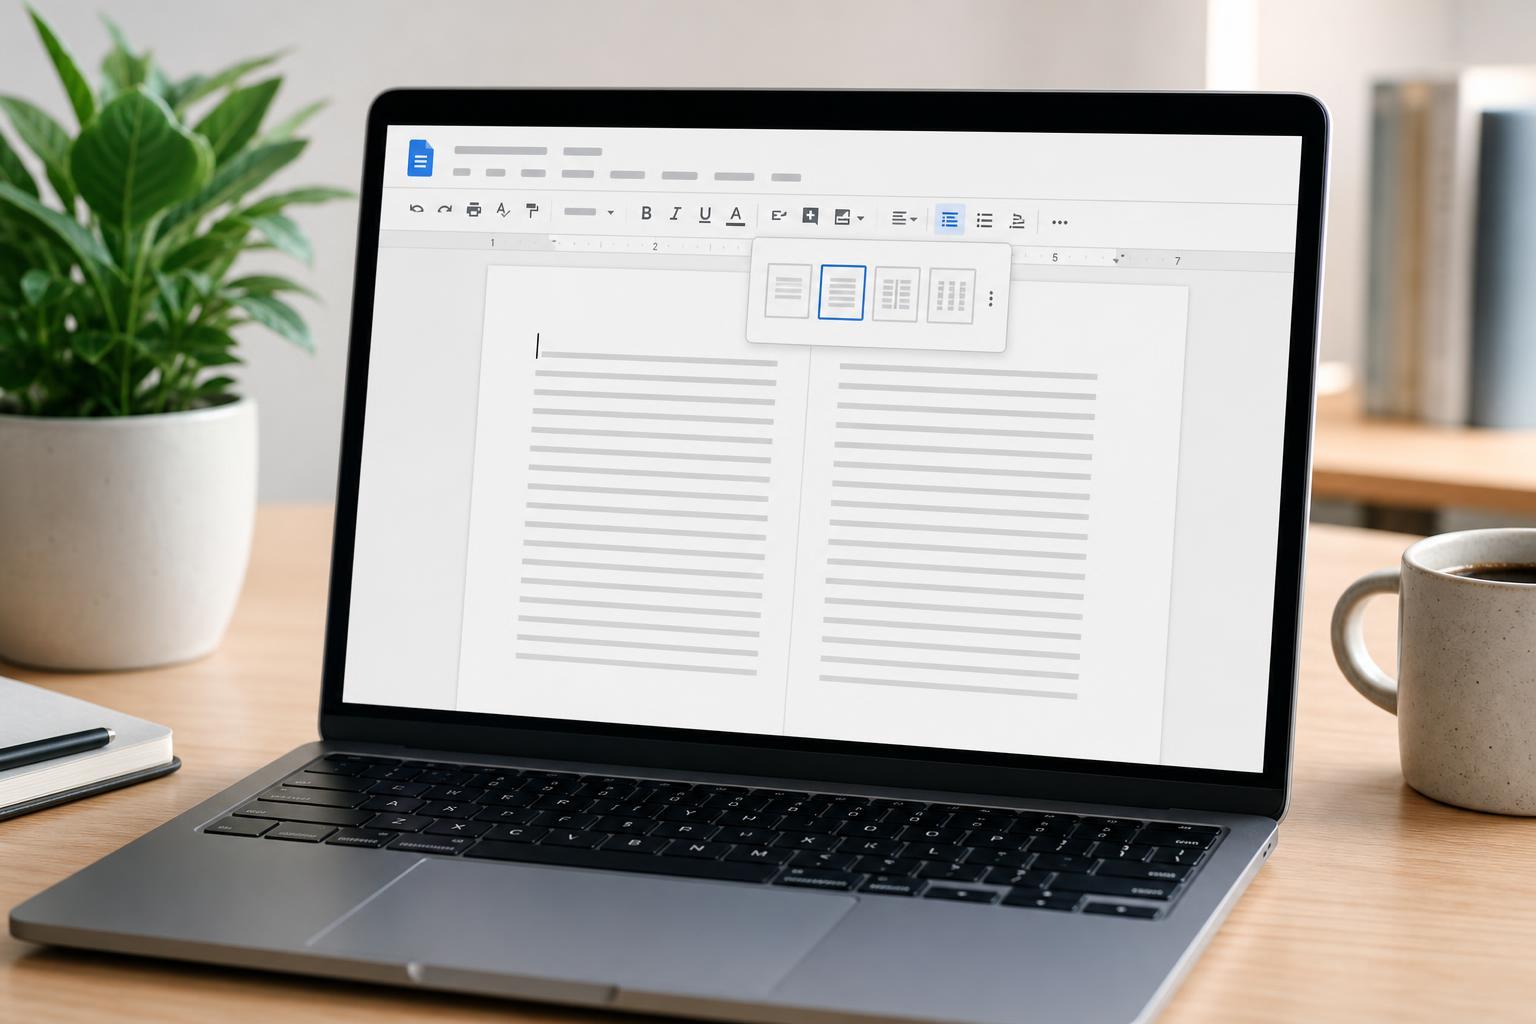
Google Docs lets you split text into one, two, or three columns. You can apply columns to the whole document or to just one section if you use section breaks. That flexibility is useful when you want a report to stay mostly standard but give one part a magazine-style layout.
Create columns in Google Docs
- Open your Google Docs document.
- Highlight the text you want to place into columns. If you want the entire document in columns, you can skip selecting text.
- Click Format in the top menu.
- Hover over Columns.
- Choose the layout you want: one, two, or three columns.
If you selected only part of the document, Google Docs will apply the column layout to that selected text. If you did not select anything, the layout usually applies to the whole document or the current section, depending on how the document is structured.
Customize column spacing and dividers
Google Docs also lets you adjust how far apart the columns are and whether a line appears between them. These settings are useful when the text feels cramped or when the columns need clearer separation.
- Select the text or section you want to change.
- Open Format > Columns.
- Choose More options at the bottom of the Columns menu.
- Adjust the number of columns if needed.
- Change the spacing between columns using the spacing control.
- Check the box for a line between columns if you want a vertical divider.
- Click Apply.
Apply columns to only part of a document
If you want one section in columns and the rest of the document in a normal single-column layout, use section breaks. This is the best approach for reports, handouts, and documents that mix standard pages with designed content.
- Place your cursor where the column section should begin.
- Go to Insert > Break > Section break (next page) or Section break (continuous).
- Select the text in the section you want formatted.
- Use Format > Columns and choose the column layout.
- When the section ends, insert another section break if you want the following content to return to a single column layout.
Change an existing column layout
You can switch between one, two, and three columns at any time. This is helpful if a layout feels too dense or if you need more room for images, charts, or larger headings.
- Use one column for drafts, essays, and documents with wide tables or images.
- Use two columns for newsletters, handouts, and general reading material.
- Use three columns for compact layouts such as event flyers or reference sheets.
Format text so columns look better
Columns work best when the content inside them is formatted carefully. Long paragraphs, oversized images, and large headings can make the layout uneven or hard to read.
- Use shorter paragraphs to improve readability.
- Keep headings brief so they do not wrap awkwardly.
- Avoid placing large images directly inside narrow columns unless they are resized.
- Use bullet points when you want information to scan quickly.
- Check that each column contains enough text to balance the page visually.
Insert a column break
A column break forces text to move to the top of the next column. This is useful when you want to control where a heading, paragraph, or list begins.
- Click where you want the next column to start.
- Open Insert > Break > Column break.
- Google Docs moves the following text to the next column.
Common problems and how to fix them
- Text appears in the wrong column: check for an inserted column break or section break.
- Columns apply to more text than expected: make sure you selected only the intended section before changing the layout.
- Spacing looks too tight: reopen the More options column settings and increase the gap.
- A heading breaks awkwardly: shorten the heading, add a column break, or move the heading to a cleaner spot.
- Layout changes affect the rest of the document: you may be working inside a section that shares formatting with nearby content.
When to use columns in Google Docs
Columns are useful when you want a page to feel more compact and easier to scan. They are especially practical for documents that are read quickly rather than studied line by line.
- Newsletters
- Flyers
- Class handouts
- Short reports
- Event programs
- Reference sheets
A simple workflow for clean column layouts
- Draft the text first or outline the sections you need.
- Decide whether the whole document or only part of it should use columns.
- Apply the column layout before heavy formatting.
- Use column breaks to control flow where needed.
- Review spacing, headings, and images after the text is in place.
For most users, that workflow creates a cleaner result than trying to add columns after the document is already finished. Once the text is flowing correctly, small adjustments are usually all that is needed.