
If the Display resolution option in Windows 11 is greyed out, Windows is usually limiting the setting because of a driver issue, a display adapter problem, the current connection type, or the monitor’s supported modes. The fix depends on what is causing Windows to lock the setting.
In many cases, you can restore the resolution control by updating or reinstalling the graphics driver, checking the display connection, or switching to the correct monitor mode.
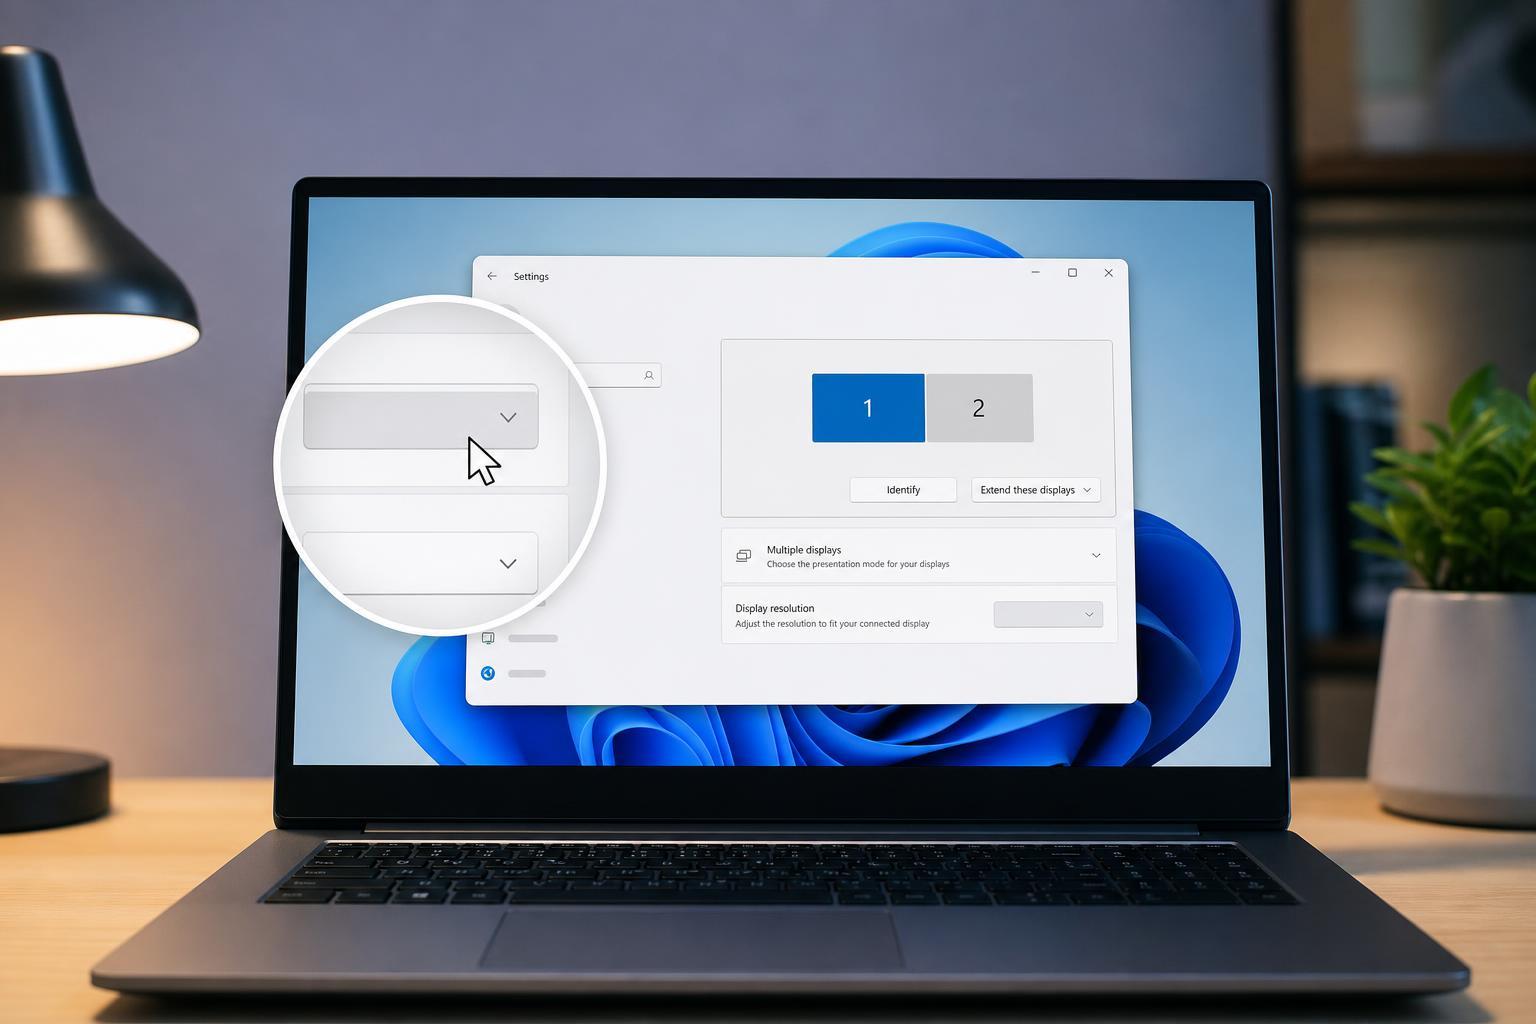
Why Windows 11 May Lock the Resolution Setting
Windows only offers resolutions that it thinks your display and graphics hardware can support. If the system cannot properly identify the monitor, or if the graphics driver is not working correctly, the resolution list may be disabled or limited.
- The wrong or outdated graphics driver is installed
- Windows is using a basic display adapter instead of the proper GPU driver
- The monitor is connected through a dock, adapter, or cable that limits available modes
- A remote session or virtual display is affecting the output
- The active display mode is duplicated, mirrored, or otherwise restricted
- Windows is not reading the monitor’s supported resolutions correctly
Check the Current Display Setup First
Before changing drivers or advanced settings, confirm that Windows is actually talking to the display you want to adjust. Some settings are disabled when you are not using a direct, fully supported connection.
- Press Windows + I and open Settings.
- Go to System > Display.
- Select the monitor you want to adjust, if more than one display is shown.
- Scroll to Display resolution and see whether the menu is still greyed out.
- If possible, note whether Windows shows the correct monitor name and recommended resolution.
Make Sure Windows Is Not Using a Basic Driver
A very common cause is Windows falling back to a generic display driver. This can happen after an update, a driver crash, or a fresh installation. When that happens, Windows may still show an image, but resolution controls can become limited or unavailable.
- Right-click the Start button and choose Device Manager.
- Expand Display adapters.
- Look for your actual graphics card name, such as NVIDIA, AMD, or Intel.
- If you see Microsoft Basic Display Adapter instead, Windows is not using the proper GPU driver.
- Download and install the correct driver from your PC maker or GPU manufacturer.
Update or Reinstall the Graphics Driver
If the correct graphics adapter is already listed but resolution is still greyed out, the driver may be corrupted or outdated. Reinstalling the driver often restores full display options.
- Open Device Manager and expand Display adapters.
- Right-click your graphics adapter and choose Update driver to check for a newer version.
- If that does not help, right-click the adapter again and choose Uninstall device.
- If available, check the box to remove the driver software for this device.
- Restart the computer and install the latest driver from the manufacturer’s website.
Check the Cable, Port, and Adapter
The connection between the PC and the monitor can also limit resolution options. Some adapters, docks, and older cables do not support the resolutions the monitor is capable of displaying.
- Try a different HDMI, DisplayPort, or USB-C cable if one is available
- Avoid low-quality adapters when testing a high-resolution display
- If you are using a docking station, connect the monitor directly to the PC as a test
- Make sure the monitor is plugged into the graphics card output on a desktop PC, not the motherboard output unless that is intentional
- Test a different port on both the computer and the monitor
Check the Monitor’s Native Resolution and On-Screen Settings
Some monitors behave strangely if they are set to an unusual mode through their own on-screen menu. If the monitor has a scaling, input, or compatibility setting, it may affect what Windows exposes.
- Open the monitor’s on-screen display menu and look for reset or default options
- Check whether the monitor is set to the correct input type
- If the monitor offers compatibility or scaling modes, return them to the standard setting
- Confirm that the monitor is designed to support the resolution you want to use
Switch Out of Duplicate or Limited Display Modes
If Windows is duplicating the display, some resolution choices may be restricted so both screens can use the same output. Extending the desktop often restores more options.
- Press Windows + P.
- Choose Extend instead of Duplicate.
- Return to Settings > System > Display and check the resolution list again.
- If the setting becomes available, the duplicate mode was likely limiting it.
Run the Display Troubleshooter Checks in Settings
Windows 11 does not have a classic dedicated display troubleshooter in the same way older versions did, but the system still offers useful diagnostics through settings and device tools.
- Open Settings > System > Display.
- Expand Advanced display.
- Check whether Windows lists the expected refresh rate and display information.
- Open Device Manager and confirm there are no warning icons under Display adapters or Monitors.
- If you see an unknown device or warning, address that device first.
Install Optional Windows Updates
Sometimes Windows Update includes display driver fixes or hardware compatibility updates. These are not guaranteed to solve the problem, but they are worth checking if the issue started after an update or system change.
- Open Settings and go to Windows Update.
- Check for updates and install anything available.
- Also open Advanced options > Optional updates, if present.
- Install driver-related updates only if they appear to match your hardware or system.
When the Resolution Is Still Greyed Out
If none of the above fixes work, the problem may be tied to a more specific hardware or configuration issue.
- The monitor may not fully support the requested resolution through the current connection
- The GPU driver may need a clean reinstall using the manufacturer’s removal tool
- A docking station or USB display adapter may be limiting output
- The PC may be using integrated graphics settings that need adjustment in BIOS or firmware
- Remote desktop or virtualization software may be controlling the display session
A Practical Order to Try the Fixes
If you want the fastest path, use this order: check the selected display, verify the correct driver, test the cable or adapter, and then review monitor and Windows display modes. That approach covers the most common causes without wasting time on unlikely ones.
- Confirm the correct monitor is selected in Settings.
- Check Device Manager for Microsoft Basic Display Adapter or warning icons.
- Update or reinstall the graphics driver.
- Test a different cable, port, or direct connection.
- Switch to Extend mode if you are using duplicate displays.
- Review the monitor’s own input and scaling settings.
- Install available Windows updates if the issue remains.
When to Suspect a Hardware Problem
If the display resolution stays greyed out even after a clean driver reinstall and a direct cable connection, the issue may be hardware-related. That does not always mean the monitor is broken, but it does point to the graphics output, cable path, or adapter chain.
- The display works at only one resolution no matter what you change
- The problem appears only with one cable or one adapter
- The graphics adapter disappears from Device Manager or shows an error repeatedly
- The monitor works normally on another device but not on this PC
What to Do Next
A greyed-out Display resolution option in Windows 11 usually comes down to driver detection, connection limits, or display mode restrictions. Start with the simplest checks first, because the cause is often something as basic as the wrong display adapter or a limited cable path.
If you still cannot change the resolution after testing the driver and connection, focus on whether Windows is reading the monitor correctly and whether any dock, adapter, or remote-display software is controlling the output.





