
If your Windows 11 PC started restarting over and over after installing KB5083769, the update may have triggered a boot problem, but it is not always the only cause. A boot loop can also happen when a driver, startup file, disk issue, or BIOS setting gets in the way of normal startup.
The good news is that you can usually recover the PC without reinstalling Windows right away. The safest approach is to start with recovery options that remove the update or boot Windows with minimal drivers, then move on to repair tools if needed.
First, confirm it is really a boot loop
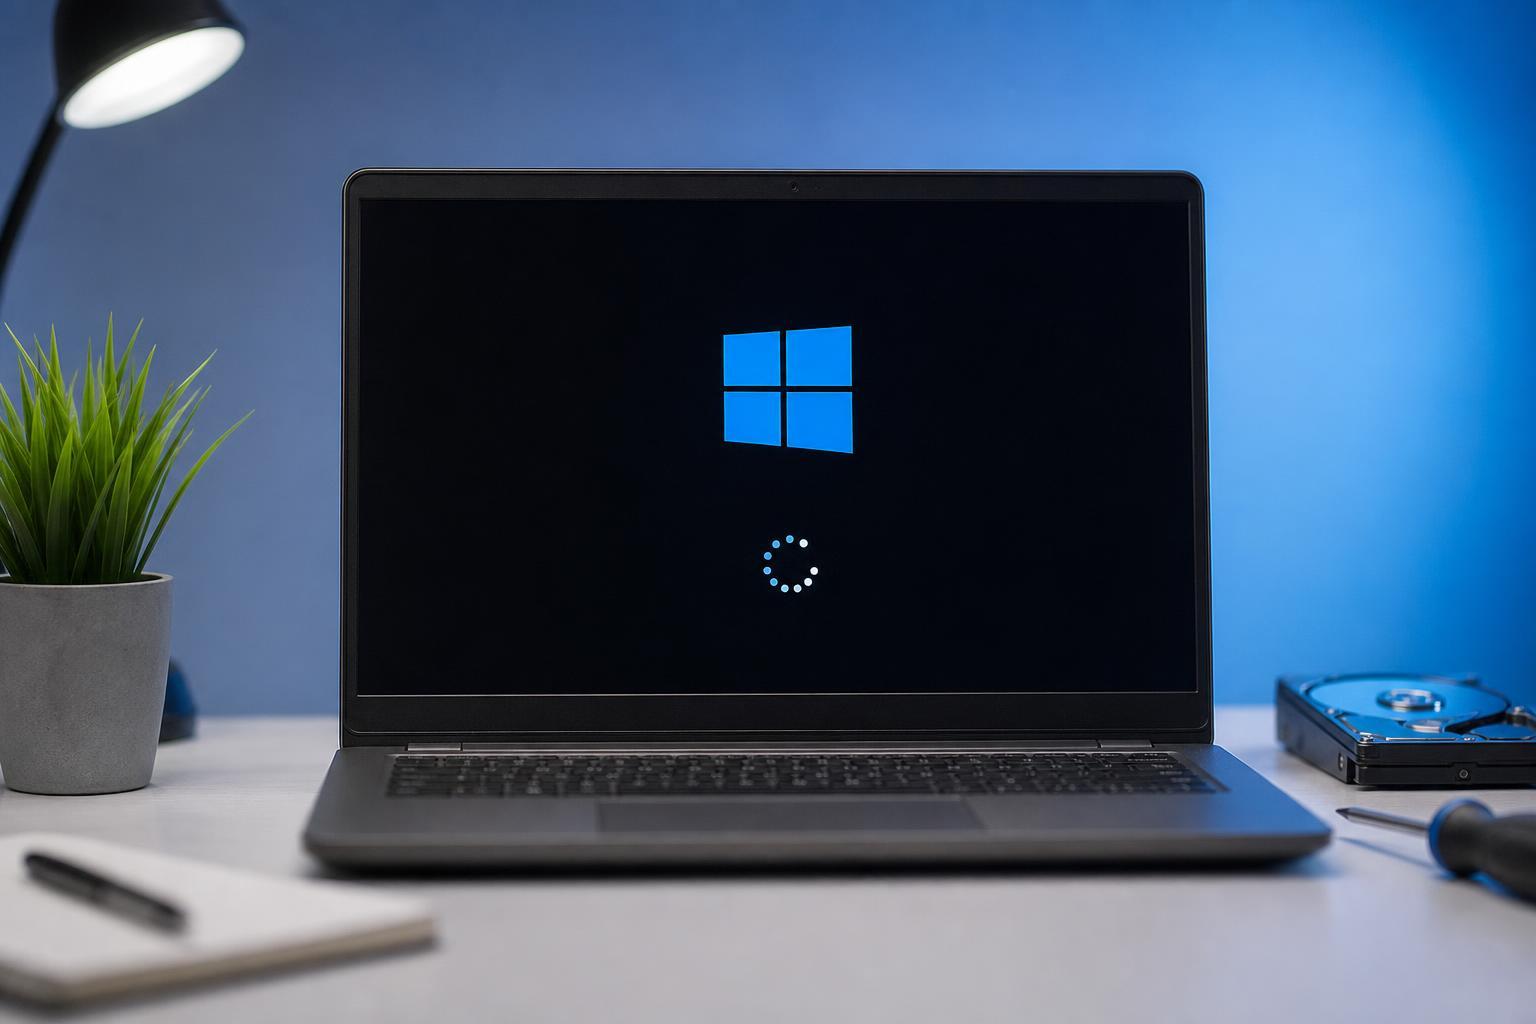
A boot loop means Windows begins to load, fails, and then restarts repeatedly before you can reach the desktop. If the PC shows the Windows logo, spins briefly, and then returns to the same screen, that is a true startup loop.
If you can still reach the sign-in screen, the problem is not a full boot loop yet. In that case, the fastest fix is often to uninstall the update from Windows rather than use recovery tools.
Try Safe Mode if Windows still reaches recovery
If the computer keeps failing before the desktop appears, force Windows into the recovery environment. You can usually do this by interrupting startup several times in a row until Automatic Repair appears.
- Power on the PC and let it start loading Windows.
- As soon as you see the Windows logo or spinning dots, hold the power button to turn it off.
- Repeat this process 2 or 3 times until Windows enters the Recovery Environment.
- Select Troubleshoot, then Advanced options, then Startup Settings.
- Choose Restart, then press the key for Safe Mode, usually 4 or F4.
If Safe Mode loads, that is a strong sign that a driver, service, or the update itself is blocking normal startup rather than a complete hardware failure.
Uninstall KB5083769 from the recovery environment
If the boot loop started right after KB5083769, removing that update is the most direct fix. You can do this from Windows Recovery even if the desktop never appears.
- Open the Windows Recovery Environment.
- Select Troubleshoot.
- Choose Advanced options.
- Open Uninstall Updates.
- Select Uninstall latest quality update if KB5083769 was installed as a cumulative update.
- Follow the prompts and restart the PC.
If Windows labels KB5083769 as a feature update or the normal uninstall path does not help, use Command Prompt from recovery and remove it with DISM or pending update rollback tools.
Use Command Prompt to remove the update manually
If the menu-based uninstall option is missing or fails, open Command Prompt from Advanced options and check which packages are installed. This is useful when Windows starts to repair itself but never finishes booting.
- Go to Troubleshoot > Advanced options > Command Prompt.
- Enter the Windows recovery drive letter if prompted, since it may not be C: in recovery.
- Run DISM /Image:C:\ /Get-Packages or the equivalent path for your Windows installation.
- Look for the package related to KB5083769.
- Use DISM /Image:C:\ /Remove-Package /PackageName:PACKAGE_NAME to remove it.
- Restart the PC after the removal completes.
If Safe Mode works, check for other startup causes
Sometimes KB5083769 is only the trigger, not the sole cause. If Safe Mode works, look for other recent changes that may be contributing to the loop.
- Recently installed display, storage, or chipset drivers
- Third-party antivirus or system-tuning software
- Overclocking settings in BIOS or UEFI
- Corrupted startup applications or services
- Recent hardware changes such as a new SSD or RAM upgrade
A useful test is to disable nonessential startup items in Task Manager or uninstall any driver or utility you installed around the same time as the update.
Run startup repair if Windows still will not boot
If uninstalling the update does not solve the loop, use startup repair. This tool checks for common boot problems and can fix damaged startup files or boot configuration entries.
- Open the Windows Recovery Environment.
- Select Troubleshoot.
- Choose Advanced options.
- Select Startup Repair.
- Let the scan finish and restart when prompted.
Startup Repair is especially worth trying if the PC now fails before loading the Windows logo, because that can point to a broken boot configuration rather than only a bad update.
Use System Restore if you have a restore point
If System Restore was enabled before the problem started, roll back the system to a point before KB5083769 was installed. This can reverse driver and system-file changes without deleting personal files.
- Open Windows Recovery Environment.
- Select Troubleshoot > Advanced options > System Restore.
- Choose a restore point from before the update was installed.
- Confirm and let Windows restore the system files and settings.
Check for disk or file corruption after you recover
If you get Windows running again, do a few checks before installing more updates. A boot loop can expose an existing problem with system files or the storage drive.
- Open Command Prompt as an administrator.
- Run sfc /scannow to repair protected system files.
- Run DISM /Online /Cleanup-Image /RestoreHealth to repair the Windows image.
- Check the drive with chkdsk /f if you suspect file-system corruption.
- Review Event Viewer or Reliability Monitor for repeated startup errors.
If SFC or DISM reports errors it cannot fix, that is a sign the installation may need deeper repair or the drive may be failing.
When to suspect hardware instead of the update
If the loop continues even after uninstalling KB5083769, startup repair, and System Restore, the cause may be hardware-related rather than the update itself.
- The PC restarts before Windows loads any logo or repair screen
- You hear repeated drive clicks or the SSD is not detected in BIOS
- The system becomes unstable after new RAM, storage, or GPU was installed
- Memory tests report errors
- The problem happens even after reinstalling Windows
In those cases, check memory seating, storage detection, and BIOS/UEFI settings. If possible, test the PC with minimal hardware attached.
How to avoid getting stuck again
Once the PC is stable, take a few precautions before installing the next Windows update.
- Create a restore point before major updates
- Keep at least one backup of important files
- Update chipset, storage, and graphics drivers from the PC or motherboard maker
- Avoid changing BIOS settings and installing updates at the same time
- Wait a few days after a major update if your system is already unstable
What to do next if nothing works
If every recovery option fails, the last practical step is an in-place repair install or a clean reinstall of Windows 11. An in-place repair is usually preferable if you want to keep files and apps, but it still requires access to a working Windows environment or installation media.
If the PC cannot stay on long enough to repair itself, back up any important data from recovery or by removing the drive and connecting it to another computer before reinstalling Windows.





