
Wake on LAN lets you power on or wake a Windows 11 PC remotely using a network signal. It is useful if you want to access a home server, gaming PC, or work machine without leaving it running all the time.
To make Wake on LAN work, you usually need to enable it in Windows, allow the network adapter to wake the system, and make sure your BIOS or UEFI settings are not blocking wake features.
What You Need Before You Start
- A wired Ethernet connection in most cases, since Wake on LAN is much more reliable over Ethernet than Wi-Fi
- Administrator access to the Windows 11 PC
- A router or other device on the same network that can send the wake packet
- A second device or app for sending the Wake on LAN signal
Enable Wake on LAN in Windows 11
- Right-click the Start button and open Device Manager.
- Expand Network adapters.
- Right-click your Ethernet adapter and select Properties.
- Open the Advanced tab.
- Look for settings such as Wake on Magic Packet, Wake on LAN, Wake from shutdown, Shutdown Wake-On-LAN, or similar options.
- Set any relevant wake options to Enabled.
- If you see options related to energy saving or power efficiency, leave them enabled unless the adapter documentation says otherwise.
Allow the Network Adapter to Wake the PC
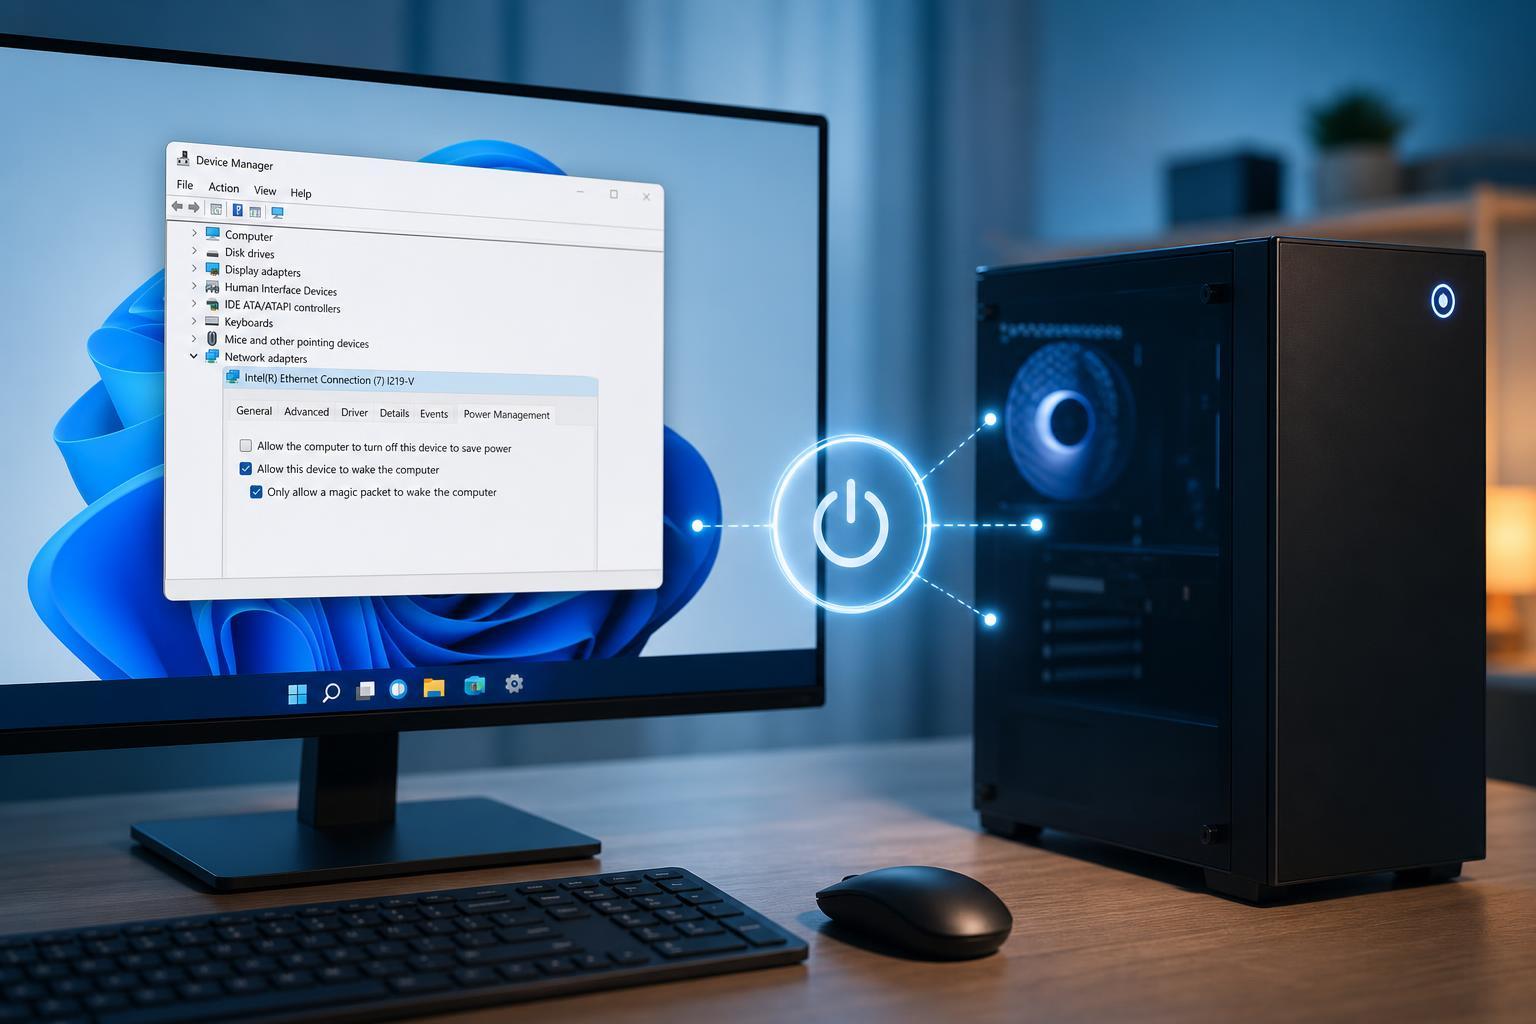
- In Device Manager, right-click the same network adapter and open Properties again.
- Go to the Power Management tab.
- Check Allow this device to wake the computer.
- If available, also check Only allow a magic packet to wake the computer.
- Click OK to save the changes.
Check Windows Power Settings
- Open Control Panel and go to Power Options.
- Next to your active power plan, click Change plan settings.
- Open Change advanced power settings.
- Expand Sleep, then look for wake-related options if they appear on your system.
- Also check whether hybrid sleep, fast startup, or modern standby behavior is affecting your PC’s wake behavior.
Turn On Wake on LAN in BIOS or UEFI
Many motherboards have a separate firmware setting that must be enabled before Windows can wake the system over the network. Restart into BIOS or UEFI setup and look for power or wake options.
- Wake on LAN
- Power On By PCI-E
- Resume by LAN
- Wake from S5
- PCI device power on
- Network wake
- Enter BIOS or UEFI setup during startup.
- Find the power management or advanced settings area.
- Enable the network wake option if it is disabled.
- Save changes and exit.
Test Wake on LAN
- Put the PC to sleep or shut it down, depending on the wake behavior your system supports.
- Use a Wake on LAN app, router feature, or another PC on the same network to send a magic packet to the target computer’s MAC address.
- Watch for the network activity light on the PC or Ethernet port.
- If the settings are correct, the PC should power on or wake within a few seconds.
If Wake on LAN Still Does Not Work
- Confirm the PC is connected by Ethernet, not Wi-Fi, unless your hardware specifically supports Wi-Fi wake.
- Double-check that the adapter settings and BIOS/UEFI setting are both enabled.
- Make sure the PC is shut down or asleep in a state that your hardware supports for waking.
- Try disabling Fast Startup and testing again.
- Update the network adapter driver from the PC or motherboard manufacturer.
- Check that the router or sending device is using the correct MAC address and is sending the packet to the right network.
Best Uses for Wake on LAN
Once Wake on LAN is configured correctly, it can be a convenient way to save power while still keeping a PC available on demand. The key is making sure Windows, the network adapter, and the BIOS or UEFI settings all agree to allow wake events.





