Google Chrome’s Autofill feature can save time by filling in addresses, passwords, payment details, and other form information for you. If you want Chrome to complete forms automatically, you can turn Autofill on. If you prefer more privacy or fewer suggestions, you can switch it off instead.
The steps are slightly different on PC and mobile, and Chrome lets you control Autofill for passwords, payment methods, and addresses separately. That means you can keep one part of Autofill enabled while disabling another.
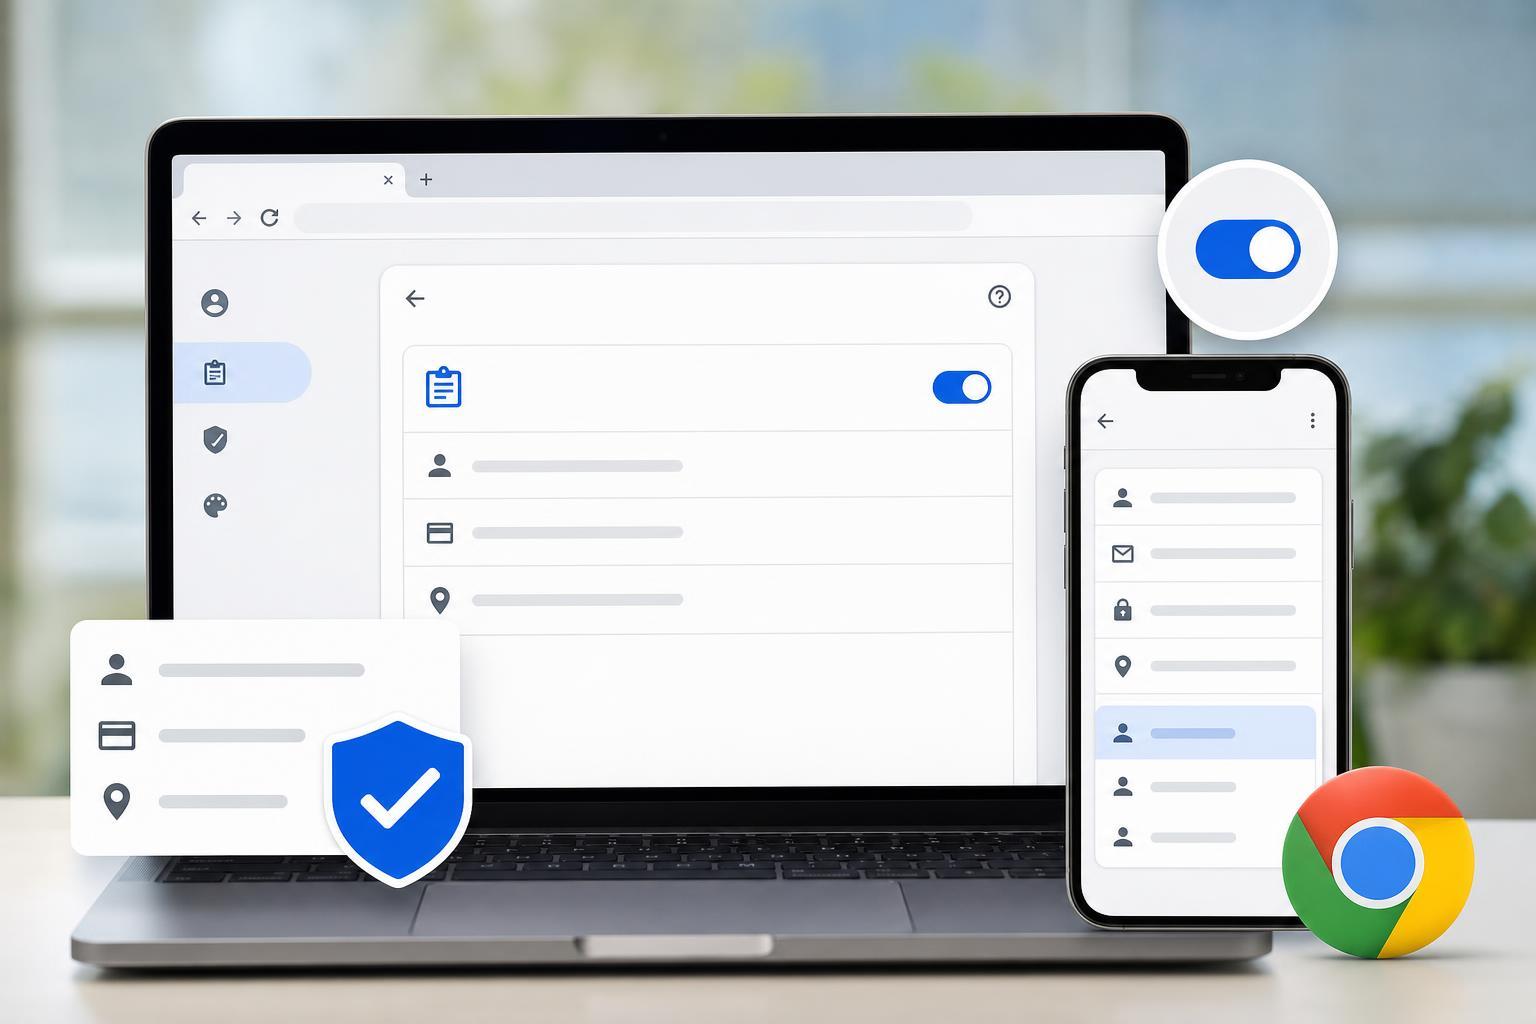
What Chrome Autofill Can Handle
- Passwords saved in your Google Account or browser
- Payment methods such as saved cards
- Addresses and contact details for checkout and web forms
- Occasional suggestions based on form entries you’ve used before
How to Enable or Disable Autofill in Chrome on a PC
- Open Google Chrome on your PC.
- Click the three-dot menu in the top-right corner and choose Settings.
- In the left sidebar, select Autofill and passwords.
- Choose the category you want to manage: Password Manager, Payment methods, or Addresses and more.
- Turn the setting on or off, or edit saved items inside that section if needed.
If you are using Chrome on Windows or macOS, this is the main place to control Autofill. The browser separates the different types of saved information, so you may need to adjust more than one section depending on what you want Chrome to remember.
Disable or Enable Password Autofill in Chrome
- Go to Chrome Settings.
- Open Autofill and passwords, then select Google Password Manager or Password Manager.
- Find the option related to saving passwords or signing in automatically.
- Turn the option on if you want Chrome to suggest or fill passwords, or turn it off if you do not.
- If you only want to remove a saved password, delete that entry instead of changing the whole feature.
Disable or Enable Payment Autofill in Chrome
- Open Chrome Settings and go to Autofill and passwords.
- Select Payment methods.
- Turn off Save and fill payment methods if you do not want Chrome to store or suggest cards.
- If needed, remove any saved payment cards from the list.
- Turn the feature back on later if you want Chrome to autofill checkout forms again.
Disable or Enable Address and Form Autofill in Chrome
- Open Chrome Settings.
- Go to Autofill and passwords, then select Addresses and more.
- Turn on Save and fill addresses if you want Chrome to remember shipping or contact details.
- Turn it off if you do not want Chrome to suggest saved addresses.
- Edit or delete any existing address entries if you want a clean list.
How to Turn Off Autofill in Chrome on Android
- Open the Chrome app on your Android phone or tablet.
- Tap the three-dot menu and choose Settings.
- Tap Autofill and passwords.
- Open the section you want to manage, such as Password Manager, Payment methods, or Addresses and more.
- Turn the relevant saving or filling option off, or edit the saved data inside that section.
On Android, Chrome’s Autofill settings are still divided into the same categories, but the menus are laid out for a smaller screen. If you use both your phone and PC with the same Google Account, changes may sync across devices.
How to Turn Off Autofill in Chrome on iPhone and iPad
- Open Chrome on your iPhone or iPad.
- Tap the three-dot menu and open Settings.
- Select Autofill and passwords.
- Choose the relevant category, such as passwords, payment methods, or addresses.
- Disable the option you want or remove specific saved entries.
If Chrome Still Autofills Forms After You Turn It Off
- Check whether sync is enabled and the change has had time to sync to all devices.
- Look for separate settings for passwords, payments, and addresses instead of only one Autofill switch.
- Clear or delete saved entries that are still stored in Chrome.
- Make sure another browser feature or your device’s password manager is not filling the form instead.
- On mobile, confirm you changed the setting in the Chrome app and not only in the device settings.
When You Should Keep Autofill Enabled
- You sign in to many websites and want faster logins
- You regularly shop online and want checkout forms filled quickly
- You use Chrome only on a personal device
- You want Chrome to remember shipping addresses or contact details to reduce typing
When It Makes Sense to Disable It
- You use a shared or public computer
- You do not want sensitive information saved in the browser
- Chrome keeps filling in outdated or incorrect details
- You prefer to enter payment and address information manually each time
- You want tighter control over what is stored in your Google Account
Managing Autofill More Carefully Instead of Turning It All Off
You do not always need to disable Autofill completely. In many cases, the best option is to keep one type of Autofill enabled and turn off the rest. For example, you might keep password Autofill on but disable payment methods, or keep address filling on while removing old form entries.
- Keep passwords enabled but disable saved cards
- Keep addresses enabled but delete old contact details
- Turn off form suggestions on a shared PC while leaving your personal phone unchanged
- Review saved entries regularly so Chrome does not offer outdated information
Which Fix Should You Try First?
- If Chrome is filling in too much, turn off the specific category causing the issue first.
- If Chrome is filling in old information, delete the saved entry instead of disabling Autofill completely.
- If settings seem to change back, check Google sync and sign-in status on your devices.
- If the problem is only on your phone, review both Chrome and device-level password or autofill settings.