If you want smaller image files and Apple-friendly photo formatting, converting JPG to HEIC on iPhone can be a smart move. The catch is that iPhone does not offer a simple built-in “convert this JPG to HEIC” button for every photo, so the easiest method depends on where the image is stored and what you want to do with it.
This guide explains the most practical ways to turn JPG images into HEIC on iPhone, including using the Files app, the Shortcuts app, and a few limits to keep in mind before you convert.
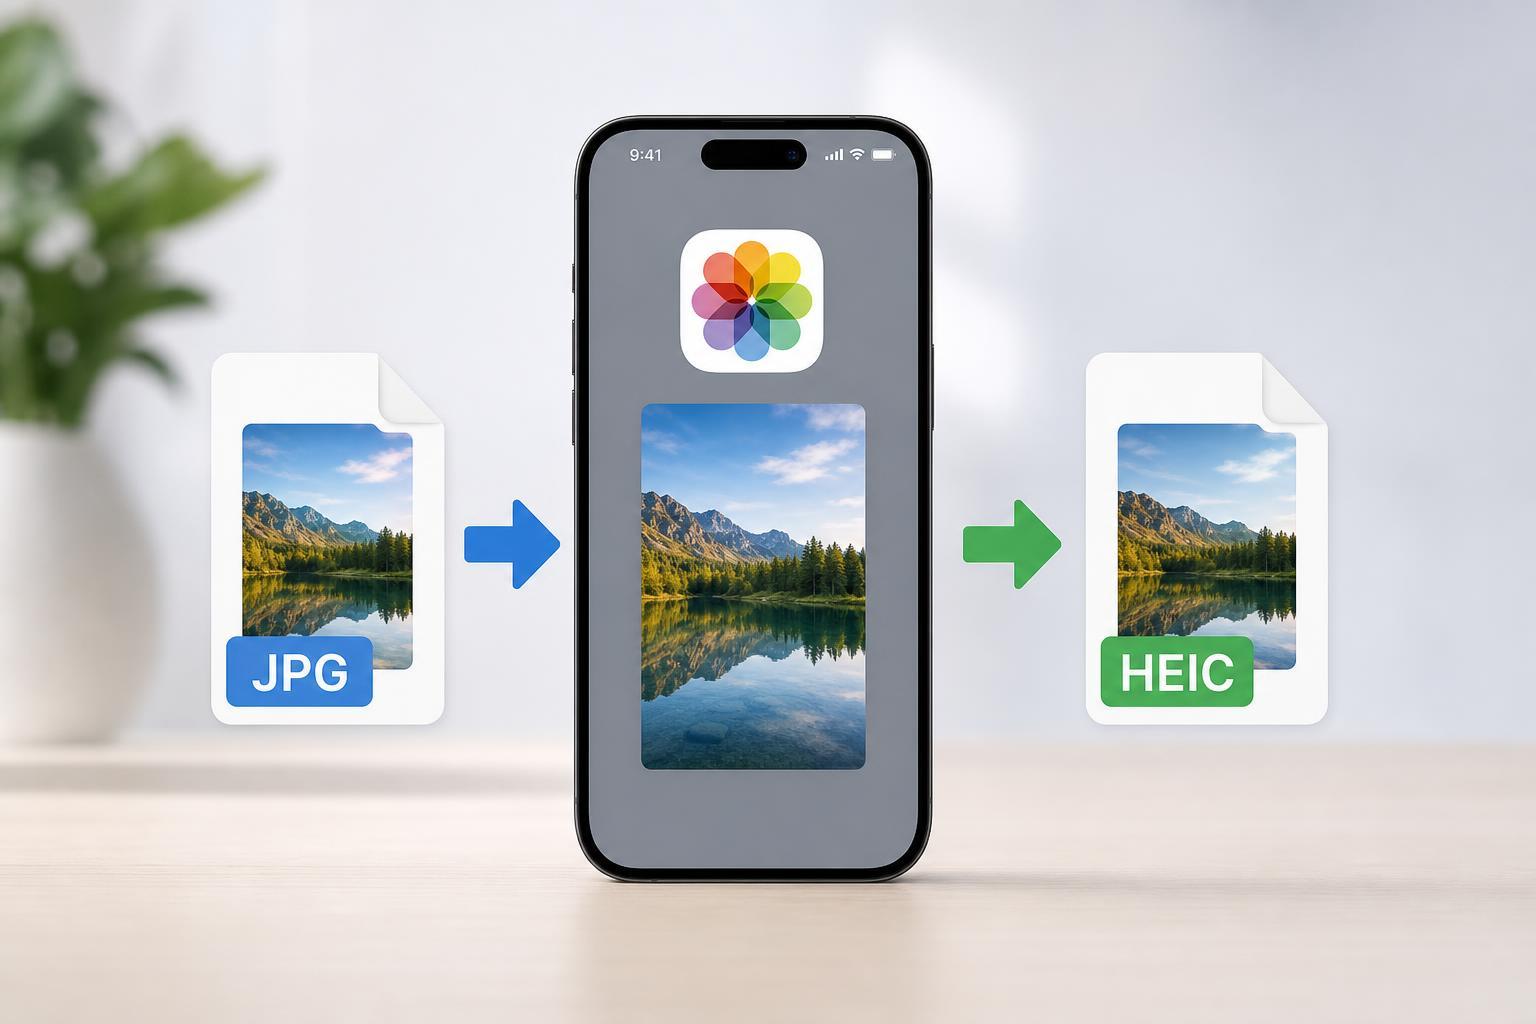
What HEIC Is and Why People Use It
HEIC is Apple’s modern image format used on iPhone and iPad. It is designed to keep image quality high while using less storage than many JPG files, which is especially helpful if you take or save a lot of photos.
The Easiest Way: Convert JPG to HEIC with the Shortcuts App
The Shortcuts app is usually the most practical built-in method for converting JPG images to HEIC on iPhone. It lets you automate the conversion without needing third-party apps, and you can reuse the shortcut any time.
- Open the Shortcuts app on your iPhone. If you do not have it, install it from the App Store.
- Tap the plus button to create a new shortcut.
- Tap Add Action, then search for and add Select Photos.
- If needed, turn on Select Multiple so you can convert more than one JPG at once.
- Add the action Convert Image.
- In the conversion options, choose HEIC as the output format.
- Add the action Save to Photo Album or Save File, depending on where you want the converted image stored.
- Rename the shortcut so it is easy to find later, then tap Done.
- Run the shortcut and choose the JPG image or images you want to convert.
If the JPG Is in the Files App
If your JPG is saved in Files rather than Photos, converting it through a shortcut is often the cleanest option. You can use a shortcut that accepts shared input, converts the image, and then saves the HEIC file back to Files or into Photos.
- Open the Files app and locate the JPG image.
- Press and hold the file, then tap Share.
- Choose your conversion shortcut if you have already set one up to accept input from the Share Sheet.
- Wait for the converted HEIC file to be saved to your chosen location.
- Open the saved file to confirm it converted correctly.
Using a Third-Party App
If you do not want to build a shortcut, a third-party image converter app from the App Store can also work. These apps usually let you import JPG files, choose HEIC as the output, and export the result back to Photos or Files.
- Look for an app with clear HEIC export support
- Check whether it works offline if privacy matters to you
- Confirm whether it saves to Photos, Files, or both
- Review whether it adds watermarks or limits batch conversion on the free version
This option is convenient, but it is worth checking the app’s privacy policy and export behavior before using it for important photos.
What to Check After Conversion
After converting a JPG to HEIC, open the file and verify that it still looks correct. In most cases the image should appear normally, but it is smart to confirm the file saved in the format you expected.
- Check the file extension in Files if you need to confirm it is HEIC
- Open the image and make sure quality looks acceptable
- Test whether the file can be shared to the apps or devices you use most
- Keep the original JPG until you are sure the HEIC version works for your needs
When JPG May Be Better Than HEIC
HEIC is not always the best choice. JPG is still easier to use in many cross-platform situations, especially when you need to upload photos to older websites or send them to people using devices that do not support HEIC well.
- Share the image with Windows users who may not have HEIC support installed
- Upload it to websites that reject HEIC uploads
- Keep JPG for older printers, editors, or media tools
- Use JPG when maximum compatibility matters more than storage savings
A Simple Rule for Choosing the Format
Use HEIC when you want smaller files and mostly stay inside the Apple ecosystem. Use JPG when you need the broadest compatibility across phones, computers, websites, and software.