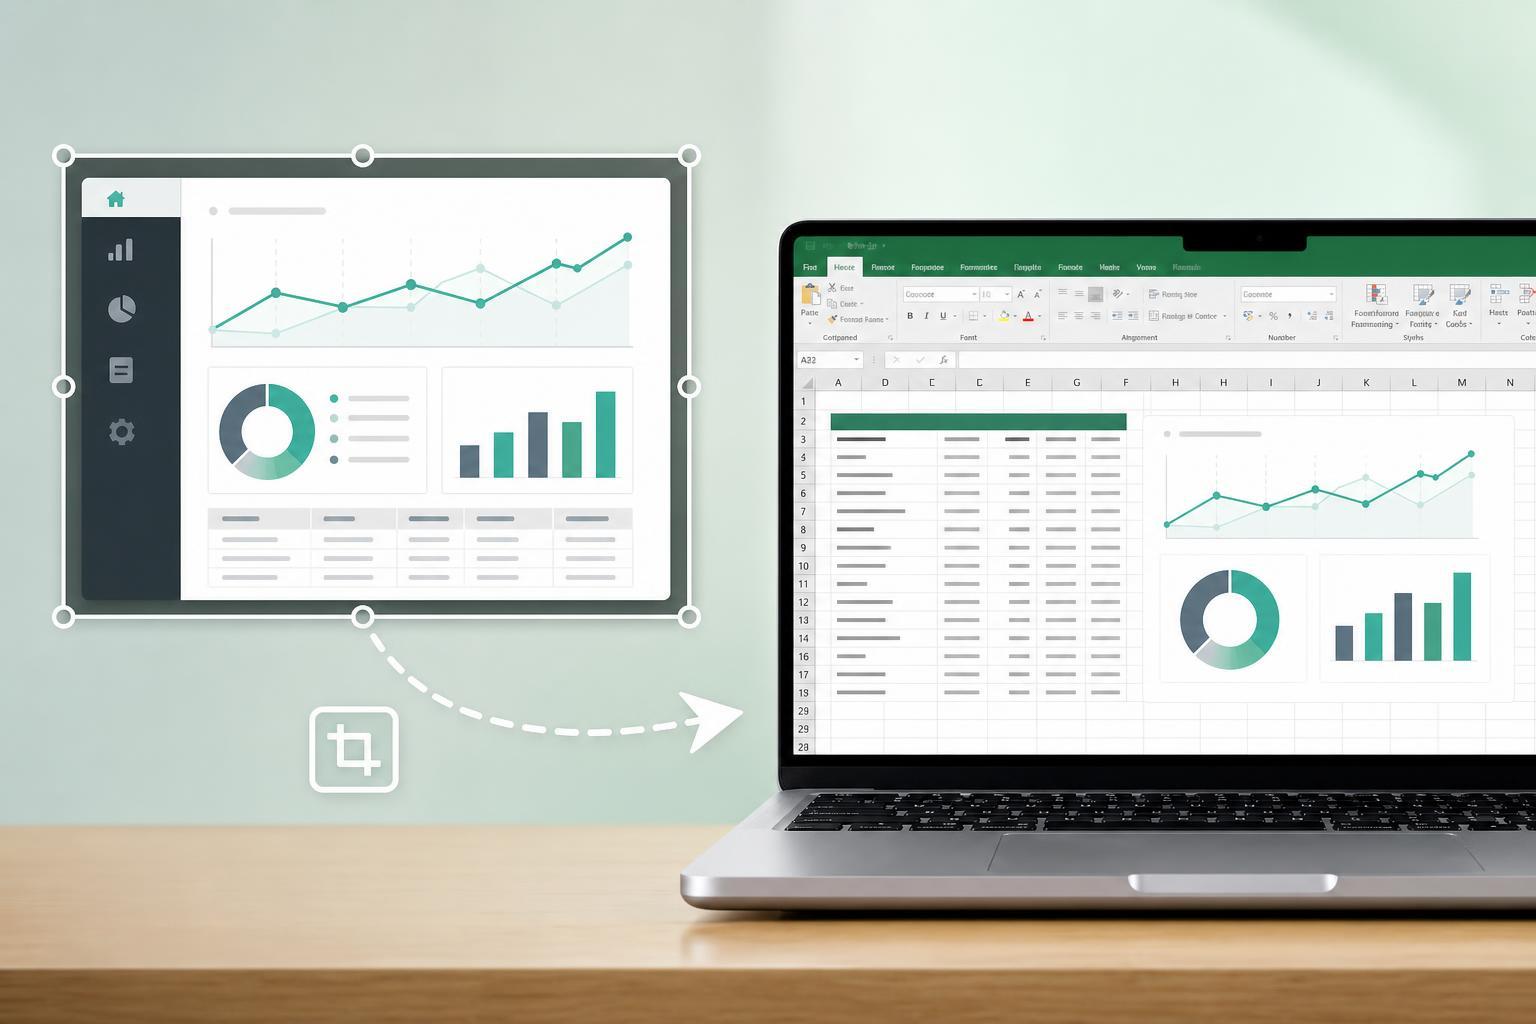
A screenshot is just an image, so Excel cannot edit the text or numbers inside it directly. To turn that image into a usable spreadsheet, you need a tool that can read the text from the screenshot and place it into cells.
The exact method depends on where the screenshot came from and how clean it is. A simple table in a screenshot can often be converted quickly, while a blurry image or a complicated layout may need extra cleanup after the conversion.
The easiest ways to convert a screenshot into Excel
The best method depends on whether you already use Microsoft Excel, whether the image is a table, and how accurate you need the result to be.
- Use Excel’s built-in OCR features if you have Microsoft 365 and a recent version of Excel.
- Use OneNote if you want a quick copy-and-paste method for text inside an image.
- Use an OCR tool or converter if the screenshot contains a table and you want a cleaner spreadsheet output.
- Use Google Sheets or an online OCR service if Excel’s built-in tools are not available.
Method 1: Use Excel’s data from picture feature
If your screenshot shows a table, this is usually the most direct option. Microsoft 365 includes a feature commonly called Data from Picture, which can read table data from an image and place it into a sheet for review.
- Open Excel and create a new worksheet.
- Go to the Data tab.
- Choose Data from Picture or From Picture, depending on your version.
- Select the screenshot from your computer, or paste it if your version supports clipboard import.
- Review the recognized data in the preview window.
- Correct any mistakes before inserting the data into the sheet.
- Click Insert Data to place the table into Excel.
Method 2: Use OneNote to extract text from a screenshot
OneNote can be useful when the screenshot contains plain text or when you only need the text copied into Excel, not a perfectly formatted table.
- Paste the screenshot into a OneNote page or insert the image into OneNote.
- Right-click the image.
- Choose Copy Text from Picture.
- Open Excel and paste the copied text into a worksheet.
- Use Text to Columns or manual edits if the text needs to be split into separate columns.
Method 3: Use an OCR converter for screenshots with tables
If Excel does not offer the feature you need, an OCR converter can extract the text and, in some cases, preserve table structure more accurately. This is often useful for receipts, lists, invoices, or screenshots of web tables.
- Upload the screenshot to a trusted OCR converter or document scanner app.
- Choose a table recognition option if the tool supports it.
- Export the result as an Excel file, CSV, or copyable text.
- Open the file in Excel and check the formatting.
- Fix broken rows, columns, and merged cells manually.
How to clean up the spreadsheet after conversion
Even good OCR results usually need a little cleanup. The goal is to make sure each piece of data lands in the correct cell and that the sheet is easy to work with.
- Check column headers first to confirm the table structure is correct.
- Look for split words, missing numbers, or characters that were misread.
- Remove extra blank rows or columns.
- Use Text to Columns if a single column contains data that should be separated.
- Apply number, date, or currency formatting if Excel imported values as plain text.
When the screenshot is hard to read
OCR works best when the image is sharp, upright, and high enough resolution. If your screenshot is poor quality, improving the image first can make a big difference.
- Crop away unnecessary parts of the image so the text is larger.
- Increase contrast if the text is faint.
- Avoid screenshots taken from far away or at an angle.
- Use the original source file instead of a compressed version if possible.
- Try a different tool if the first OCR result is messy.
Best method by situation
If you need the data to stay accurate
After converting a screenshot, always compare the spreadsheet against the original image before using the data for reports, calculations, or sharing. OCR can misread similar characters such as 0 and O, 1 and I, or commas and periods.
What to do if Excel cannot convert the image
- Make sure the screenshot is actually a standard image file such as PNG, JPG, or BMP.
- Update Excel if the Data from Picture option is missing.
- Try inserting the image into OneNote first and copying the text from there.
- Use an OCR tool that can export directly to Excel or CSV.
- Recreate the table manually if the image is too poor for OCR to read reliably.
A practical workflow that works well
For most users, the fastest reliable process is to try Excel’s Data from Picture first. If that fails or the layout is awkward, switch to OneNote or a dedicated OCR tool, then clean up the result in Excel.
- Try Excel’s built-in image-to-table feature.
- Review the preview carefully before inserting anything.
- Use OneNote or another OCR tool if Excel struggles with the screenshot.
- Clean the output in Excel after conversion.
- Double-check the finished sheet against the original image.