Images can make a Google Form easier to understand, more visually appealing, and better suited for surveys, quizzes, registrations, and feedback forms. You can add images to questions, answers, form titles, and sections, then adjust them so they fit the purpose of your form.
This guide shows where images can be added in Google Forms, how to edit them after inserting, and what to watch out for so your form still looks clean and professional.
Where You Can Use Images in Google Forms
Google Forms lets you place images in several parts of a form, not just at the top. That makes it useful whether you want a logo, a photo for a multiple-choice answer, or a visual prompt inside a question.
- Form header image at the top of the form
- Images inside individual questions
- Images attached to multiple-choice or checkbox answers
- Images in sections to separate parts of the form
- Images in the form title area through theme customization
How to Add an Image to a Question
- Open your Google Form.
- Go to the question where you want the image.
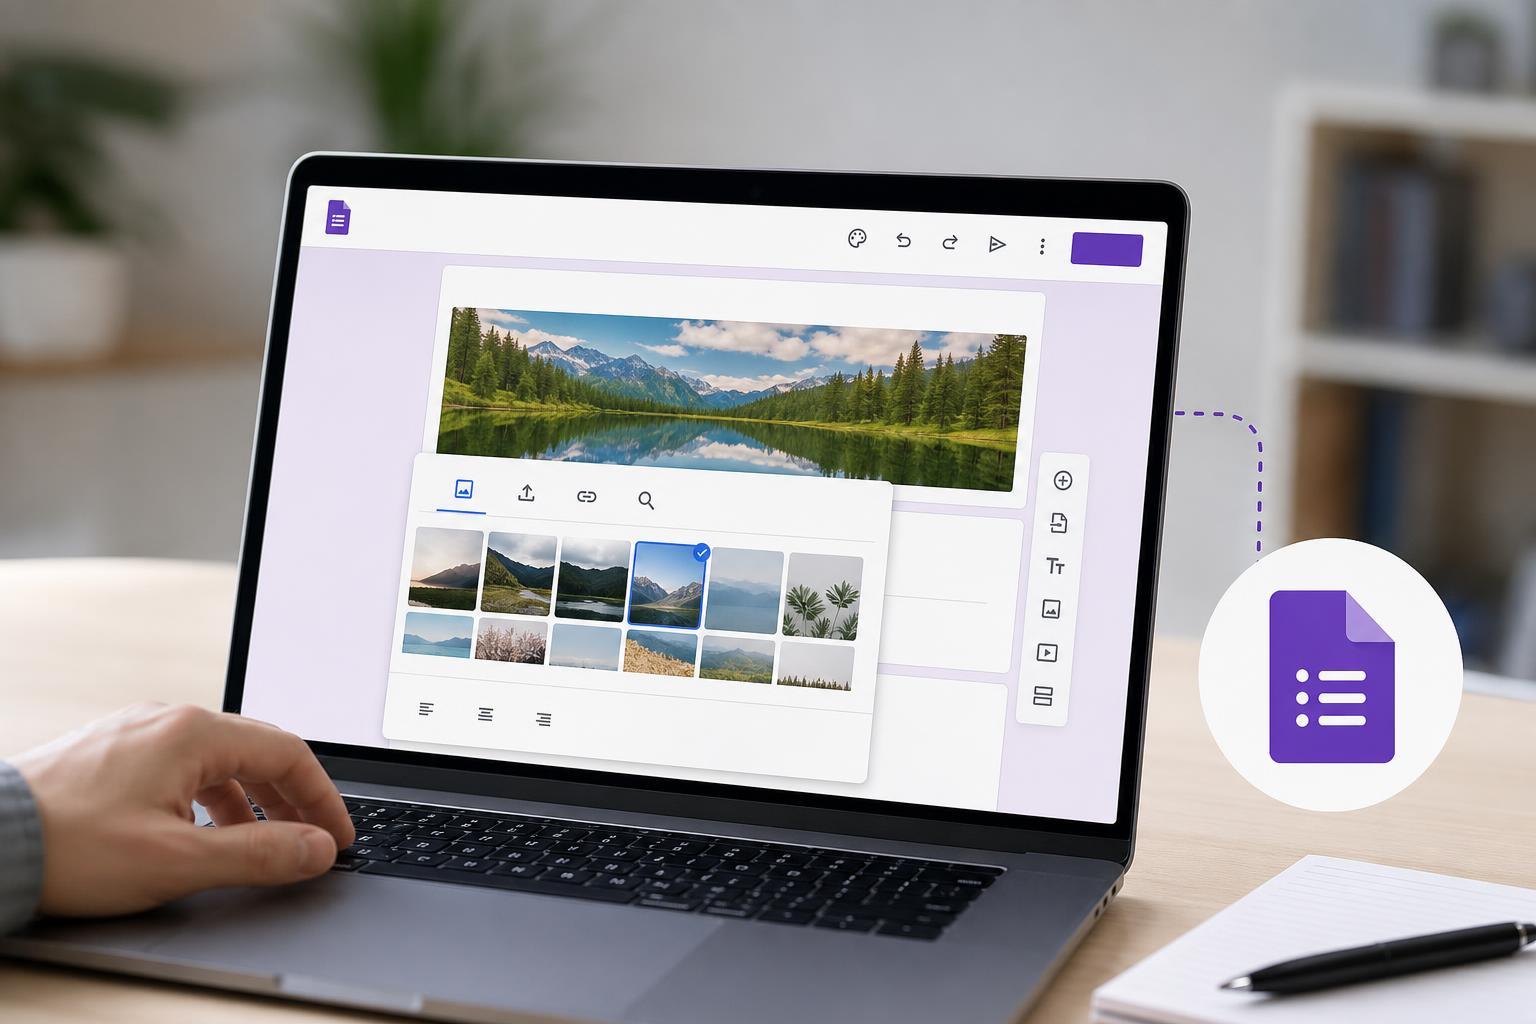
- Click the image icon on the right side of the question toolbar.
- Choose where to upload the image from, such as your computer, Google Drive, Google Photos, by URL, or from a camera.
- Select the image and insert it into the question.
Once inserted, the image appears directly under the question text. This works well for diagrams, product photos, instructions, or any visual reference the respondent needs to answer correctly.
How to Add an Image to a Multiple-Choice or Checkbox Answer
If you want respondents to choose between pictures instead of text, Google Forms supports image choices for multiple-choice and checkbox questions.
- Create a multiple-choice or checkbox question.
- Click the image icon next to an answer option.
- Upload or select the image you want for that choice.
- Repeat for each answer option that needs an image.
This is useful for product selection, visual quizzes, food preferences, classroom activities, or any form where a picture communicates more clearly than a label alone.
How to Add a Header Image to Your Form
- Open the form and click the palette icon at the top to open Theme options.
- Click Choose image in the Header section.
- Pick an image from your computer or Google Photos, or choose from available options if shown.
- Adjust the crop if needed and confirm your selection.
A header image is often the first visual people see, so it should match the purpose of the form. A logo, event photo, school banner, or simple branded graphic usually works best.
How to Edit an Image After Adding It
Google Forms gives you a small set of image editing options after upload. The most common adjustments are cropping and replacing the image.
- Click the image you added in the form.
- Look for the crop tool or image options toolbar.
- Crop the image to focus on the important part.
- Use the replace option if you want to swap in a different file.
- Save the form and review the layout after the change.
Cropping is especially helpful if the original image includes extra space, a distracting background, or text that is too small to read.
Best Practices for Using Images in Forms
- Use clear, high-quality images that remain readable on smaller screens
- Keep file sizes reasonable so the form loads quickly
- Avoid cluttered visuals that make the question harder to understand
- Use consistent image sizes when comparing options
- Test the form on mobile if respondents are likely to use phones
- Make sure the image supports the question instead of distracting from it
A good image should make the form easier to answer, not more confusing. If a visual does not add value, it is usually better to leave it out.
Troubleshooting Common Image Problems
- The image does not upload: check the file type, file size, or your internet connection
- The image looks blurry: upload a larger, sharper version
- The crop looks wrong: reopen the image and adjust the crop area
- The layout feels cramped: shorten nearby text or move the image to a different part of the form
- The answer images are hard to compare: use images with similar framing and size
If an image looks fine in the editor but awkward in the live form, preview the form before sending it out. That is the easiest way to catch spacing or readability problems early.
How to Make Images Work Well in Google Forms
The most effective forms use images with a clear purpose. A photo can help identify an item, a header can brand the form, and a section image can separate topics. The key is to keep every image relevant and easy to understand.