
If Windows 11 says the Wireless AutoConfig service is not running, your PC may fail to detect Wi‑Fi networks or refuse to connect even though the adapter is enabled. This usually points to a stopped Windows service, a driver issue, or a corrupted network configuration rather than a broken router.
The good news is that this problem is often fixable without reinstalling Windows. Start with the service itself, then move on to adapter, driver, and network repair steps if needed.
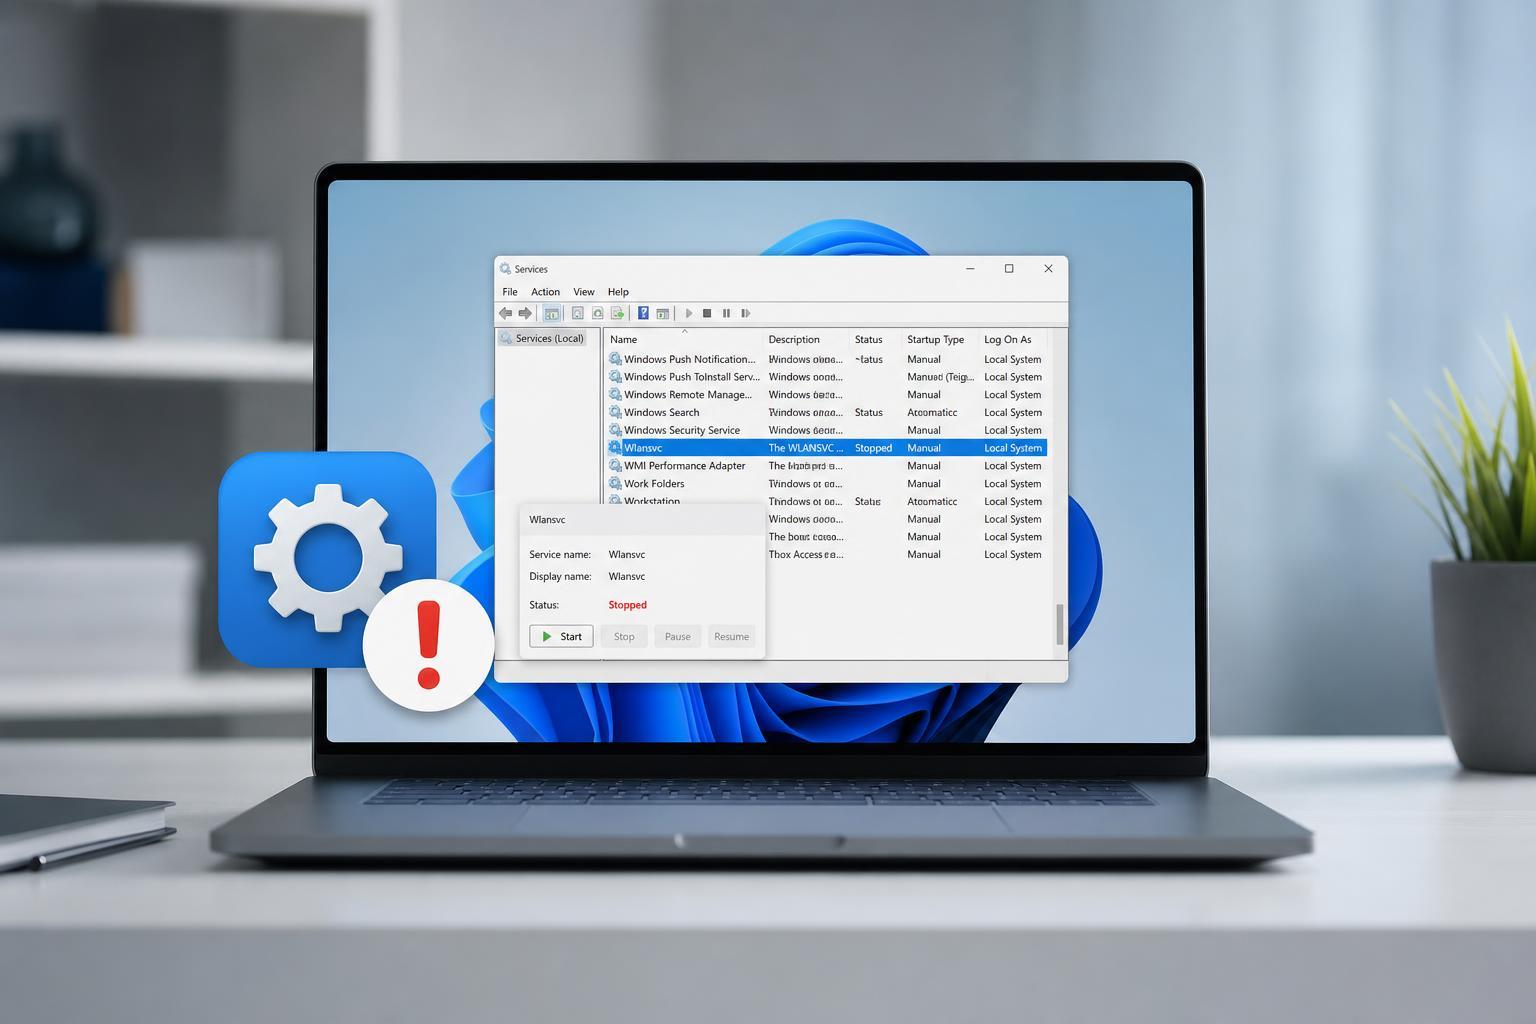
What the Wireless AutoConfig Service Does
Wireless AutoConfig, also called WLAN AutoConfig, is a Windows service that manages Wi‑Fi connections. It scans for wireless networks, handles authentication, and helps Windows connect to your preferred network automatically.
Check Whether the Service Is Running
The first thing to check is whether the WLAN AutoConfig service is simply stopped. This is the most common cause and the easiest to fix.
- Press Windows + R, type services.msc, and press Enter.
- Find WLAN AutoConfig in the list.
- Double-click it to open its properties.
- Set Startup type to Automatic.
- If the Service status says Stopped, click Start.
- Click Apply, then OK.
Restart the WLAN AutoConfig Service from Command Prompt
If the Services app does not start it correctly, try restarting the service manually with an elevated command prompt.
- Right-click the Start button and choose Terminal (Admin) or Windows Terminal (Admin).
- Run the command: net stop wlansvc
- Then run: net start wlansvc
- Close the terminal and check whether Wi‑Fi networks appear again.
Make Sure the Wi‑Fi Adapter Is Enabled
Windows can show service errors when the wireless adapter itself is turned off or malfunctioning. Confirm that the adapter is enabled in Device Manager.
- Press Windows + X and choose Device Manager.
- Expand Network adapters.
- Look for your wireless adapter, which may include words like Wi‑Fi, Wireless, or WLAN.
- If it is disabled, right-click it and choose Enable device.
- If it has a warning icon, continue to the driver steps below.
Update or Reinstall the Wireless Driver
A damaged or outdated Wi‑Fi driver can prevent Windows from communicating with the adapter correctly. Updating or reinstalling the driver often resolves the service error.
- Open Device Manager and expand Network adapters.
- Right-click your wireless adapter and select Update driver.
- Choose Search automatically for drivers first.
- If that does not help, right-click the adapter again and select Uninstall device.
- If available, check the box to remove the driver software for this device.
- Restart the PC so Windows can reinstall the driver automatically, or install the latest driver from your laptop or motherboard manufacturer.
Run the Network Troubleshooter
Windows 11 includes a built-in network troubleshooter that can detect common issues affecting wireless services and adapters.
- Open Settings.
- Go to System > Troubleshoot > Other troubleshooters.
- Find Network and Internet and click Run.
- Follow the prompts and apply any suggested fixes.
Reset the Network Stack
If the service is running but connections still fail, the network configuration itself may be damaged. Resetting the network stack clears some of the cached settings Windows uses for Wi‑Fi.
- Open Windows Terminal as administrator.
- Run these commands one at a time: netsh winsock reset, netsh int ip reset, ipconfig /flushdns
- Restart the computer after the commands finish.
Check Windows Services Dependencies
WLAN AutoConfig depends on other Windows services. If one of them is disabled, the Wi‑Fi service may fail to start properly.
- Open services.msc again.
- Check that these services are not disabled: Remote Procedure Call (RPC), Windows Event Log, Network Location Awareness.
- If any of them are stopped unexpectedly, start them if possible.
- Leave the startup type at its default unless you know it was changed incorrectly.
Use a Network Reset if Nothing Else Works
If the service error keeps returning, Windows may need a full network reset. This removes and reinstalls all network adapters and restores network settings to defaults.
- Open Settings.
- Go to Network & internet > Advanced network settings.
- Select Network reset.
- Click Reset now and confirm.
- After the restart, reconnect to your Wi‑Fi network and re-enter any saved passwords.
When the Problem Is More Likely Hardware-Related
If the service starts correctly but the wireless adapter still disappears, fails to detect networks, or shows repeated driver errors, the problem may be with the adapter itself. This is more likely on older laptops or systems with loose internal Wi‑Fi cards.
- The adapter is not listed in Device Manager
- The adapter appears with a yellow warning icon even after reinstalling the driver
- Wi‑Fi drops out after every boot or sleep cycle
- Other devices connect to the same router without trouble
How to Narrow Down the Cause
Use the symptom pattern to decide which fix to try first.
- Service stopped but adapter looks normal: start WLAN AutoConfig.
- Adapter disabled or missing: check Device Manager first.
- Service runs but Wi‑Fi still fails: update the driver and reset the network stack.
- Nothing changes after software fixes: consider adapter hardware or a BIOS-level wireless setting.
What to Try First
In most cases, the fastest and most effective order is: start WLAN AutoConfig, verify the adapter is enabled, update or reinstall the wireless driver, then reset the network stack if needed. Those steps solve the majority of Windows 11 Wi‑Fi service errors without deeper changes.





