
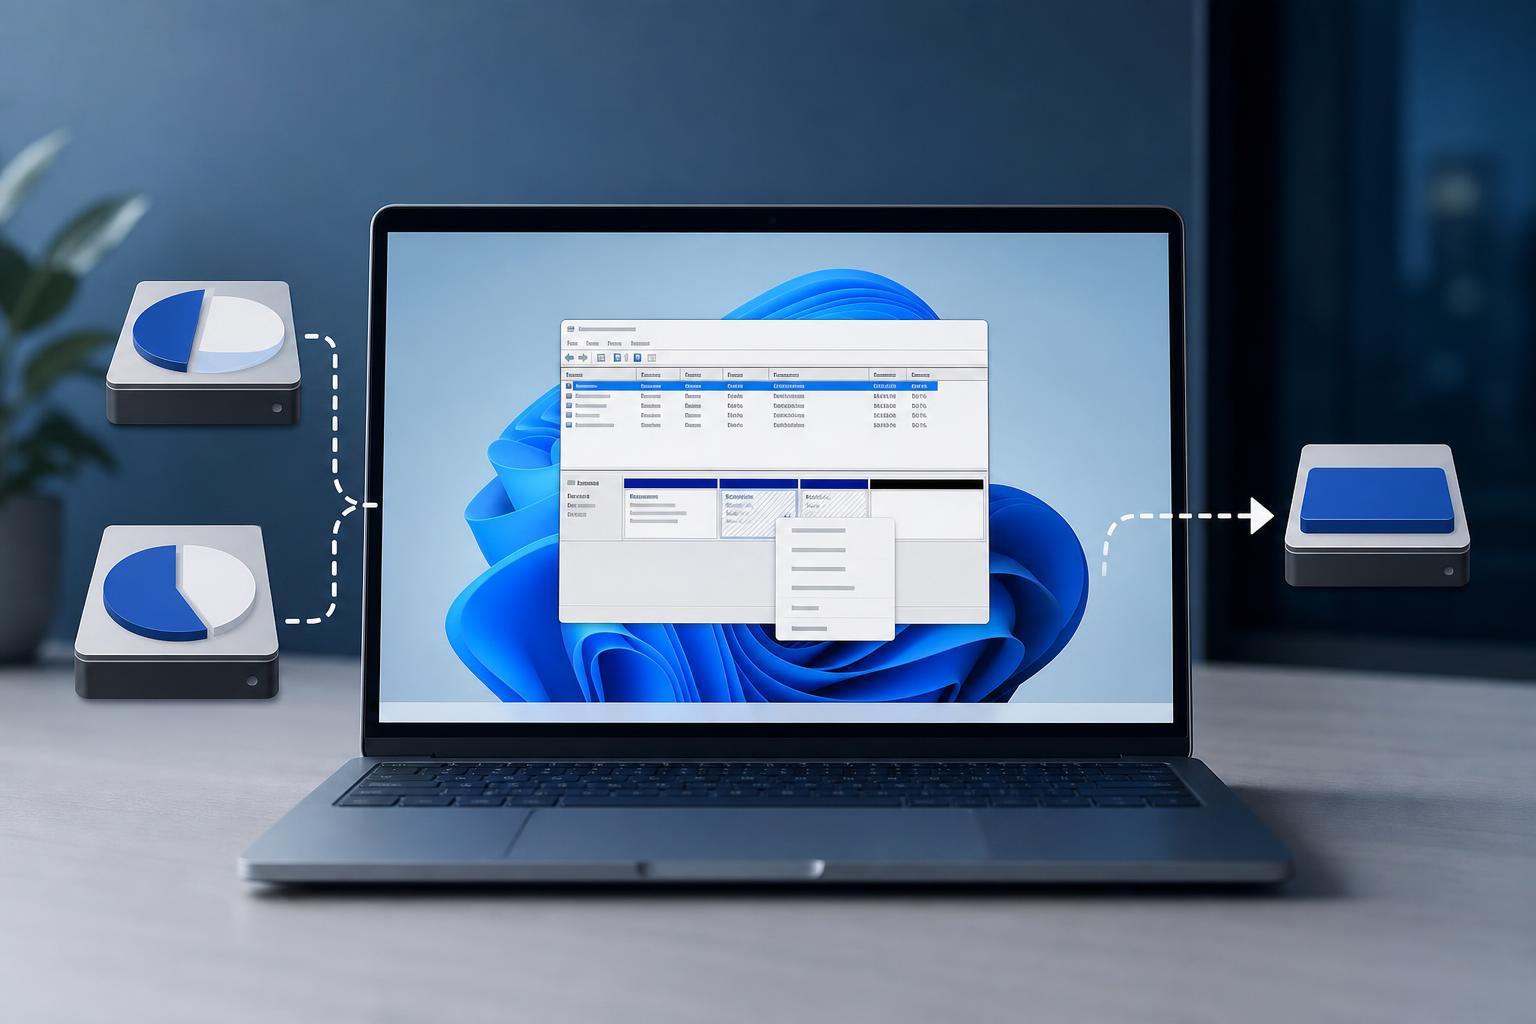
Disk partitions let you split a drive into separate sections for different files, Windows installations, or storage needs. In Windows 11, you can create a new partition from unallocated space, shrink an existing volume to make room, or merge partitions by extending one volume into adjacent unallocated space.
This guide shows the safest built-in ways to manage partitions in Windows 11, along with the limits you need to know before you change a disk layout.
Before You Start
Before changing partitions, check which drive you are working on and whether it already contains files you need. If the partition you plan to shrink or delete has important data, back it up first.
- Use Disk Management for the simplest built-in method.
- Make sure you know which partition contains Windows and which holds your personal files.
- Back up anything important before deleting, shrinking, or merging partitions.
- If the disk uses BitLocker, suspend protection if Windows asks you to or if you are making major changes.
How to Create a New Partition in Windows 11
The easiest way to create a partition is to shrink an existing volume and turn the freed space into a new one. This works when the disk has enough free space.
- Right-click the Start button and choose Disk Management.
- In the lower pane, find the drive you want to resize.
- Right-click the volume you want to shrink, then choose Shrink Volume.
- Enter how much space to shrink in megabytes, then select Shrink.
- You will now see unallocated space next to that volume.
- Right-click the unallocated space and choose New Simple Volume.
- Follow the wizard to choose the size, drive letter, file system, and volume label.
- Finish the wizard to create the new partition.
For most home users, the default NTFS file system is the right choice for internal Windows drives.
How to Merge Partitions in Windows 11
Windows does not have a single button labeled “merge partitions.” In practice, merging usually means deleting one partition so its space becomes unallocated, then extending the neighboring partition into that space.
- Back up any files from the partition you want to remove.
- Open Disk Management.
- Right-click the partition you want to merge away and choose Delete Volume.
- Confirm the deletion. The space will become unallocated.
- Right-click the adjacent partition you want to keep and choose Extend Volume.
- Use the wizard to add the unallocated space to that partition.
When Extend Volume Is Grayed Out
If Extend Volume is unavailable, Windows usually cannot use the unallocated space because of layout restrictions. This is one of the most common partitioning problems people run into.
- The unallocated space is not immediately after the partition you want to extend.
- The space is on a different disk.
- The partition is not a basic partition Windows can extend in Disk Management.
- A recovery, EFI, or another small partition sits between the volume and the free space.
In these cases, you may need to rearrange partitions with a third-party partition manager that can move partitions, or back up the data and rebuild the disk layout from scratch.
Using Disk Management vs. Settings
Windows 11 Settings can show storage usage and open some disk tools, but Disk Management remains the main built-in utility for creating, deleting, shrinking, and extending partitions.
What to Do if Disk Management Won’t Help
If the built-in tool cannot do what you need, the usual options are to back up the disk and start over, or use a trusted partition manager that can move partitions without deleting everything first.
- Back up the files from the partitions you want to keep.
- Delete or reformat the partitions as needed.
- Recreate the layout in the order you want.
- Restore your files afterward.
A Safe Way to Plan the Layout
If you are setting up a new PC or a drive you have already backed up, decide the disk layout before you begin. For example, you might want one partition for Windows and apps and another for files or games.
- Keep the Windows partition large enough for updates and installed programs.
- Leave extra free space on data partitions so they can grow over time.
- Avoid creating too many small partitions unless you have a specific reason.
- Use clear labels so you can identify each volume later.
Common Mistakes to Avoid
- Deleting a recovery or system partition by accident.
- Trying to extend a volume into space that is not directly adjacent.
- Shrinking a partition too much and leaving Windows with little free space.
- Forgetting that partition changes do not automatically merge files from one volume to another.
- Assuming a partition change is reversible without a backup.
What This Means for Your PC
Creating a partition is useful when you want a separate space for games, documents, backups, or dual-boot setups. Merging partitions is useful when you want to reclaim space from a volume you no longer need. In Windows 11, both tasks are manageable with Disk Management as long as the partition layout works in your favor.
If you are only making a small storage adjustment, the built-in tools are usually enough. If the disk layout is complicated, back up first and be prepared to use a more advanced partition manager or rebuild the disk structure from scratch.





