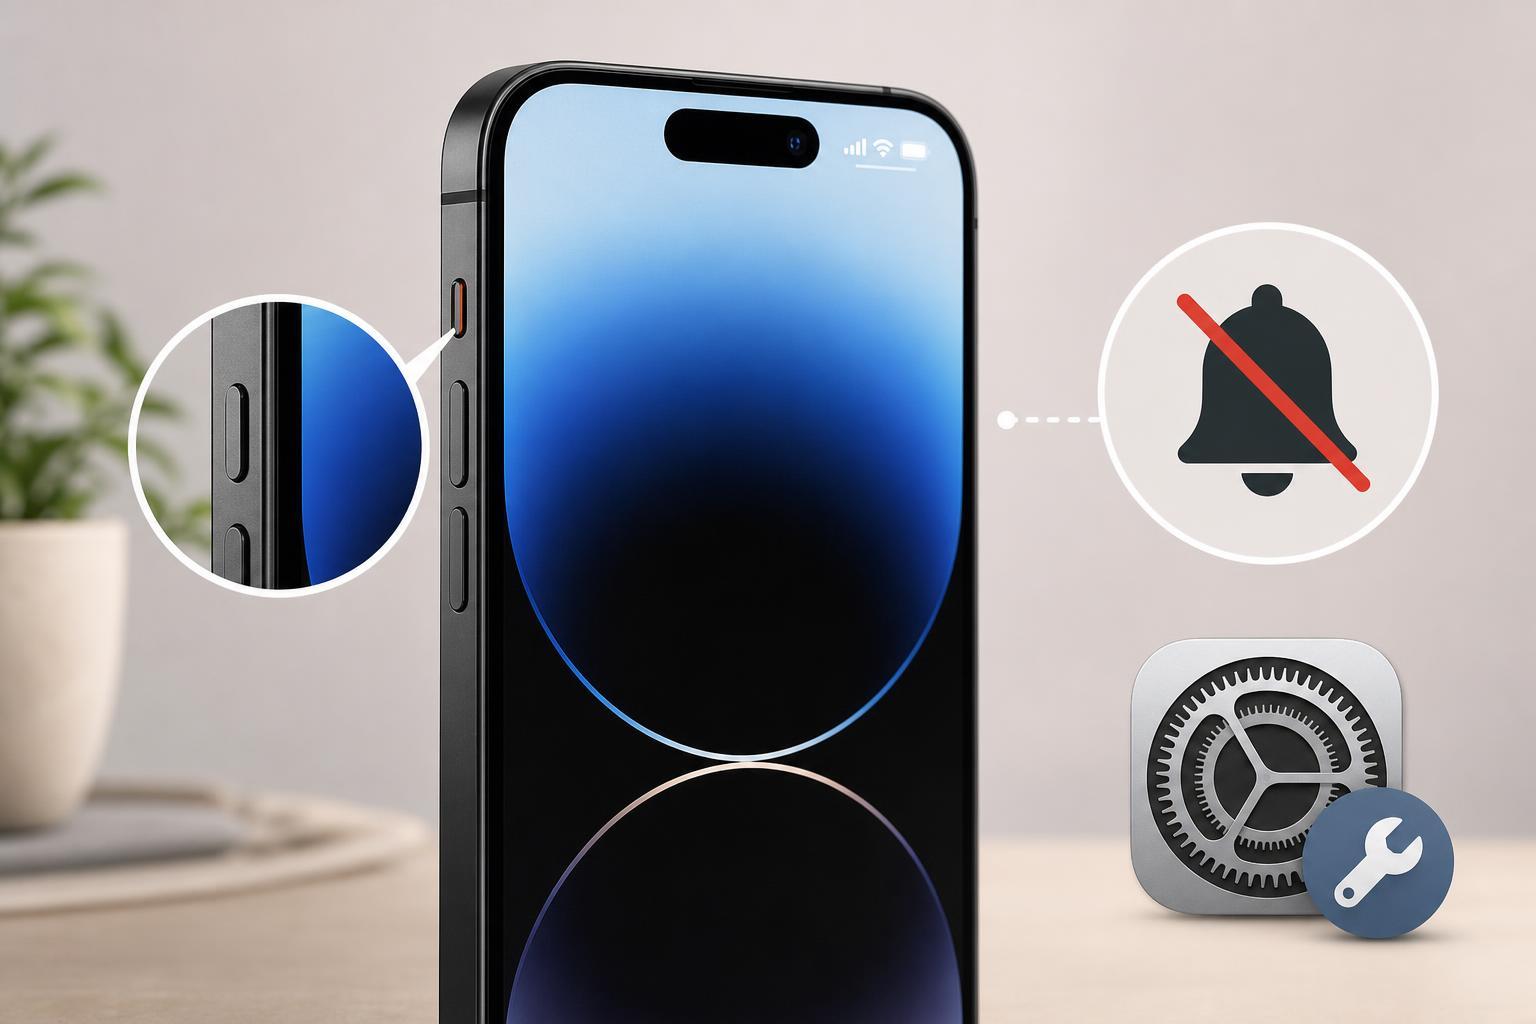
If your iPhone screen looks hard to read, you want a quick dark-theme style view, or you need color inversion for accessibility, iPhone gives you several ways to reverse colors. Some options change the whole display, while others only affect photos or specific apps.
This guide explains nine practical ways to invert screen or picture colors on iPhone, plus when each option is the best fit.
1. Turn on Smart Invert
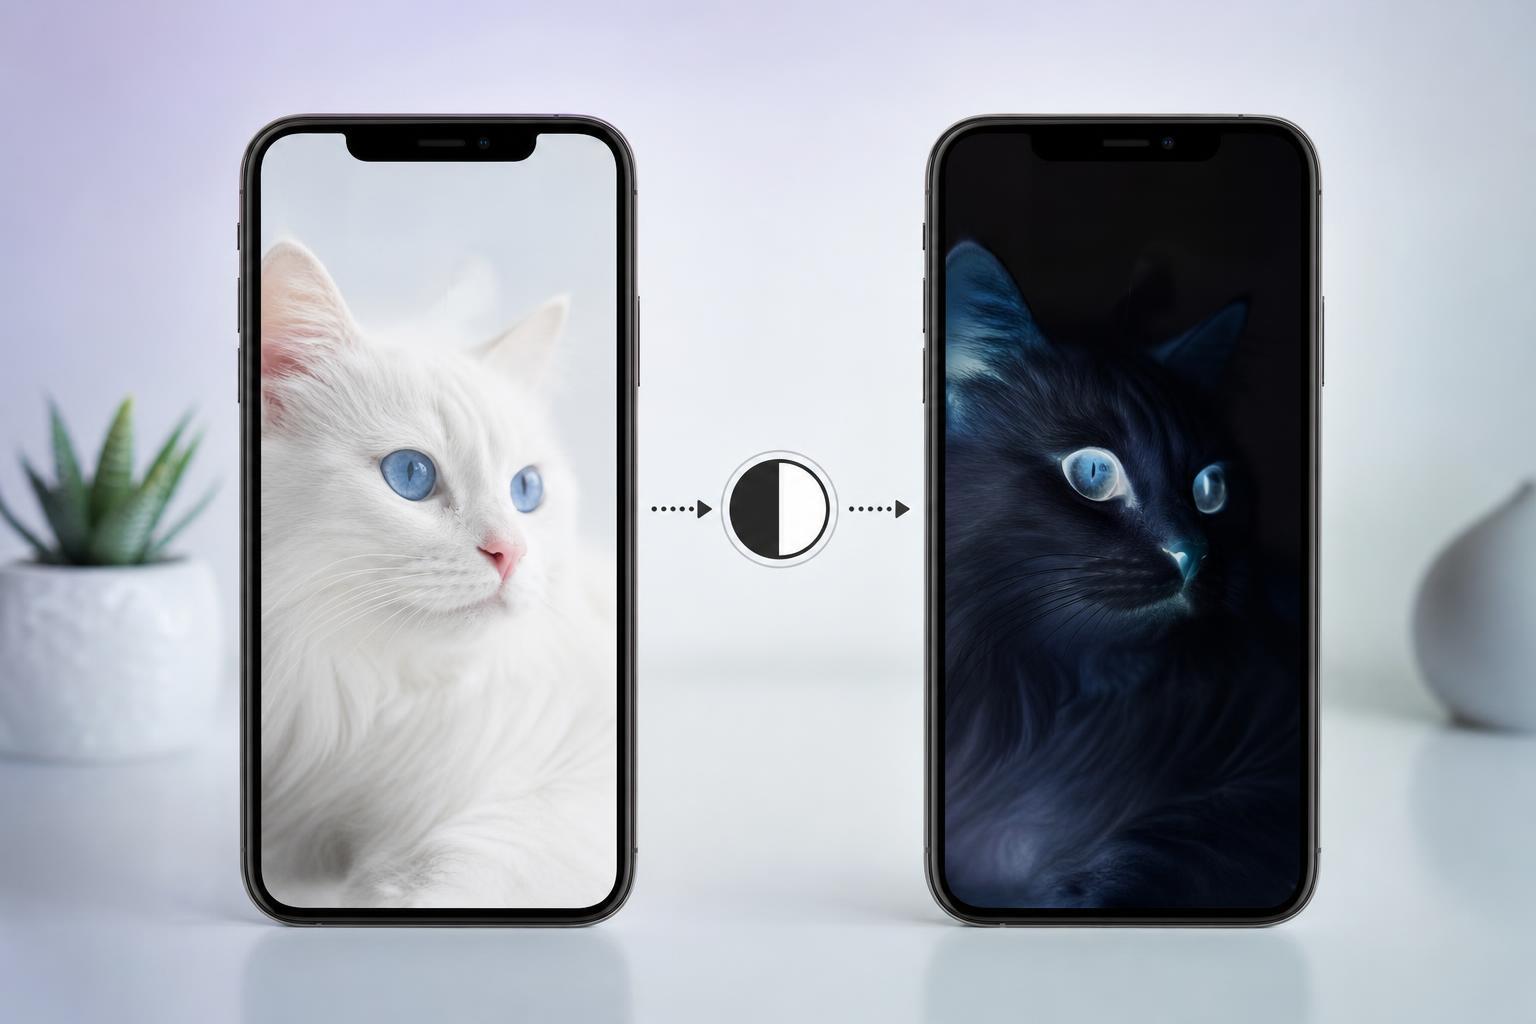
Smart Invert is usually the best option for most people. It reverses most screen colors while trying to preserve the original look of images, media, and some app elements. That makes it much more usable than a full-color inversion for everyday reading.
- Open Settings.
- Tap Accessibility.
- Tap Display & Text Size.
- Turn on Smart Invert.
2. Use Classic Invert for a full color reversal
Classic Invert flips nearly every color on the screen. This is more extreme than Smart Invert and is useful when you need a true inverted display for testing, accessibility, or visibility in specific situations.
- Open Settings.
- Go to Accessibility.
- Tap Display & Text Size.
- Turn on Classic Invert.
3. Add Invert Colors to Accessibility Shortcut
If you switch inversion on and off often, the Accessibility Shortcut saves time. It lets you toggle your chosen accessibility features quickly without digging through Settings every time.
- Open Settings.
- Tap Accessibility.
- Scroll down and tap Accessibility Shortcut.
- Select Smart Invert, Classic Invert, or both if you want them available.
- Triple-click the Side button to toggle the shortcut.
4. Use Back Tap for faster access
Back Tap lets you assign actions to tapping the back of the iPhone. If you want inversion only a double- or triple-tap away, this can be more convenient than opening menus.
- Open Settings.
- Tap Accessibility.
- Tap Touch.
- Choose Back Tap.
- Select Double Tap or Triple Tap.
- Assign an Accessibility Shortcut that includes your invert-color option.
5. Create a Shortcut to toggle invert colors
The Shortcuts app can be used for a custom toggle if you prefer automation-style control. This is useful when you want a more personalized way to switch color inversion on and off.
- Open the Shortcuts app.
- Tap the plus button to create a new shortcut.
- Add an action that sets Smart Invert or Classic Invert.
- Save the shortcut.
- Run it from the Shortcuts app, Home Screen, widget, or Siri if you add those options.
6. Invert only photos or screenshots in the Photos app
If you do not want to invert the entire iPhone screen, you can edit a single image instead. This is the best method when you only need an inverted picture for sharing, comparison, or creative use.
- Open the Photos app.
- Select the photo or screenshot.
- Tap Edit.
- Use the available adjustment tools or a compatible editing app to reverse the colors.
- Save a copy so the original image stays unchanged.
7. Use Markup in a screenshot workflow
If you are working with a screenshot and only need a visual effect for a quick explanation, Markup can help you edit or annotate the image after capture. While Markup is not a true full inversion tool by itself, it is often part of a screenshot workflow when you need to prepare an image for sharing.
- Take a screenshot.
- Tap the screenshot preview.
- Use Markup tools to annotate or crop the image.
- If you need full inversion, open the screenshot in an editor that supports color reversal.
- Save or share the finished image.
8. Check app-specific dark mode or contrast settings
Some apps offer their own dark mode, high-contrast mode, or image display options. These settings can make the app feel like it has inverted colors even when the system display has not changed.
- Reading apps may offer sepia, night, or dark backgrounds.
- Web browsers may have reader modes or forced dark themes.
- Photo and design apps may include filter or negative-effect tools.
- Video apps may let you adjust playback appearance or subtitles for better visibility.
9. Use an external editor or filter app for advanced picture inversion
When you want to invert a photo, graphic, or screenshot precisely, a dedicated editor is often the best tool. These apps usually give you better control than the built-in iPhone Photos tools.
- Search for a photo editor that includes negative, invert, or channel adjustment tools.
- Import the image you want to edit.
- Apply the invert or negative filter.
- Save a copy of the edited image.
- Keep the original file in case you want to undo the effect later.
Which option should you use?
For most people, Smart Invert is the best starting point because it changes the interface while preserving media more intelligently. Classic Invert is best when you want every color reversed. If you only need to invert one picture, use a photo editor instead of changing the whole phone.
- Best for everyday use: Smart Invert
- Best for full reversal: Classic Invert
- Best for quick access: Accessibility Shortcut or Back Tap
- Best for a single image: Photos editor or a third-party app
- Best for app-specific viewing: built-in dark mode or contrast settings
How to turn off color inversion
If the screen suddenly looks strange, you may have accidentally enabled an invert option. You can turn it off in the same Accessibility menu where you enabled it, or use the shortcut you set up earlier.
- Open Settings.
- Tap Accessibility.
- Tap Display & Text Size.
- Turn off Smart Invert or Classic Invert.
- If needed, disable the Accessibility Shortcut or Back Tap assignment to prevent accidental activation.