Transcribing a Voice Memo on iPhone can save time when you need meeting notes, interview quotes, class recordings, or reminders in text form. Depending on your iPhone model, iOS version, and where the recording lives, you may be able to use built-in transcription features or a third-party app.
This guide covers five practical ways to transcribe voice memos on iPhone, from the simplest built-in options to more flexible alternatives when Apple’s tools are not available or do not give you the result you want.
1. Use the Voice Memos App’s Built-in Transcript
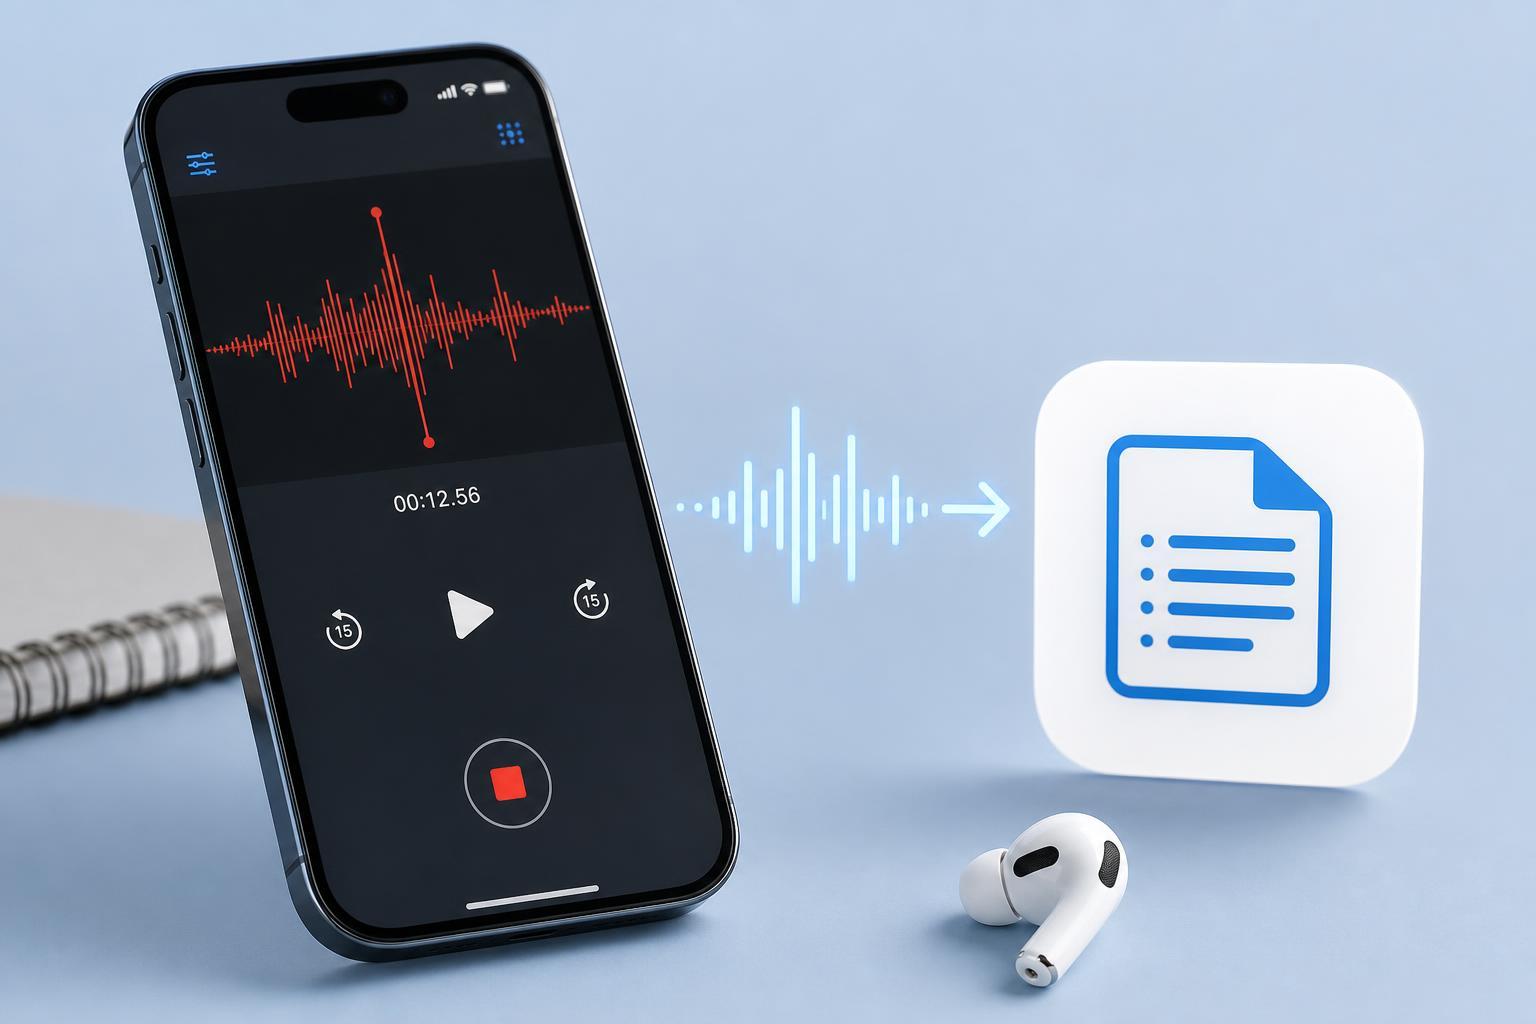
If your iPhone supports it, the Voice Memos app can generate a transcript directly from a recording. This is the easiest option because it keeps the audio and text together in one place.
- Open the Voice Memos app.
- Tap the recording you want to transcribe.
- Look for the transcript or text option within the recording details.
- Wait for the app to process the audio if the transcript is not available immediately.
- Copy the text if you want to move it into Notes, Mail, or another app.
2. Use Live Voicemail or Dictation for Short Audio You Need in Text
If the voice memo is short, or if you are trying to capture speech in real time, iPhone’s dictation features may be enough. This is not the same as transcribing an existing Voice Memo file, but it can be a fast way to turn speech into text without installing anything extra.
This works best when you can play the memo aloud near your iPhone and let Dictation hear it, or when you are recording new speech directly into a text field.
- Open an app with a text field, such as Notes or Messages.
- Tap the microphone icon on the keyboard.
- Play the voice memo nearby if you are transcribing from a recording.
- Speak clearly or let the recording play through at a steady volume.
- Review the text and correct any mistakes.
3. Share the Voice Memo to a Transcription App
If the built-in transcription option is unavailable or not accurate enough, a third-party transcription app can often do the job. Many of these apps let you import audio directly from the Voice Memos app or from the Files app.
- Open Voice Memos and select the recording.
- Tap Share.
- Choose a transcription app or save the file to Files first if needed.
- Let the app upload or process the audio.
- Review the transcript and export or copy it when finished.
4. Use Apple Notes to Capture and Clean Up the Text
Apple Notes does not always transcribe Voice Memos directly, but it is a useful place to organize the transcript once you have one. If you use another method to generate the text, Notes makes it easy to clean up, search, and store the result alongside related material.
- Open the transcript in the app you used.
- Select and copy the text.
- Open Apple Notes and create a new note.
- Paste the transcript into the note.
- Edit speaker names, punctuation, and formatting as needed.
5. Transcribe the Memo on a Mac or Online Tool
If iPhone options are limited, you can move the memo to a Mac or an online transcription tool and process it there. This can be useful for longer recordings or when you want to compare multiple services.
- In Voice Memos, share the recording to Files, AirDrop, Mail, or another transfer method.
- Open the audio on your Mac or in a web-based transcription service.
- Run the transcription process.
- Proofread the result for names, technical terms, and punctuation.
- Save the final text back to Notes, Pages, Word, or your preferred app.
How to Get Better Transcription Results
No matter which method you use, the quality of the audio makes a big difference. Clear speech and minimal background noise usually produce the best transcript.
- Record in a quiet room whenever possible.
- Keep the microphone close to the speaker.
- Avoid talking over other people.
- Reduce music, fans, and other background noise.
- Pause and repeat unclear words if you are creating the recording yourself.
- Use a higher-quality external microphone for important recordings.
Which Method Should You Use?
If your iPhone supports it, the built-in Voice Memos transcript is the fastest and most convenient option. For older iPhones, unsupported languages, or more advanced features, a third-party transcription app or Mac-based workflow may work better.
- Use built-in Voice Memos transcription for the simplest workflow.
- Use Dictation for quick real-time text capture.
- Use a transcription app for better flexibility and export options.
- Use Apple Notes to organize and edit the final text.
- Use a Mac or online tool for longer recordings or extra formatting control.