
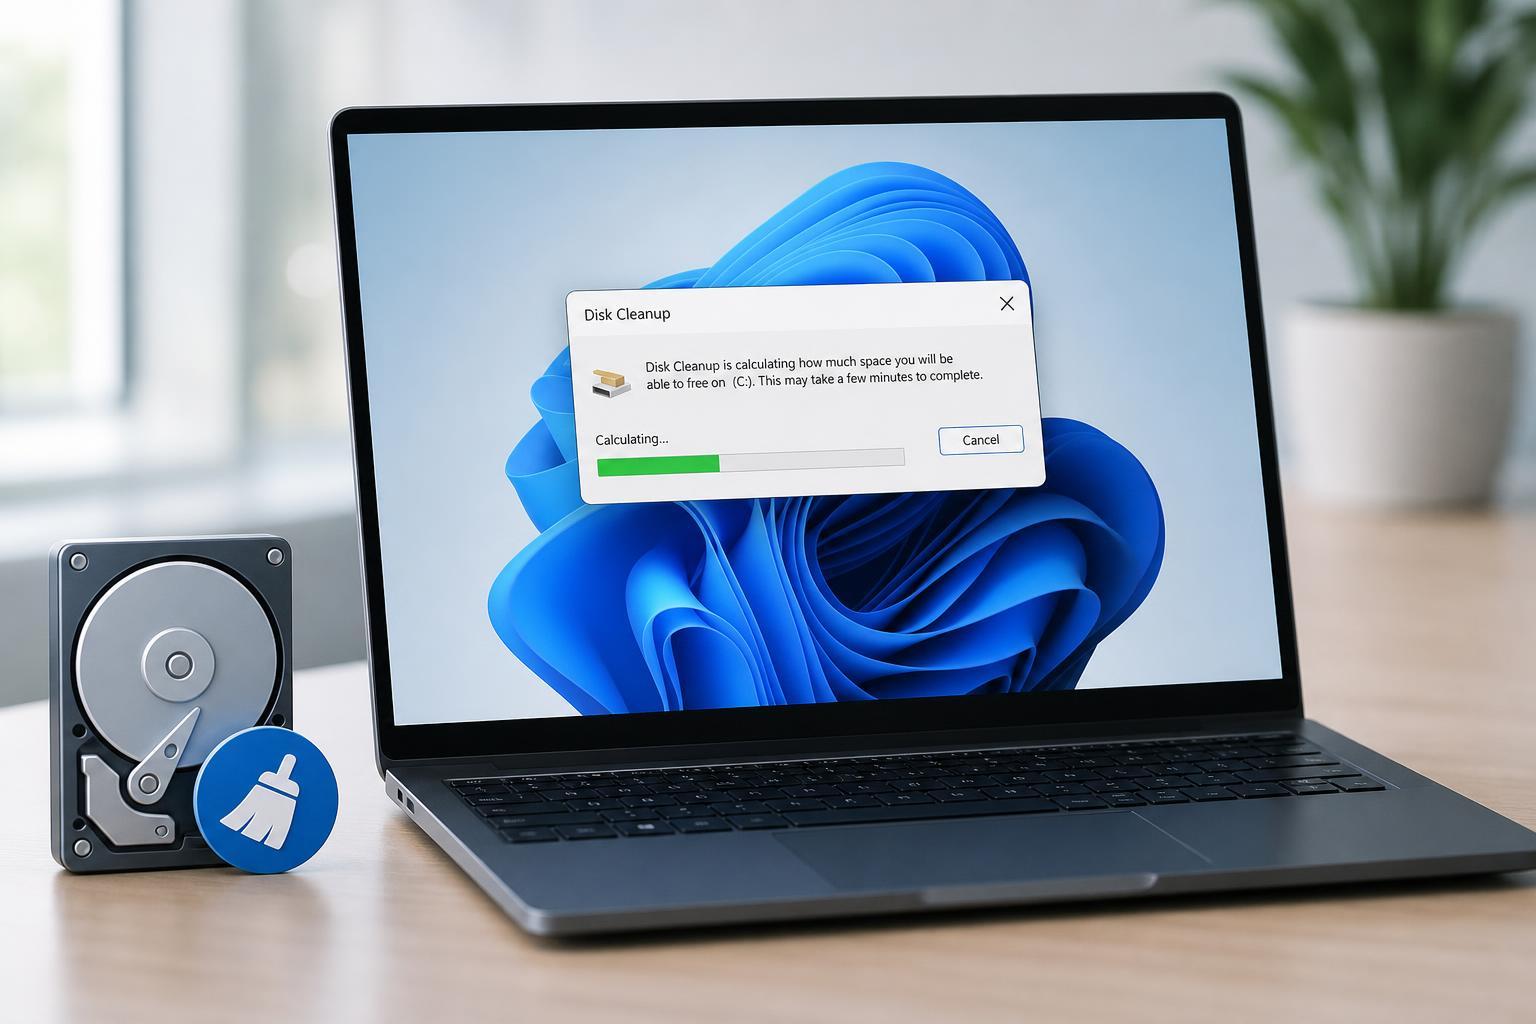
If Disk Cleanup in Windows 11 stays on the "Calculating" screen for a long time, it usually means Windows is having trouble scanning one of the locations it checks for removable files. The tool may still be working, but in some cases it is stalled by system files, temporary data, or a corrupted component.
The fixes below start with the most likely causes and move to more advanced solutions. You do not need to try every method unless the earlier ones do not help.
1. Close Other File-Heavy Apps and Try Disk Cleanup Again
Disk Cleanup can slow down if Windows is busy indexing files, scanning the drive, or if another app is using a large number of temporary files at the same time. Give it a clean run so the tool has fewer things competing for disk access.
- Close File Explorer windows that are open to large folders such as Downloads, Videos, or network locations.
- Exit apps that may be writing to disk, such as video editors, torrent clients, backup tools, and virtual machines.
- If you use cloud sync tools, pause them temporarily while Disk Cleanup runs.
- Open Disk Cleanup again and let it finish calculating for a few minutes before assuming it is frozen.
2. Run Disk Cleanup as Administrator
Some cleanup categories are not fully scanned unless Disk Cleanup has elevated permission. Running it with administrator rights can help it access system-wide temporary files and other protected locations more reliably.
- Press the Start button and type Disk Cleanup.
- Right-click Disk Cleanup and choose Run as administrator.
- Select the Windows drive if prompted.
- Wait to see whether the calculating stage completes normally this time.
3. Clear Temporary Files Manually First
A large pile of temporary files can make Disk Cleanup slow, especially if some of them are locked or partially damaged. Clearing the easiest folders manually can reduce the amount of work the tool needs to do.
- Press Windows + R, type %temp%, and press Enter.
- Select the files you can delete and remove them.
- Press Windows + R again, type temp, and delete what Windows allows.
- Open Settings > System > Storage > Temporary files and remove obvious safe items if available.
- Try Disk Cleanup again after the manual cleanup is done.
4. Repair Windows System Files
If Disk Cleanup keeps freezing in the same place, the problem may be a damaged Windows component or file system inconsistency. The built-in repair tools can often fix this without reinstalling Windows.
- Open the Start menu, type cmd, right-click Command Prompt, and choose Run as administrator.
- Run this command: sfc /scannow
- After that finishes, run: DISM /Online /Cleanup-Image /RestoreHealth
- Restart Windows if prompted, then try Disk Cleanup again.
5. Use Storage Sense or an Alternative Cleanup Method
If Disk Cleanup still will not get past calculating, Windows 11’s Storage Sense can remove many of the same temporary files automatically. It is also a useful workaround when Disk Cleanup itself is acting up.
- Open Settings and go to System > Storage.
- Select Temporary files to review what Windows can remove.
- Use Storage Sense to clean items Windows suggests.
- If you are trying to free space quickly, empty the Recycle Bin and delete files from Downloads that you no longer need.
- Afterward, test Disk Cleanup again to see whether the issue has improved.
If Disk Cleanup Is Still Stuck
If none of the fixes above work, the issue may be tied to a specific drive problem or a deeper Windows installation issue. At that point, check whether File Explorer can open the system drive normally, make sure the drive has no errors, and consider reviewing the Windows Event Viewer for repeated storage or application errors.
If the drive is unusually slow in other tasks too, the problem may not be Disk Cleanup itself. A failing SSD, file system corruption, or a Windows service conflict can also cause the calculating stage to stall.





