
If your laptop touchpad keeps getting in the way while you type or use an external mouse, Windows 11 gives you several ways to turn it off. The best method depends on your laptop model and whether you want a temporary or permanent solution.
This guide covers four reliable ways to disable the touchpad on Windows 11, plus a few things to watch out for so you do not accidentally leave yourself without a pointing device.
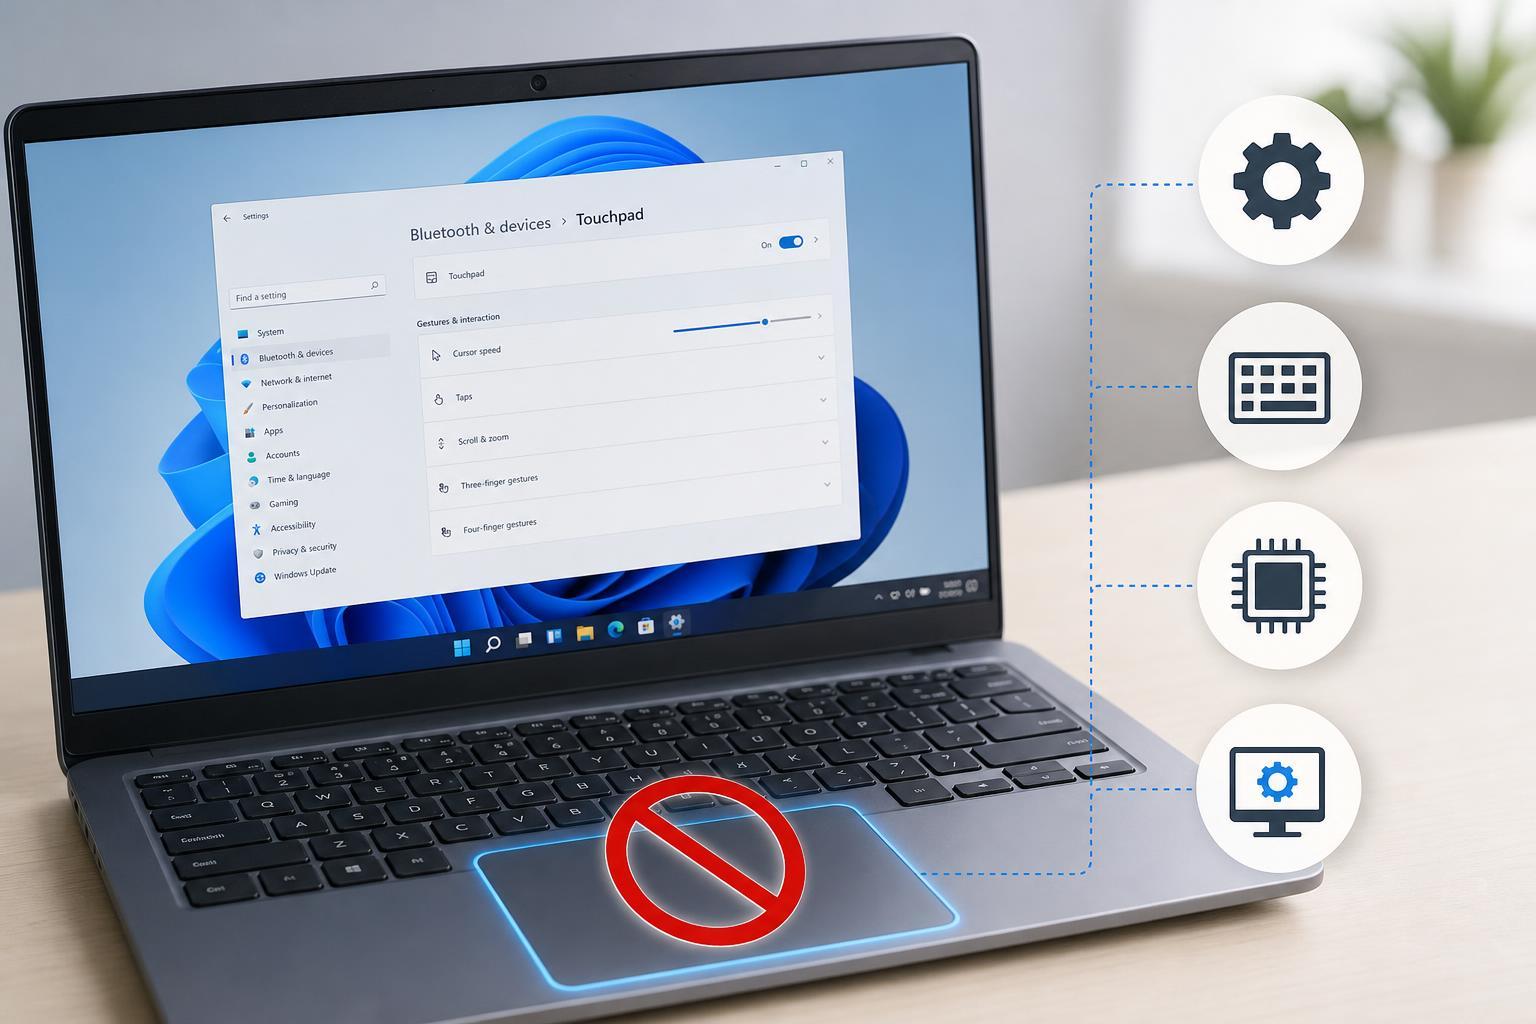
1. Turn Off the Touchpad in Windows 11 Settings
This is usually the easiest method and the best place to start. It works on many laptops with precision touchpads and lets you disable the touchpad without changing drivers or firmware settings.
- Press Windows + I to open Settings.
- Go to Bluetooth & devices.
- Select Touchpad.
- Turn the Touchpad switch Off.
If you later want to use the touchpad again, go back to the same menu and switch it back on.
2. Disable It Through Device Manager
Device Manager is useful when the touchpad does not appear in the normal Settings app or when you want a stronger disable option. On some laptops, this turns off the touchpad driver more completely.
- Right-click the Start button and choose Device Manager.
- Expand Mice and other pointing devices.
- Look for a touchpad entry such as HID-compliant touch pad, ELAN, Synaptics, or similar.
- Right-click the touchpad device and choose Disable device.
- Confirm the change if prompted.
3. Use a Keyboard Shortcut or Function Key
Many laptops include a touchpad toggle on the keyboard, often combined with the Fn key. This is handy if you only want to switch the touchpad off while typing or gaming.
- Look for a touchpad icon on one of the function keys, such as F6, F7, F8, or F9.
- Press the key by itself or with Fn, depending on your laptop’s shortcut setup.
- Some models use a double-tap on a dedicated touchpad on/off corner or indicator light instead.
Because manufacturers choose different shortcuts, the exact key varies. If the shortcut does not work, check your laptop manual or support page.
4. Use Your Laptop Manufacturer’s Touchpad Utility
Some brands provide their own control app or touchpad driver settings panel. This is common on laptops from HP, Lenovo, Dell, ASUS, Acer, and others.
- Open the manufacturer utility or control app installed on your laptop.
- Look for Touchpad, Pointing Device, or Input settings.
- Find the option to disable the touchpad when a mouse is connected, or turn it off entirely.
- Apply the change and test the touchpad.
This method is especially useful if Windows settings only offer limited options or if your laptop has special touchpad features that are controlled by the manufacturer’s driver.
Which Method Should You Use?
- Use Windows Settings first if you want the simplest method.
- Use Device Manager if the touchpad is missing from Settings or if the normal toggle does not work.
- Use a keyboard shortcut if you want the fastest temporary option.
- Use the manufacturer utility if your laptop has custom touchpad software or advanced driver features.
If You Cannot Find the Touchpad Option
If the touchpad does not appear in Settings or Device Manager, Windows may not be detecting it correctly, or the manufacturer driver may be missing. In that case, check the laptop support page for the correct touchpad driver or control utility.
- Make sure the touchpad is not disabled in BIOS or UEFI settings.
- Install the latest touchpad driver from the laptop maker’s support page.
- Check whether a mouse utility or control app is required for the touchpad option to appear.
- If the touchpad is physically damaged, Windows may not be able to control it normally.





