If Google Chrome keeps switching your searches to Bing, the problem is usually caused by a changed default search setting, a browser extension, or unwanted software that has taken control of Chrome’s search behavior. The good news is that this is usually fixable without reinstalling the browser.
This guide covers three effective ways to stop Chrome from changing your search engine to Bing and helps you spot when the issue is caused by a browser hijacker or other unwanted program.
1. Check Chrome’s Search Engine Settings
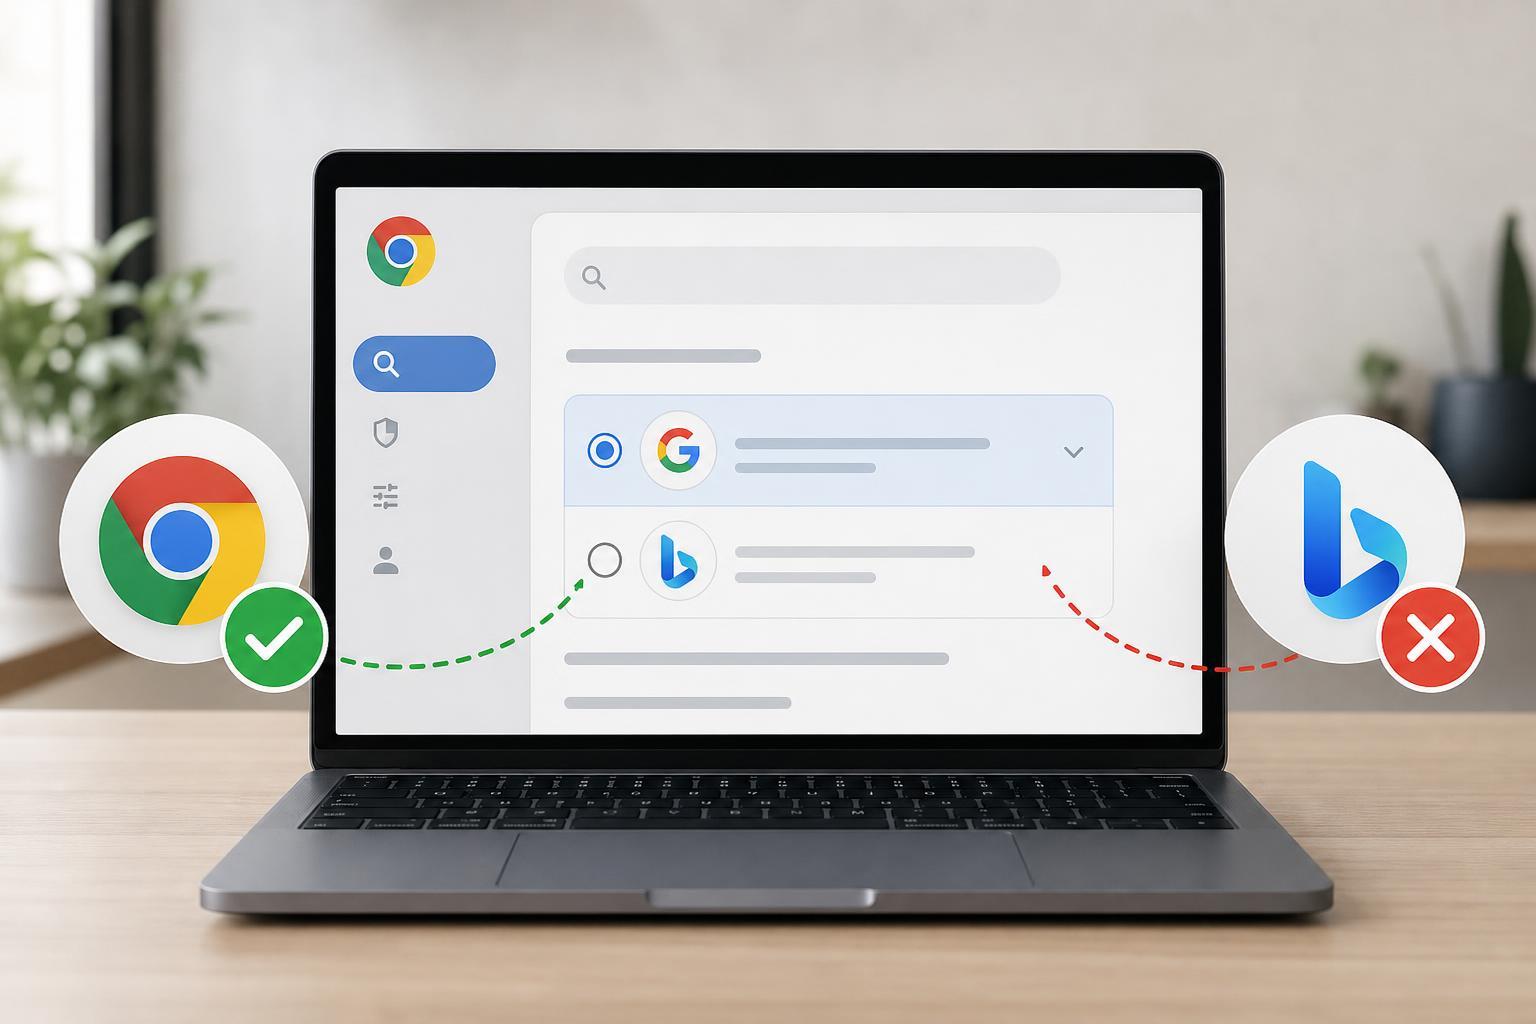
The first thing to check is whether Chrome’s default search engine has been changed. Sometimes this happens by accident during an extension install, software setup, or browser prompt that looked legitimate but changed your browser settings.
- Open Chrome and click the three-dot menu in the top-right corner.
- Select Settings.
- In the left menu, click Search engine.
- Check the setting next to Search engine used in the address bar.
- If it is set to Bing, change it back to Google or another search provider you prefer.
- Click Manage search engines and site search if you want to remove Bing from the list or move Google back to the default position.
If Bing keeps coming back after you change it, that usually means something else is forcing the change. In that case, go on to the next method.
2. Remove Suspicious Extensions
Browser extensions are one of the most common reasons Chrome search gets redirected to Bing. Some are useful, but others can change your search provider, inject search results, or install themselves without making the cause obvious.
- Open Chrome and click the three-dot menu.
- Go to Extensions, then choose Manage Extensions.
- Look for any extension you do not recognize, recently installed tools, coupon add-ons, download helpers, or search-related extensions you did not intentionally install.
- Turn off the extension first to test whether the problem stops.
- If Chrome returns to Google search after disabling it, remove the extension completely.
- Search toolbars or custom new-tab extensions
- Unknown PDF, coupon, or shopping add-ons
- Extensions installed around the time the problem started
- Anything that says it can 'improve search' or 'speed up browsing' but you do not need
3. Reset Chrome Settings or Remove Unwanted Software
If Chrome still keeps changing to Bing after checking settings and extensions, the browser may have been modified by unwanted software. This can include browser hijackers, bundled installers, or system utilities that change browser behavior at launch.
- In Chrome, open Settings.
- Scroll down and click Reset settings.
- Choose Restore settings to their original defaults.
- Confirm the reset.
A reset does not delete your bookmarks, saved passwords, or browsing history, but it will turn off extensions and restore Chrome’s startup page, search engine, and pinned tabs to default behavior. It is a good next step when the browser is being overridden repeatedly.
On Windows, you can also look through installed apps and uninstall anything that was added around the time the problem began, especially browser toolbars, download managers, system optimizers, or unknown security tools. After that, check Chrome again.
How to Tell What Is Causing the Change
A few clues can help you narrow down the source of the problem:
- If Chrome only changes after installing one extension, that extension is the likely cause.
- If the search engine changes after installing a new app, the app may have bundled browser changes.
- If Chrome resets correctly but Bing returns later, something on the PC is reapplying the setting.
- If only one Chrome profile is affected, the issue may be limited to that profile rather than the whole browser.
When You May Need Extra Cleanup
If none of the three methods works, the issue may involve deeper browser hijacker activity. At that point, check for unknown startup items, recently installed apps, or suspicious security software. You may also want to run your preferred antivirus or anti-malware tool and review Chrome’s shortcut target to make sure it does not include extra website addresses or commands.